Thursday, April 13, 2023

Wrapping a Small Piece around a Canvas

This is a piece I prepared for the local SEFAA square foot challenge. It is annual, no fee, and all are welcome. So, no pressure. Well, not much anyway.

My square foot piece for 2023 started with a thermofax screen from Jane Dunnewold. I am enrolled in something she calls Screen Club. Each month subscribers receive an original screen from Jane. I joined in March and so received my first screen recently.

After messing around to organize my set-up, I was ready to start screen printing on fabric. I've done this before and have a small collection of screens from Marcy Tilton and others. I have had uneven results.

My first attempts with Jane's screen were not successful. I got only a faint print on this eco-dyed fabric from stash.

I pulled one of my old screens and the result was darned good, if I say so myself. Same cloth, same paint, different screen.

Of course the screen from Jane is quite different. Hers has a lot of pen stroke line and a sketchy feel to it. It need not be totally crisp but I was a little disappointed.

I posted these results to the group asking for suggestions. The one that seemed to make a difference was the one that suggested that Jane's screens sometimes take a heavier hand than other screens.

Next experiments were more satisfying.

I got all excited and printed multiple times in approximately the same location on this true blue cotton. The effect is sort of out of focus. I decided to like that. A lot.

Then I added a print from a favorite stencil. I love the intricacy of this koi stencil and have enjoyed using it on other projects. It did not disappoint. The paint is a gold metallic.
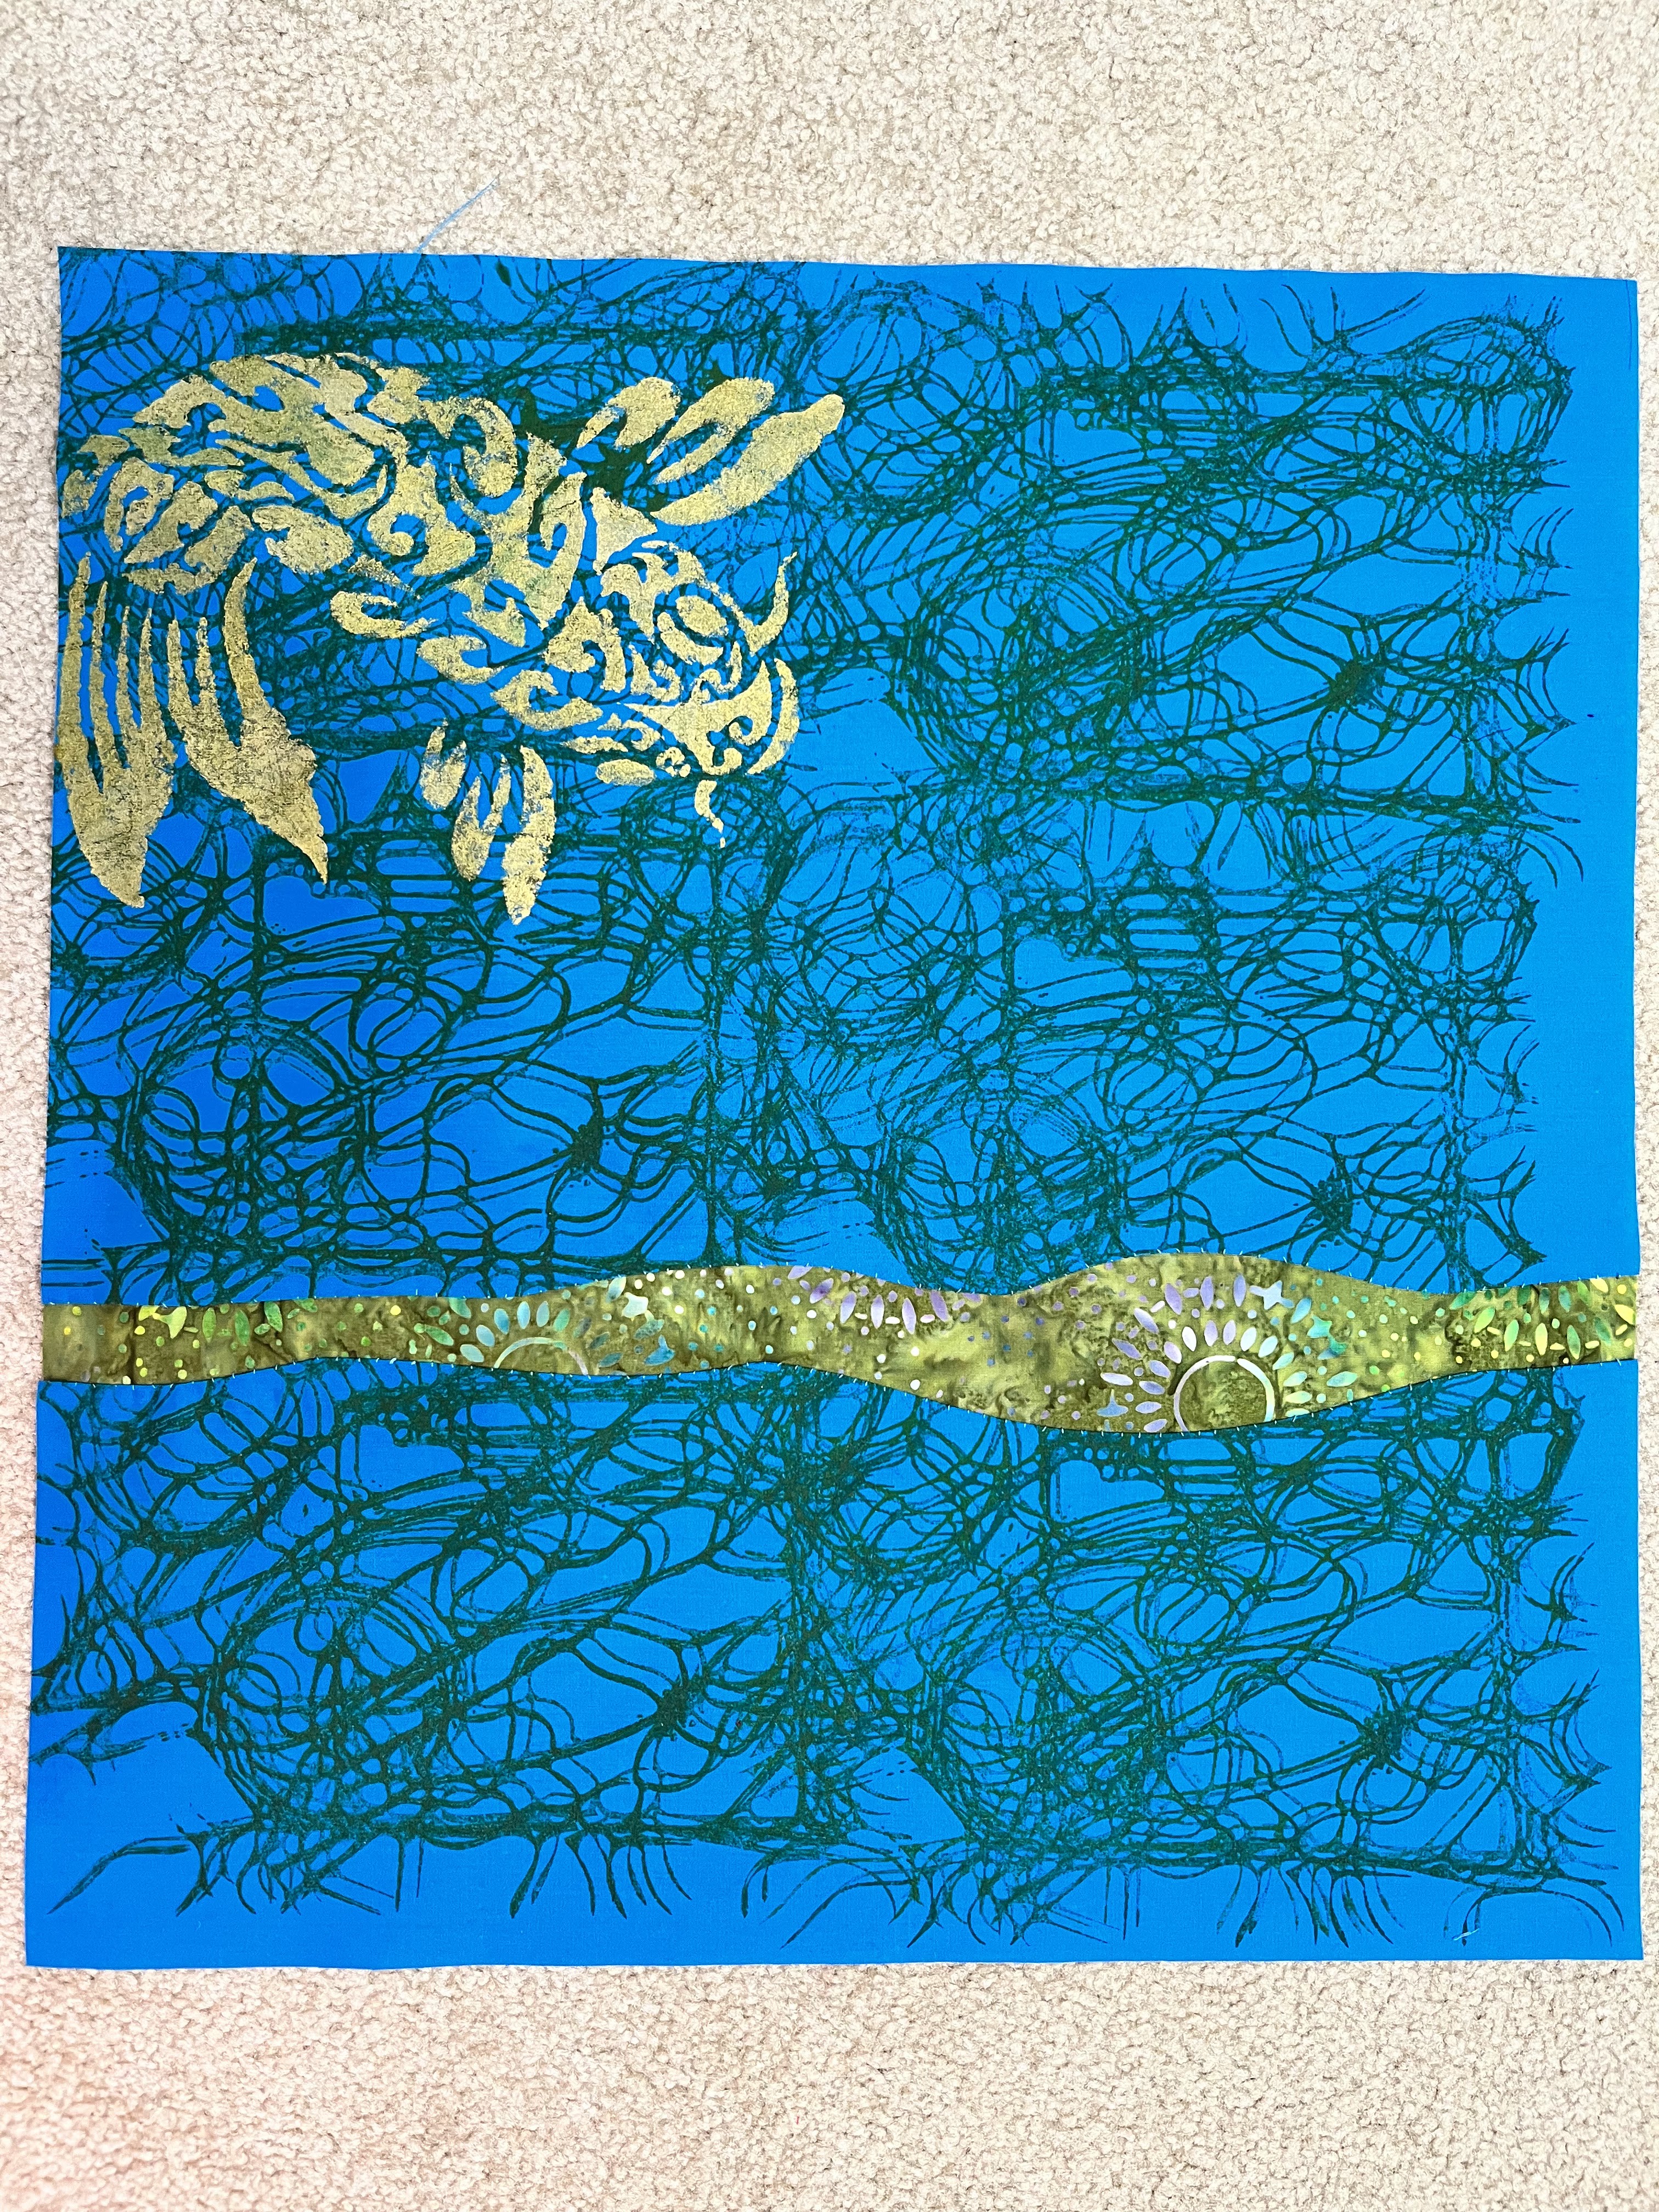
Next I inserted a strip of greenish batik. And left it alone for a day. I decided I've been cracking* open a good bit lately so I thought - what the heck - and I cut it into 3.5" squares in solidarity with my cracking episodes.

I shuffled the squares and put it back together. Along the way, I introduced these little striped pieces to bring in another shade of green - chartreuse. 

I was ready to start stitching. Of course, I warmed up with a bit of sashiko on the striped bits. Then I used some thick gold rayon thread to couch onto the surface. 

I lived with that a day or so and took it out.


Finally I returned to simple sashiko, with the gold rayon thread, as well as a turquoise rayon thread. This process gave me joy. I do not know what it is about sashiko but it brings me joy. Especially when I just meander and don't try to follow a pattern.

Because this is going in a show, I wanted to wrap it onto a 12x12 canvas for a more finished, and less quilty look. I researched the web for best ways to cover a canvas with a quilt, took note of what I liked and what I did not.

I had already added the chartreuse border to give me plenty of room for wrapping. Also when I basted the batting to the back of the piece before the sashiko, I made sure the batting was just about 1/2" larger than the 12x12. I was hoping this would create a smooth but soft wrap without a lot of bulk from wrapping the canvas.

The technique I used was maybe an amalgamation of techniques I found on the web, though I did not spot anything exactly like this.

First, I marked the 12x12 square on the back of the piece with 4 little dots in the 4 corners. Then I drew lines connecting the dots and extended the lines to the raw edge of the piece. Then I used my favorite Linda Lee mitering technique to create a box for the canvas to fit inside.

This allowed me to trim some of the excess from the corners. I still had a bit of bulk when I wrapped it all the around to the back of the canvas, but not much. The back part of it was single layer with no batting. I mitered that too.


 Card stock paper was glued to the back side to cover the staples and raw edges. Then I signed and dated it. I'm pretty jazzed with the result. 

BTW, I am documenting all the steps so I can repeat myself some day!


Now it's ready for the Square Foot Challenge. The title is Welcome to the Deep End.

*As the saying goes, the crack is to let the light in. (Hemingway?)


Thursday, April 6, 2023

Station 5

This year, I chose Station 5, Pilate Judged Jesus, as my contribution to the Stations of the Cross, produced annually by the artists in my church. It is not one of the more traditional 14 stations. Our volunteer coordinator, Margaret, pushed us to produce 28 (!) stations by combining the traditional list with others introduced by a pope, I believe. 

Side note - can you imagine *coordinating* 28 artists?


One of the aspects of this annual ministry that I dearly love is that we acknowledge that everyone is an artist! All ages, all *skill* levels, all who claim they cannot draw, and so on. The only requirement is that it fit on a 24" x 30" canvas with a wire on the back for hanging in our church nave.

As usual, I sketched, fussed, trolled the internet, fussed, and sketched some more. A few days before our presentation at the Starving Artists' soup supper, DH asked me if I was finished. I replied that I was either almost finished or about to start over.


That is because I decided to add some paint. I knew that it would be either done or ruined. Spirit led me to done. Of course, it is always hard to say it's done. Maybe I should add this or that. A deadline has a way of reining me in. 


There are many layers to the story of Pilate judging Jesus. Herod refused to judge Jesus and sent the decision back to Pilate, a local Roman official. Pilate saw the mine field involved in judging this charismatic and spiritual Jesus. So Pilate turned it over to the people. And we all know what the people did. Just like Herod, just like Pilate, they turned their backs on Jesus.


My meditation for this is to wonder when I have turned my back on someone. I still have lots to ponder there. I sat with that thought throughout Lent. And I'm still sitting with it, praying I will be more open to the needs of people I encounter.


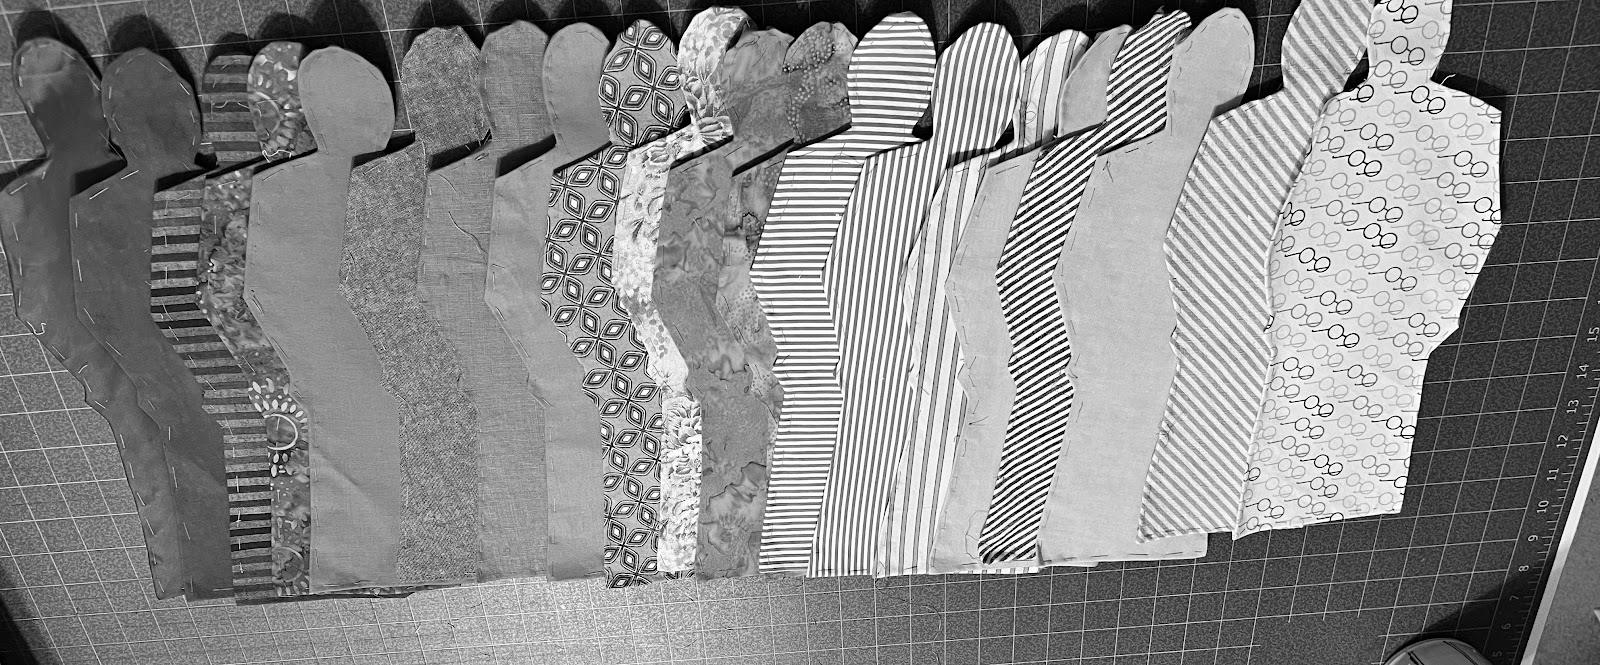
The quilt is composed of appliqued shapes of people from the back, silhouettes, really. I used remnants from various sewing projects and varied the contrast so that the upper figures read as fading into the background. The idea was to show lots of people turning their backs on Jesus.


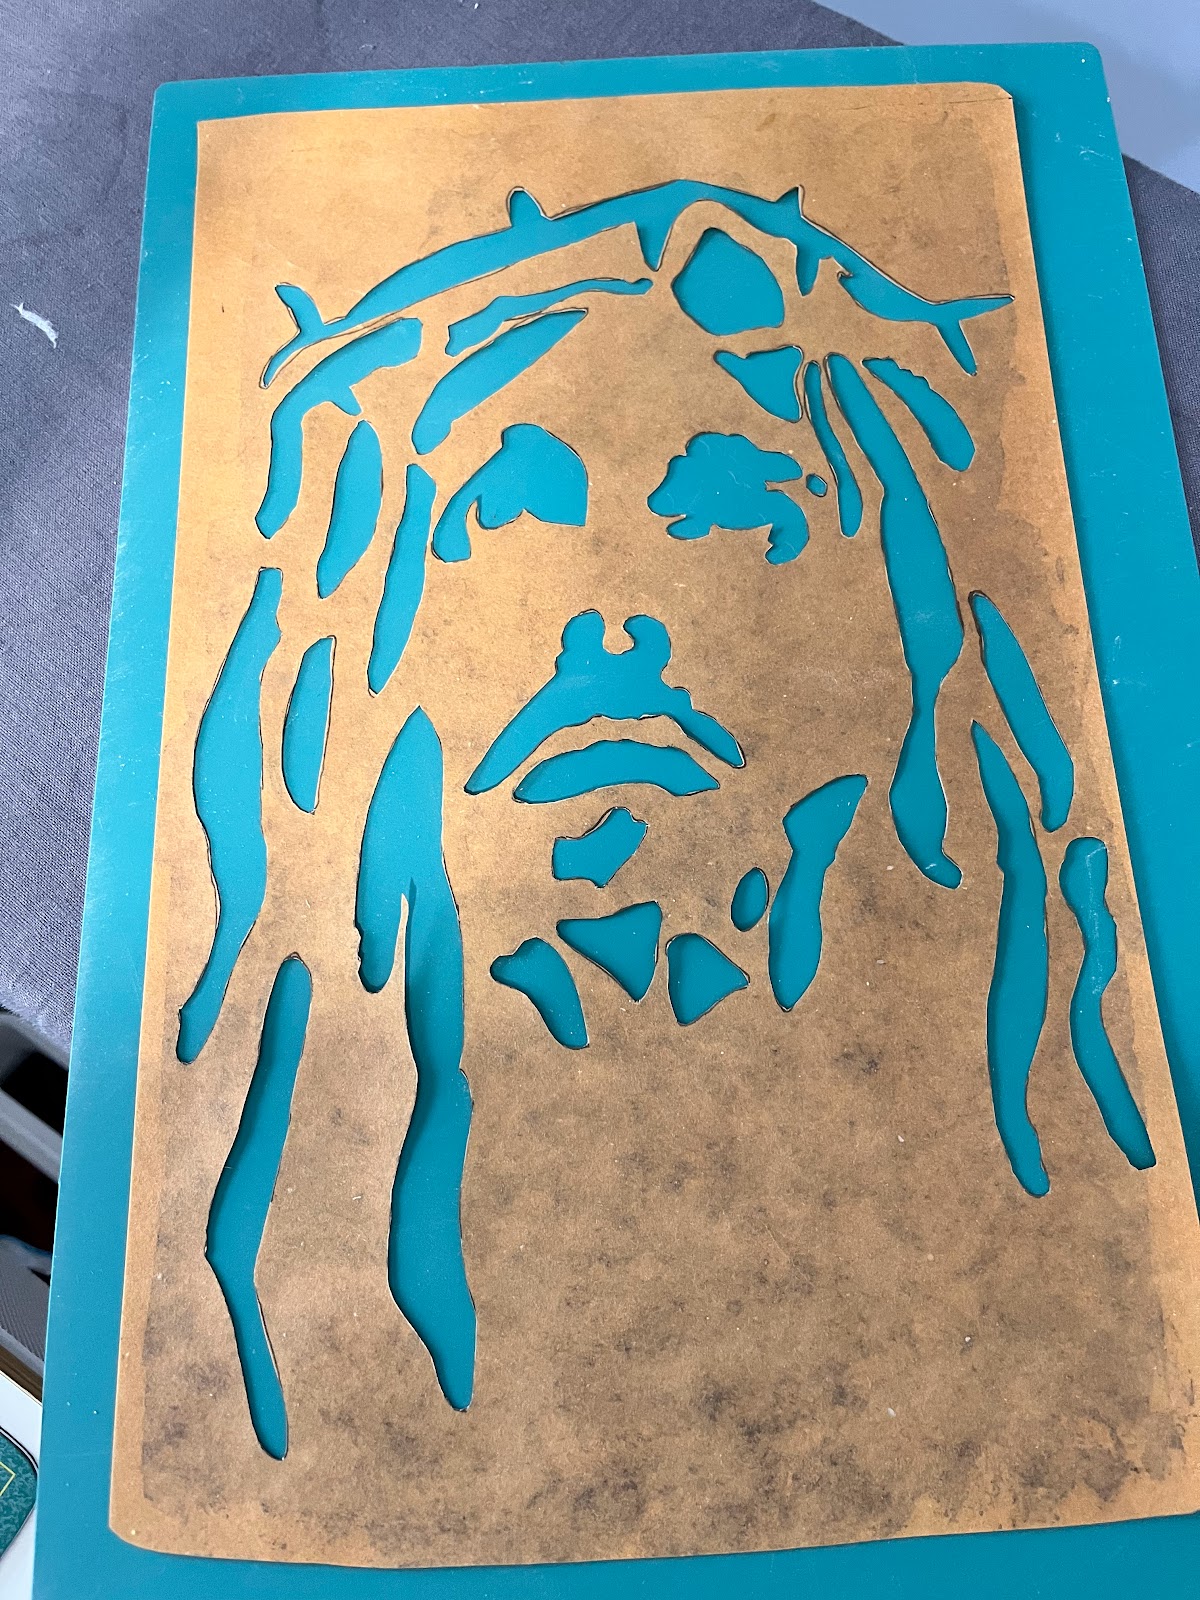
After much gnashing of teeth, I decided to cut a stencil of Jesus based on an image I found online. I never could find a source for the original image, as it only appeared on someone's Pinterest page without a link to the original. It was just right for my idea.


First I printed it on my printer in 8x11 format. Then I enlarged it 175% on the printer in sections. Next I taped the pages together and, using a light box, traced it onto some wonderful stencil paper I purchased from Roland Ricketts. I have no idea what that stencil paper is called, but I enjoyed working with it. It has been sitting in my stash for years. It was nice to finally use it.


The next step was to cut with an exacto knife. That was back-breaking, even using my raised cutting table. Luckily DH has a work table adjusted for his much-taller height. That allowed me to cut the stencil without the awkward curve in my back. It still took a long time but the result was and is very satisfying. I love that stencil.


It occurred to me that the back of my quilt would be a nice test spot for the paint. The fact that the surface is quilted in long fluid lines created a surface not ideal for use of a stencil. I pressed it as flat as I possibly could and taped it to the table. Then I taped the stencil to the quilt. Next I placed my blank screen over it and applied fabric paint to it using an old credit card. It worked.


After the back dried, I did the same to the front. Again the paint sank into the crevices formed by the quilting, but I decided to like the effect. I was done!


This year, I attached the quilt to the canvas with hook-and-loop tape, applying a glue-backed hook strip to the canvas. I attached some sew-in loop tape to a strip of fabric and hand-stitched it to the back of the little quilt. That way, I can remove it and add a sleeve later for hanging in my sewing space.

And I like it quite a lot. And it's done. And it has been hung in the church.

After I finished mine and could relax a bit, I pulled out all my previous pieces. That was another meditation for me. 

With one exception, my pieces are quilts. One is a watercolor painting. It was a good challenge to make but not as much fun as working with fabric.

Most of the other artists use paints - oil, acrylic, pastel. And some add 3-dimensional pieces. But mine are soft and can be rolled for storing. Typically I have sewn them to a canvas that is painted a dark solid color. That tends to destroy the canvas over time. We'll see how I like hook-and-loop tape over time.

Here is a link to the document about all Stations of the Cross for this year. 

And now for a little palate cleanser:


Tuesday, March 7, 2023

17th Birthday Gift

I've not been sewing as much in the last few months as I wish. Too much in the non-sewing part of life going on and demanding attention. Sewing keeps me sane, so this is not something to mess around with.

After my fun with bricolage, I found the sew-jo to finish a shirt I cut out maybe 3 months ago. It was dicey because it has all the classic shirt details that I love. I just assumed I would ruin one or more of these details.

But, surprise! It all went great. I took my time and enjoyed the entire process. 

Luckily the pattern I chose was The Blouse Perfected from Cutting Line Designs. I have blogged about that in the past. It is just such a great pattern - really a small book on professional techniques for completing classic shirt details.

First up was the collar and collar stand. CLD approaches this process in a manner that is quite different from others, I think. The collar stands are attached first, sandwiching the neckline in between the two stands. Then the ends of the collar stand are completed, leaving a gap for the collar. The collar is finished on three sides and top-stitched. Then the collar is dropped inside the gap in the collar stand. It is machine stitched to the right side of the stand and invisibly stitched to the inside of the collar stand.

I thought I'd screw that up, for sure. But indeed, it worked out perfectly. CLD patterns are nothing if not meticulously drafted. And the explanations are detailed with clear illustrations. Everything fits together as it should.

I also took my time on the sleeve plackets. There are so many ways to mess those up! 

The stars were aligned and it too worked!

And then I found perfect buttons in stash. This is when sewing is totally satisfying, right?


Thursday, February 23, 2023

Bricolage

In January, I attended a virtual class with the wonderful Mary Ray via my local fiber art organization, Southeast Fiber Arts Alliance. And it was just full of the kind of inspiration that makes you want to drop everything and get into the sewing studio. It was just what I needed!


We have a follow-up virtual meeting this coming Saturday. During this meeting, participants' bricolage projects will be shown. I cannot wait to see what everyone made.

So what is bricolage anyway? As I understand it, the basic idea is to use what you have. That is not all that difficult given the embarassment of riches I have in my fabric storage.

1st Attempt:

Ever since I made a vest from my husband's old jeans, I have been collecting old jeans. I volunteer at a food pantry that also includes a clothing closet. I sometimes rescue items that are deemed unredeemable and end up in the trash. The clothing volunteers are on to me and pass along used jeans when not useful.

I now have a fairly substantial pile of old jeans, some already diassembled. I tried to disassemble more but, two bandaids later, I simply cut them apart. Next I made *fabric* by stitching pieces together.

My idea was to recover 8 cushions on my sunroom love seats. Ha!

2nd Attempt:

When I finished covering one cushion, I stopped. It did not look that great, honestly. And it took forever to piece together enough to cover a cushion. This surpirsed me. Not one to let go too easily, I converted it into this pillow:

3rd Attempt:

About a decade ago, we visited Spain on a tour. In Barcelona I became enamored of Gaudi, of course. How could I not? And I wanted fabric to remind me of Gaudi. 

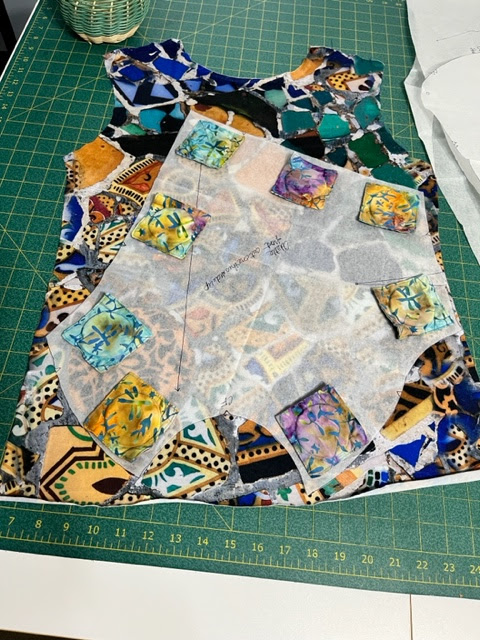
Tours like ours did not include fabric shopping.  Instead I bought a tshirt with a Gaudi-esque print on the front. It was a too-small size but I liked the front print, so I bought it, figuring I could work it into something.

After capturing the maximum amount of fabric from the tshirt, I pulled out some thrifted tshirts acquired over the years, one of which I had used for another project, leaving me with less that one tshirt.

I selected the Odette pattern from the Sewing Workshop's Odette and Ivy. It's an interesting take on a tshirt with lots of assymetrical piecing. 


My approach was to start with the focus fabric from my Gaudi tshirt. I wanted to use it as efficiently as possible while keeping the focus on it. It became the front piece.

I worked from there using first one and then another shirt to cut out the various pieces of the Odette. In the end I did not have a lot of choices. The sleeves and the lower band take a good bit of fabric. Then I spotted the bicycle and decided to incorporate that.

Next I began to cut apart the other tshirts, using parts for first the large pieces in the pattern, until I had each piece cut out. I enjoyed the process so very much. And I like that the funky bicycle made it into the final piece.

OK - bring on the bricolage!