Showing posts with label ecoprint. Show all posts

Sunday, July 23, 2023

More Eco-Printing

 I am addicted.


I could not resist trying these eucalyptus leaves, leftovers from arrangements at church on Sunday.


I've learned that dogwood leaves from my yard are predictably good prints.


Here is the first layer of leaves, a combination placed on a length of cotton canvas that I've used previously.


Next is the layer of blank watercolor paper.


Here's my second layer of leaves. There will be a different set of prints on both sides of the paper. It is sturdy enough to resist bleed through from the leaves. I had trouble identifying the *right* and *wrong* sides of the eucalyptus, so I just ignored that aspect of the process. Note that this new layer of leaves means that the paper is in contact on both sides of the paper.


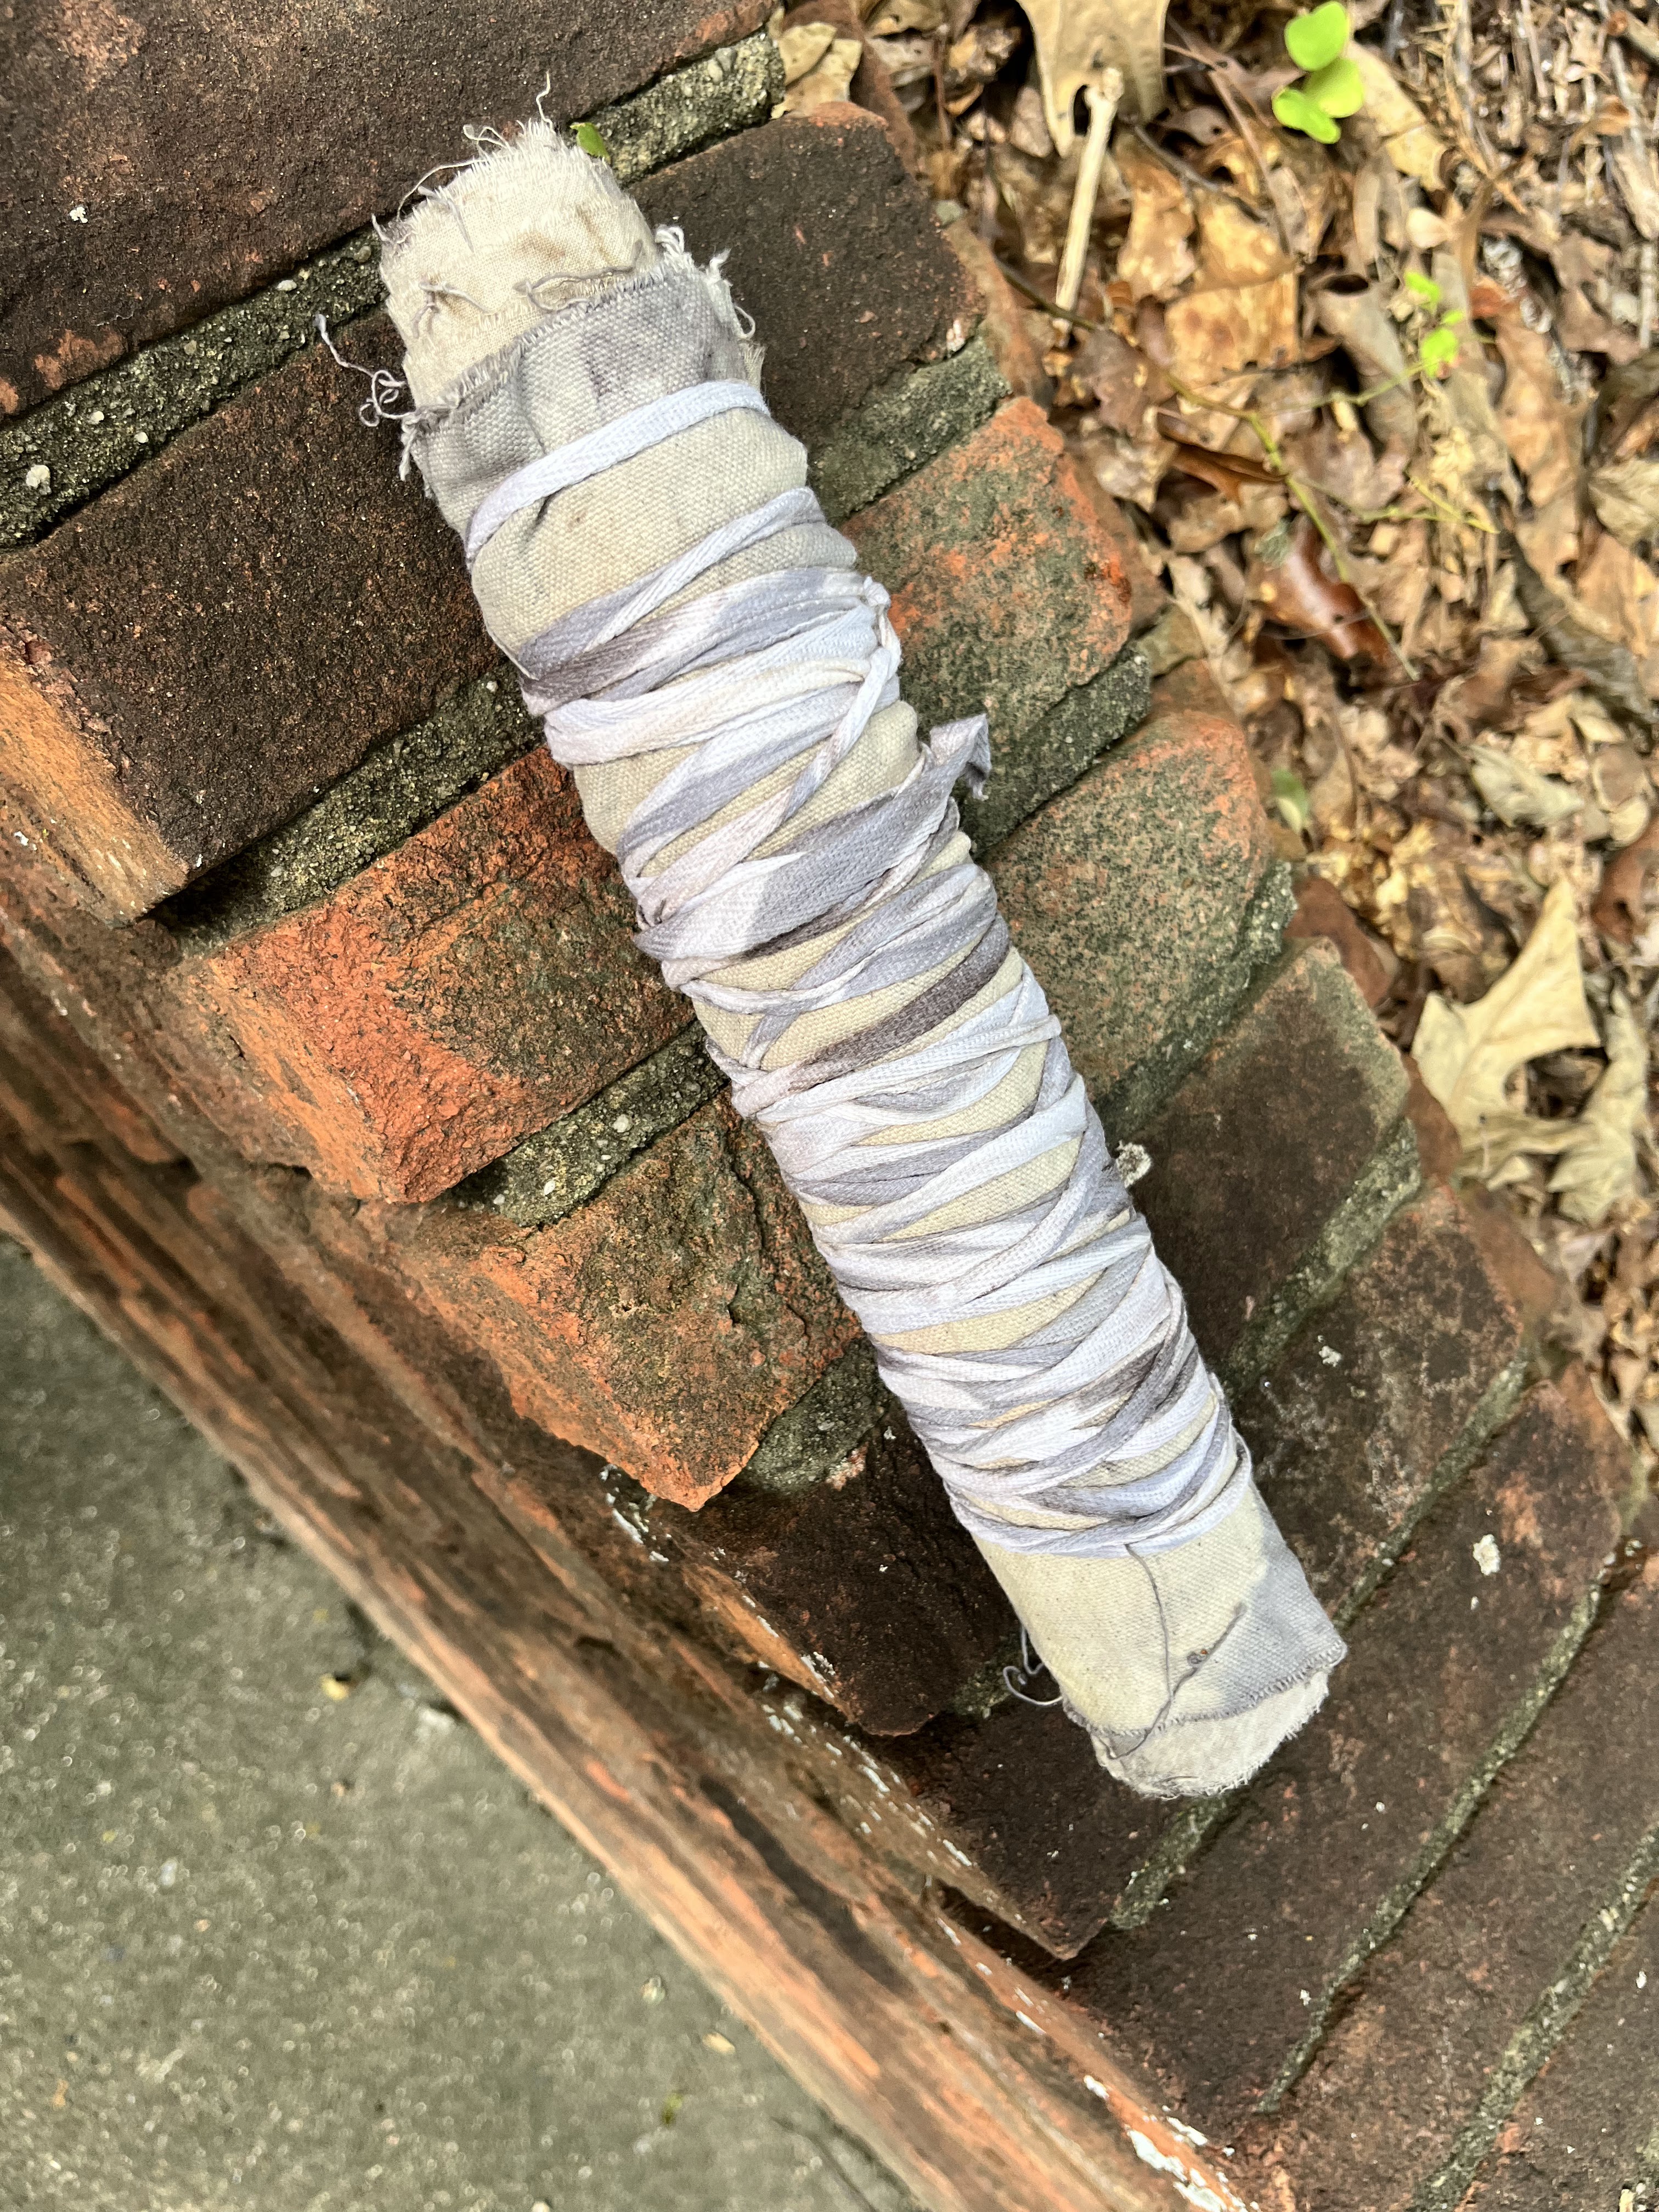
After one more layer of cloth (cotton muslin that has been used in previous prints), it is rolled tightly around a dowel and secured with cotton twill tape.


Then it's squeezed into the pot for some time simmering. 


It cannot be submerged completely in this pot so I'm on the look-out for a larger pot from the thrift shop.


The next day, I enjoyed the big reveal - some pretty prints on the cotton canvas.


After the paper has dried completely, it is fun to see the difference in the dogwood leaves and the eucalyptus leaves.


And here is the other side of those watercolor papers. I am enchanted - bookbinding is next!


Tuesday, June 27, 2023

Shakerag 2023 - Soft Books with Lotta Helleberg

Fabric-covered book with added hand-stitch

This is the 3rd year I've been able to attend a week-long workshop (Shakerag Workshops) in Suwanee TN. Oh, my goodness. I love this place. Surrounded by all those creatives, some who return year after year, so I get to catch up with them. This year was no exception. I had a blast.

This time I took a class taught by fiber artist, Lotta Helleberg. I had not met her before but had been following her for several years. Her work focuses on botanical prints for wall art, as well as art books. We learned to bind *soft* books with our botanical prints on paper and fabric.

Though I've had some limited success with botanical contact prints in the past, I was so looking forward to learning her approach. And I had basically no experience with book binding.

It felt a bit fast and furious while I was in class, but I came away with so much to practice at home. I love that.

We learned 4 different soft bookbinding techniques. I kept getting confused. But now that I'm home, that is all good. I have been practicing. I *may* have it in my head (now).

At the beginning of the workshop, we students walked around the St Andrews campus with Lotta. We collected leaves to try printing. I love Lotta's experiential approach to this. She inspired some fearlessness. Today I did the same thing in my own yard. My results are cooling as I type. Maybe I'll have something to show before I post this. Fingers crossed. 

The above example is called Dos-a-dos, based on the two bindings, I suppose. It is really two books with one common back. It contains blank paper - writing paper for one side, and watercolor paper for the other half. It's all set to take on vacation.


The one above is a Japanese stab-stitch binding and contains a mix of printed paper and printed fabrics. The fabric on the right is silk. The paper on the left is printed via a dip in logwood ink.


I wish I could remember the names of the plants we used to print leaves. Maybe I should work harder to remember them. Perhaps I should start in my own yard!

This one almost glowed. Maybe it was smokebush?


Cover for the Dos-a-dos book.


I was able to print on my old piano sheet music from the 60's. I've tried using it in other paper crafts and it crumbled. So I'm pretty pleased to see this. Interestingly, the black ink from the music, printed in bright blue on adjacent pieces.


Silk prints beautifully.


I was pretty excited when I finished this *tiny* book at home. It has a woven binding and contains water color pages. So it will be modified over time.


Some classes are fun at the time but I never know how/if they influenced my creative practice. I feel sure this one will continue to entertain me, as it combines paper, fabric, and even watercolor.


Thursday, January 12, 2023

Boro Stitching

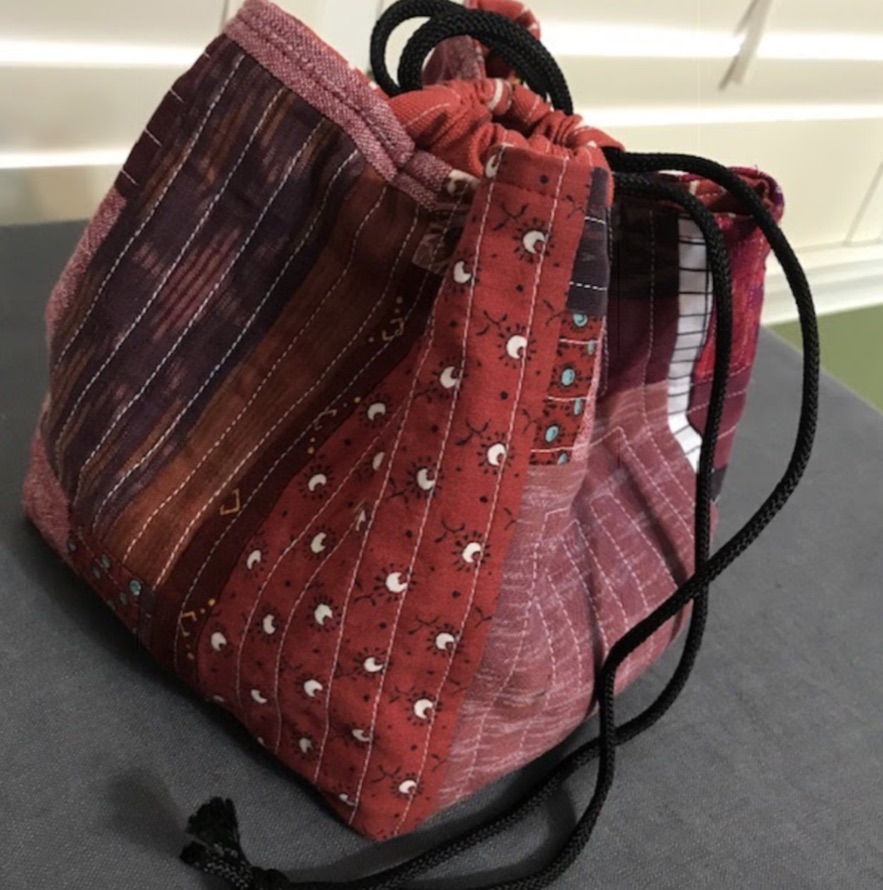
Japanese Rice Bag from 2019

Non-sewing activities in November and December left me feeling a loss. Sewing is so much a part of my life that I feel off-center and ungrounded when I don't have time for it. So here it is January and I have cleared off the wrapping paper and other detritus that filled the cutting table. I've started the new year with time in my healing space, the sewing room. And it's very, very good.


Next month I am teaching a class on boro using the lovely Japanese rice bag pattern from K Z Stevens. Also known as komebukuro, it is a traditional bag used for religious celebrations to bring rice to temple. I love the shape of bag and the fact that it provides a blank canvas for fiber art exploration.

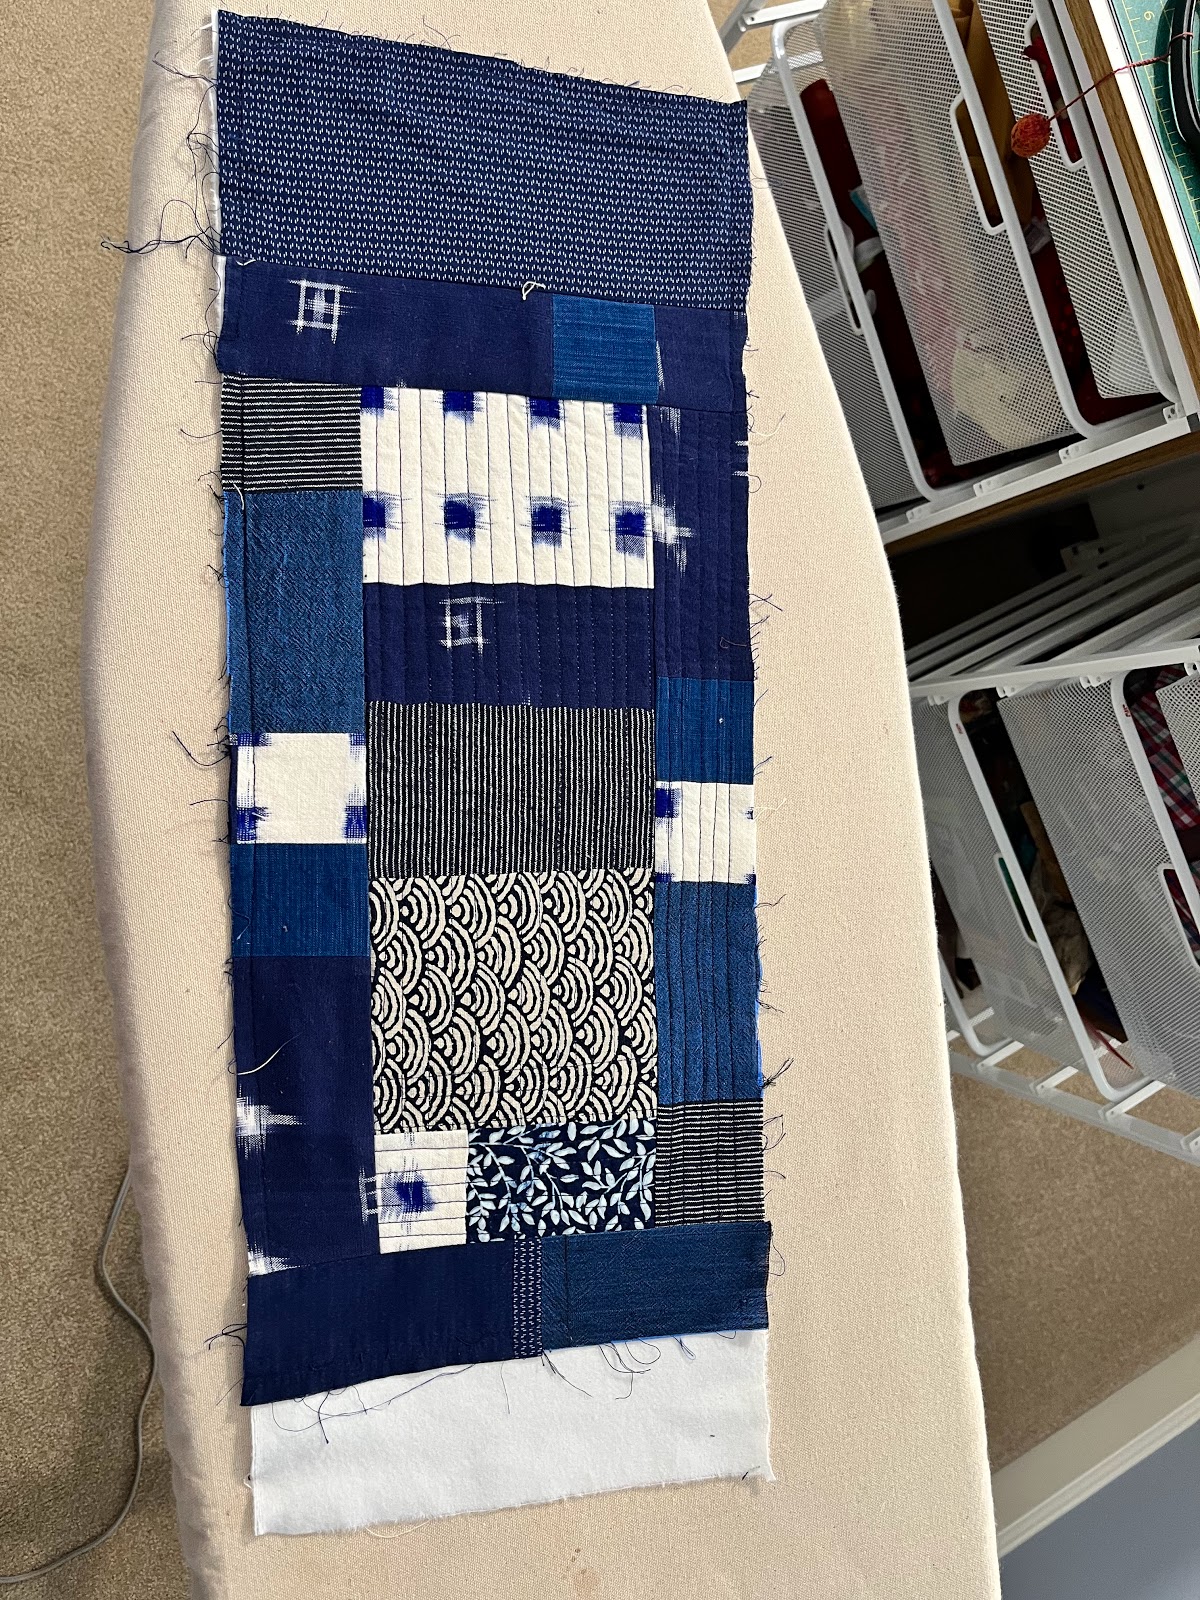
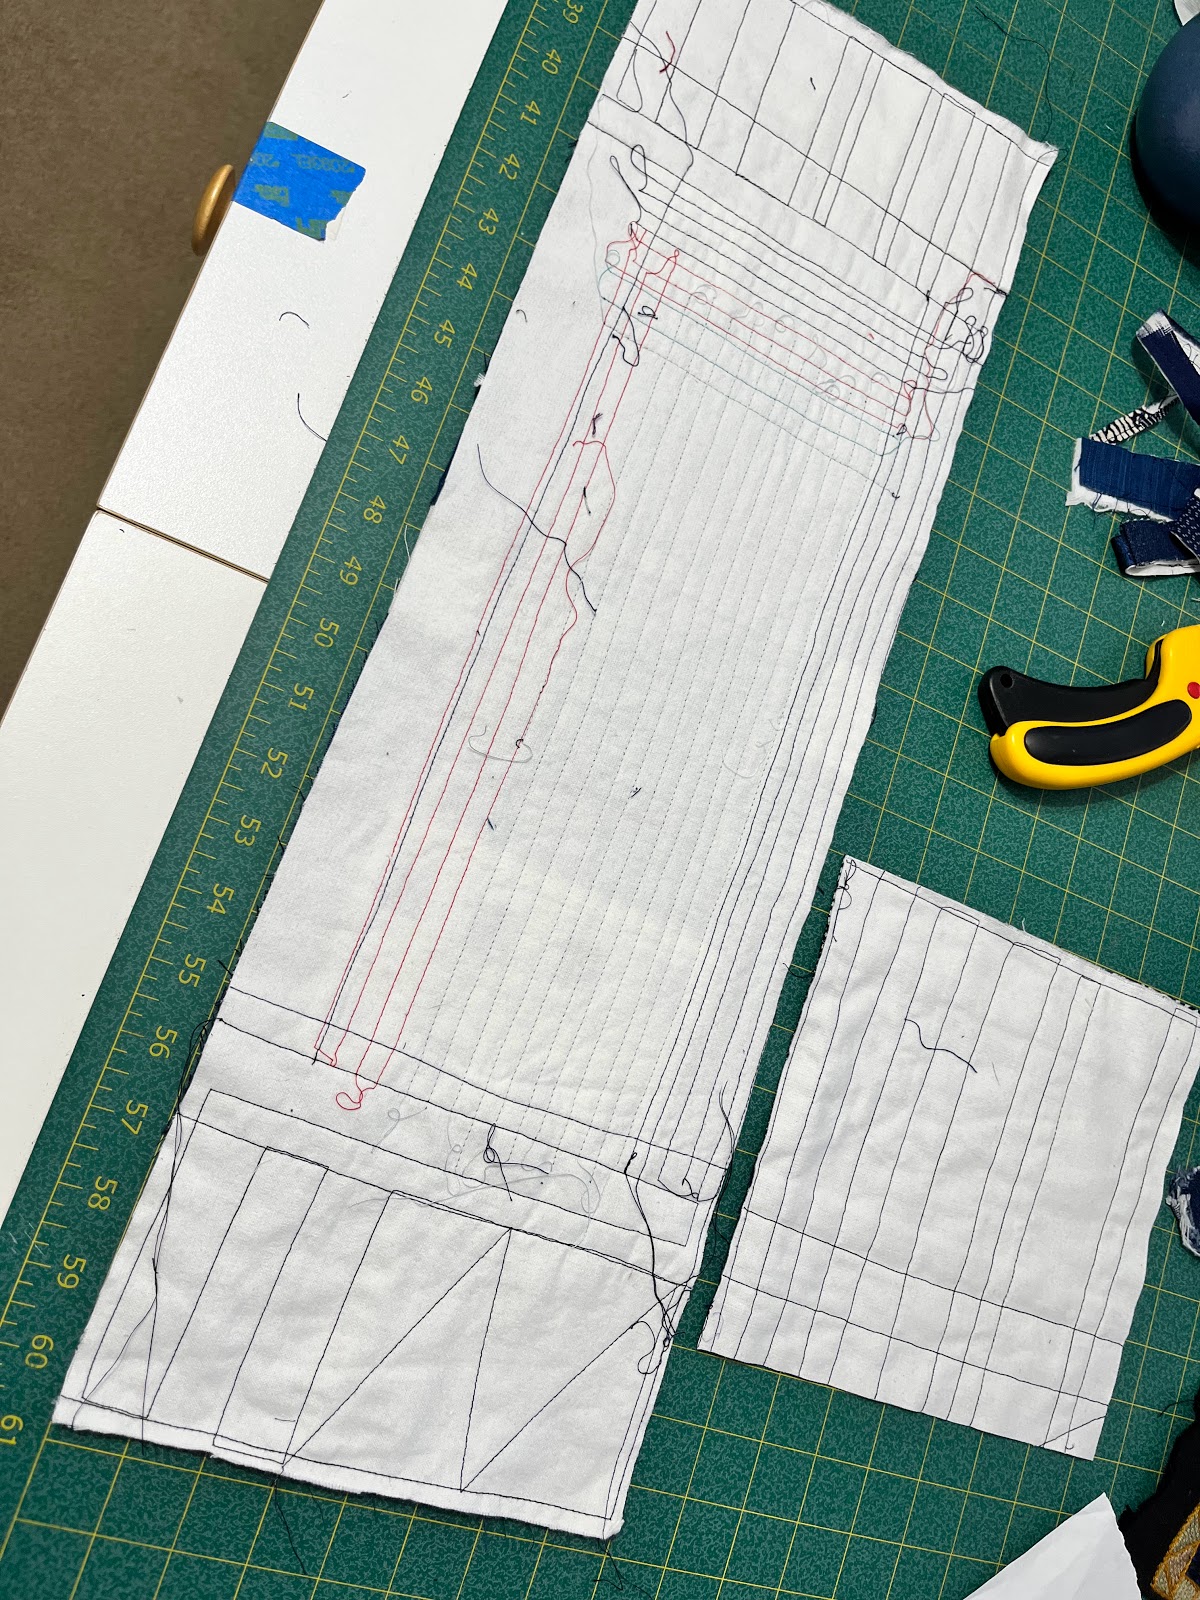
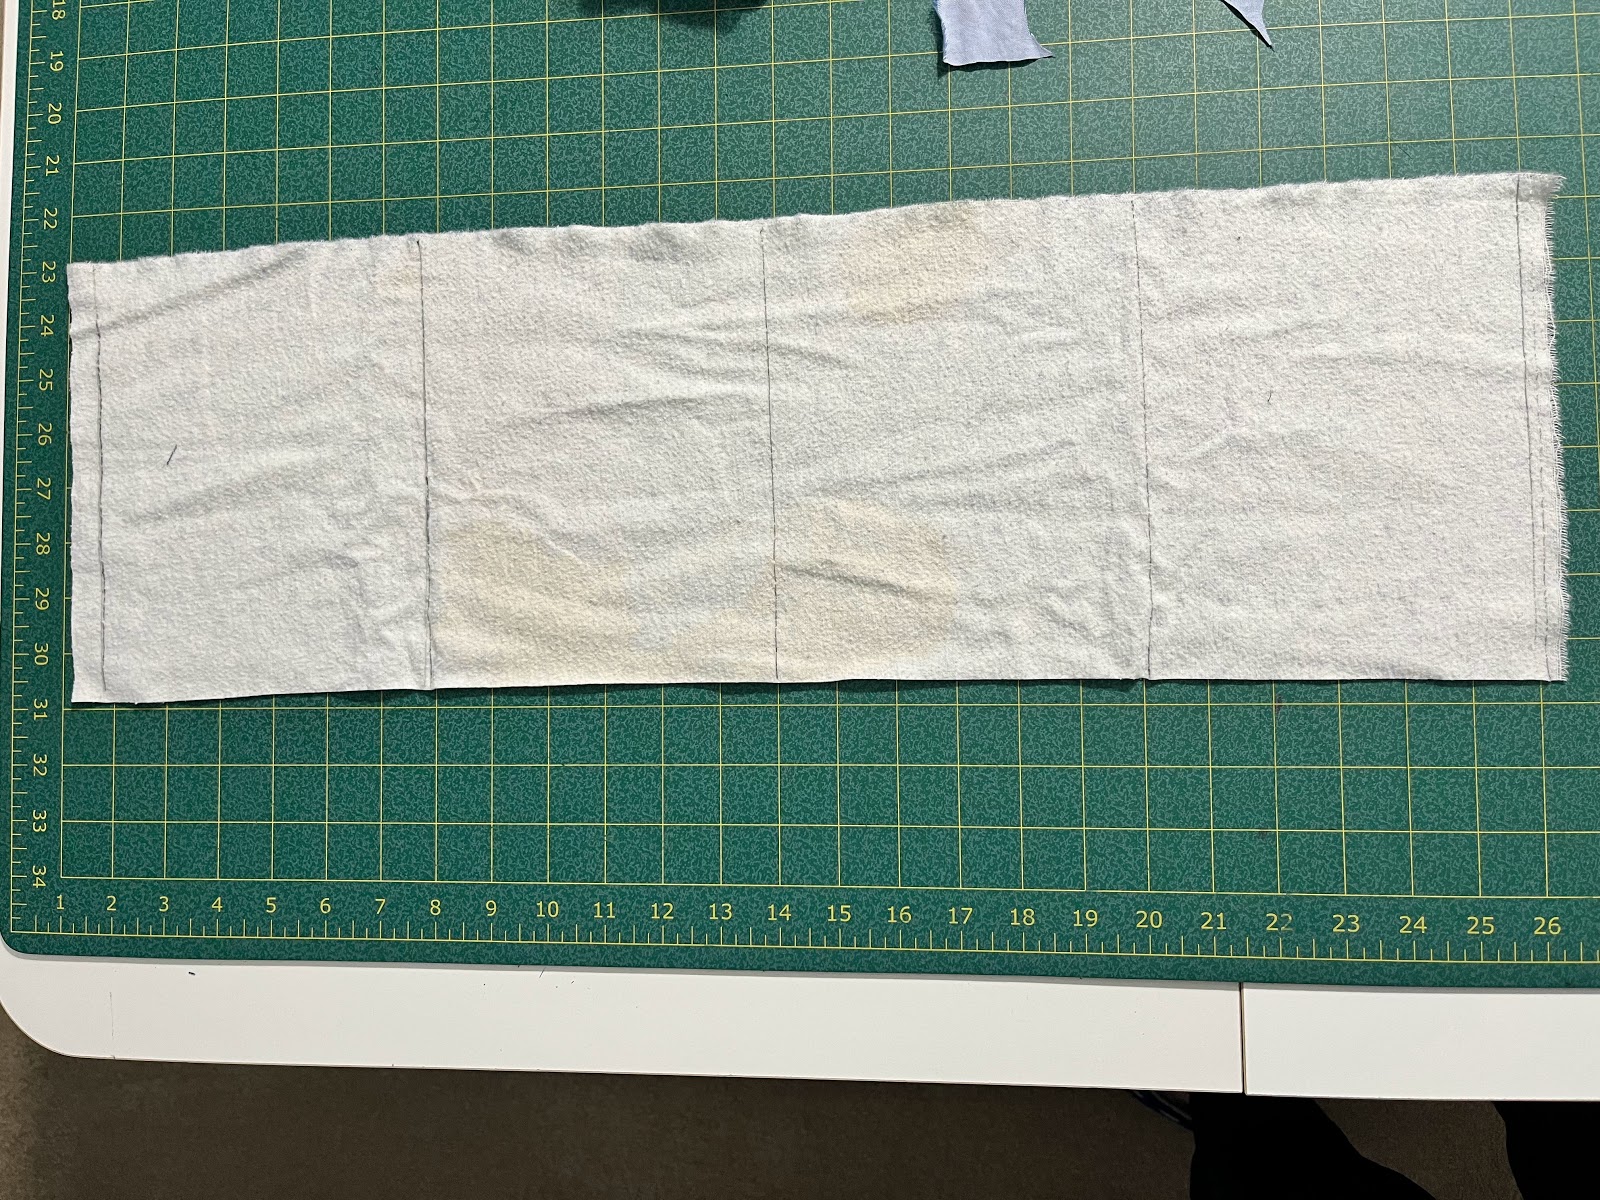
Side panels (rectangle) and square bottom cut to size on a piece stitched to white flannel

As prep for my class, I made this sample.

It's fun to remember the previous projects that are represented in this bag, as well as the adventures involved in acquiring the fabrics. For example, I see remnants of a favorite Archer shirt from Grainline Studios worn recently on a trip to Israel:


While rummaging through my remnants, I began to wonder, just what is boro? And what might boro be for the 21st century sewist? No one I know has precious rags that have been pieced together to provide warmth during the winter, as the original boro did. So I thought, perhaps, for me, boro stitching means using what I have and not buying new. Though not real boro, it captures the spirit.


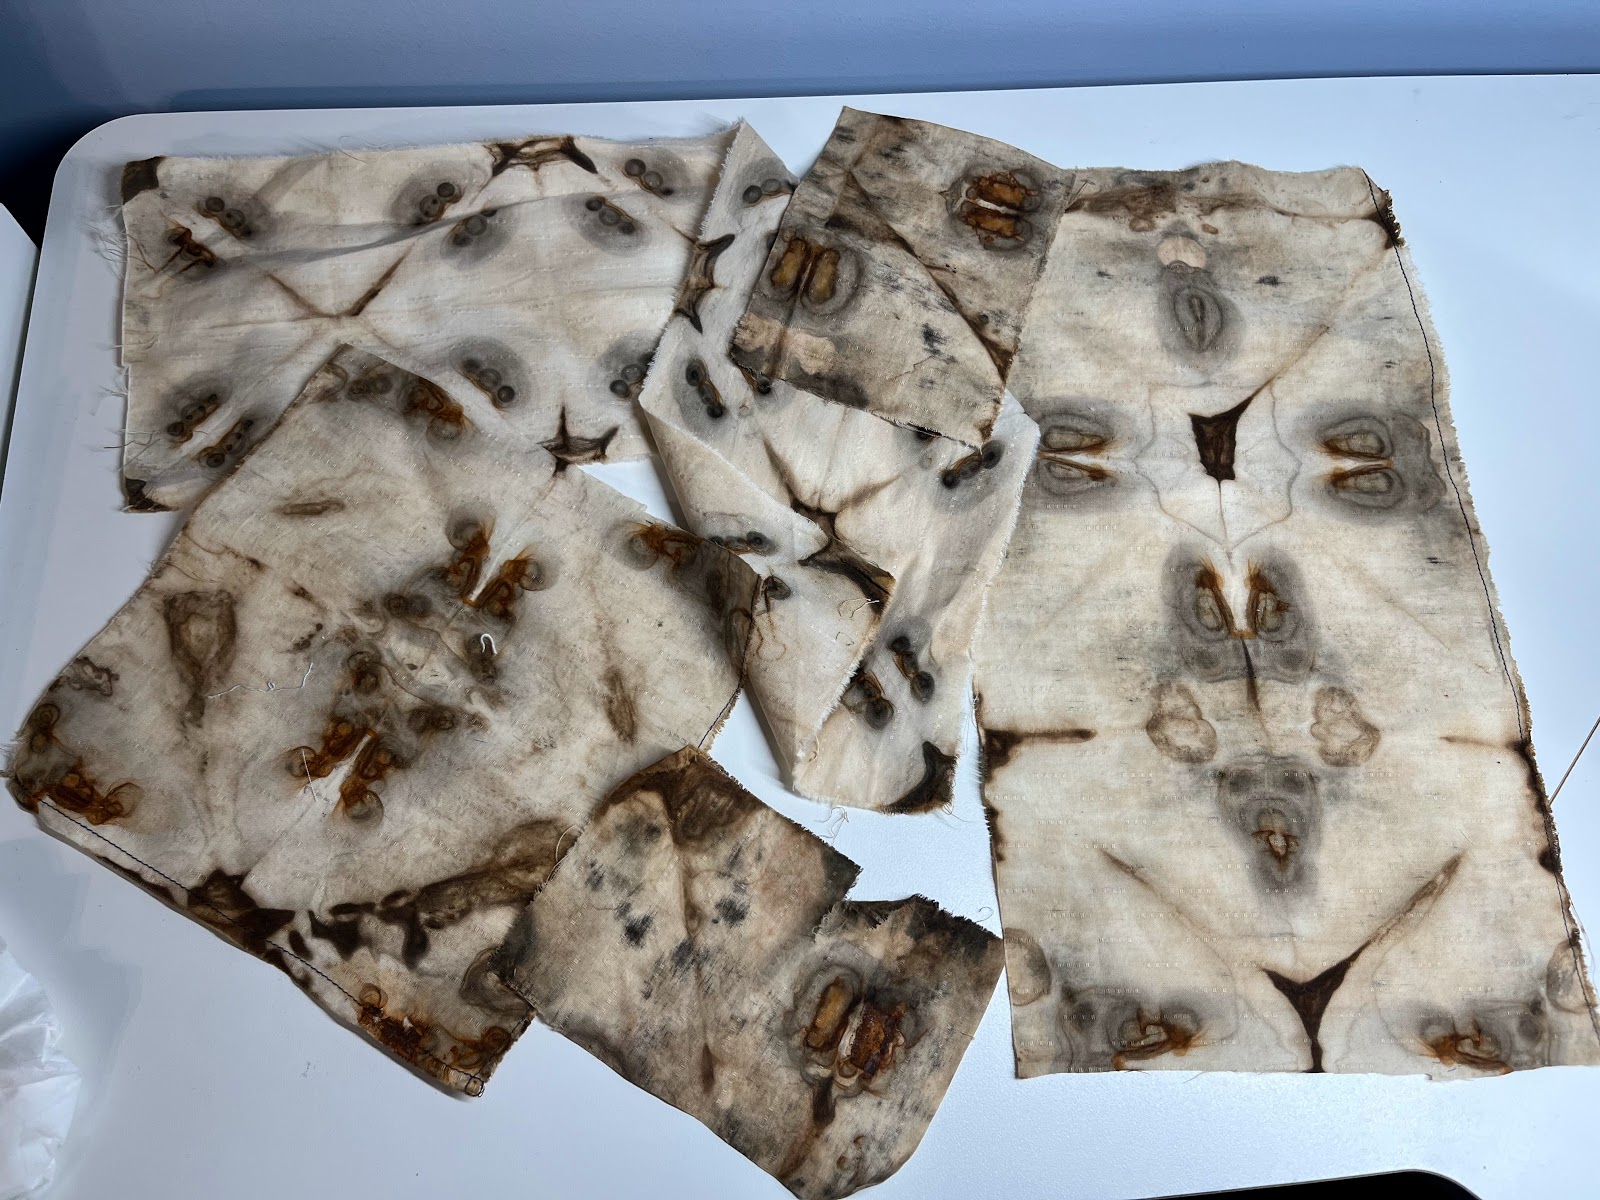
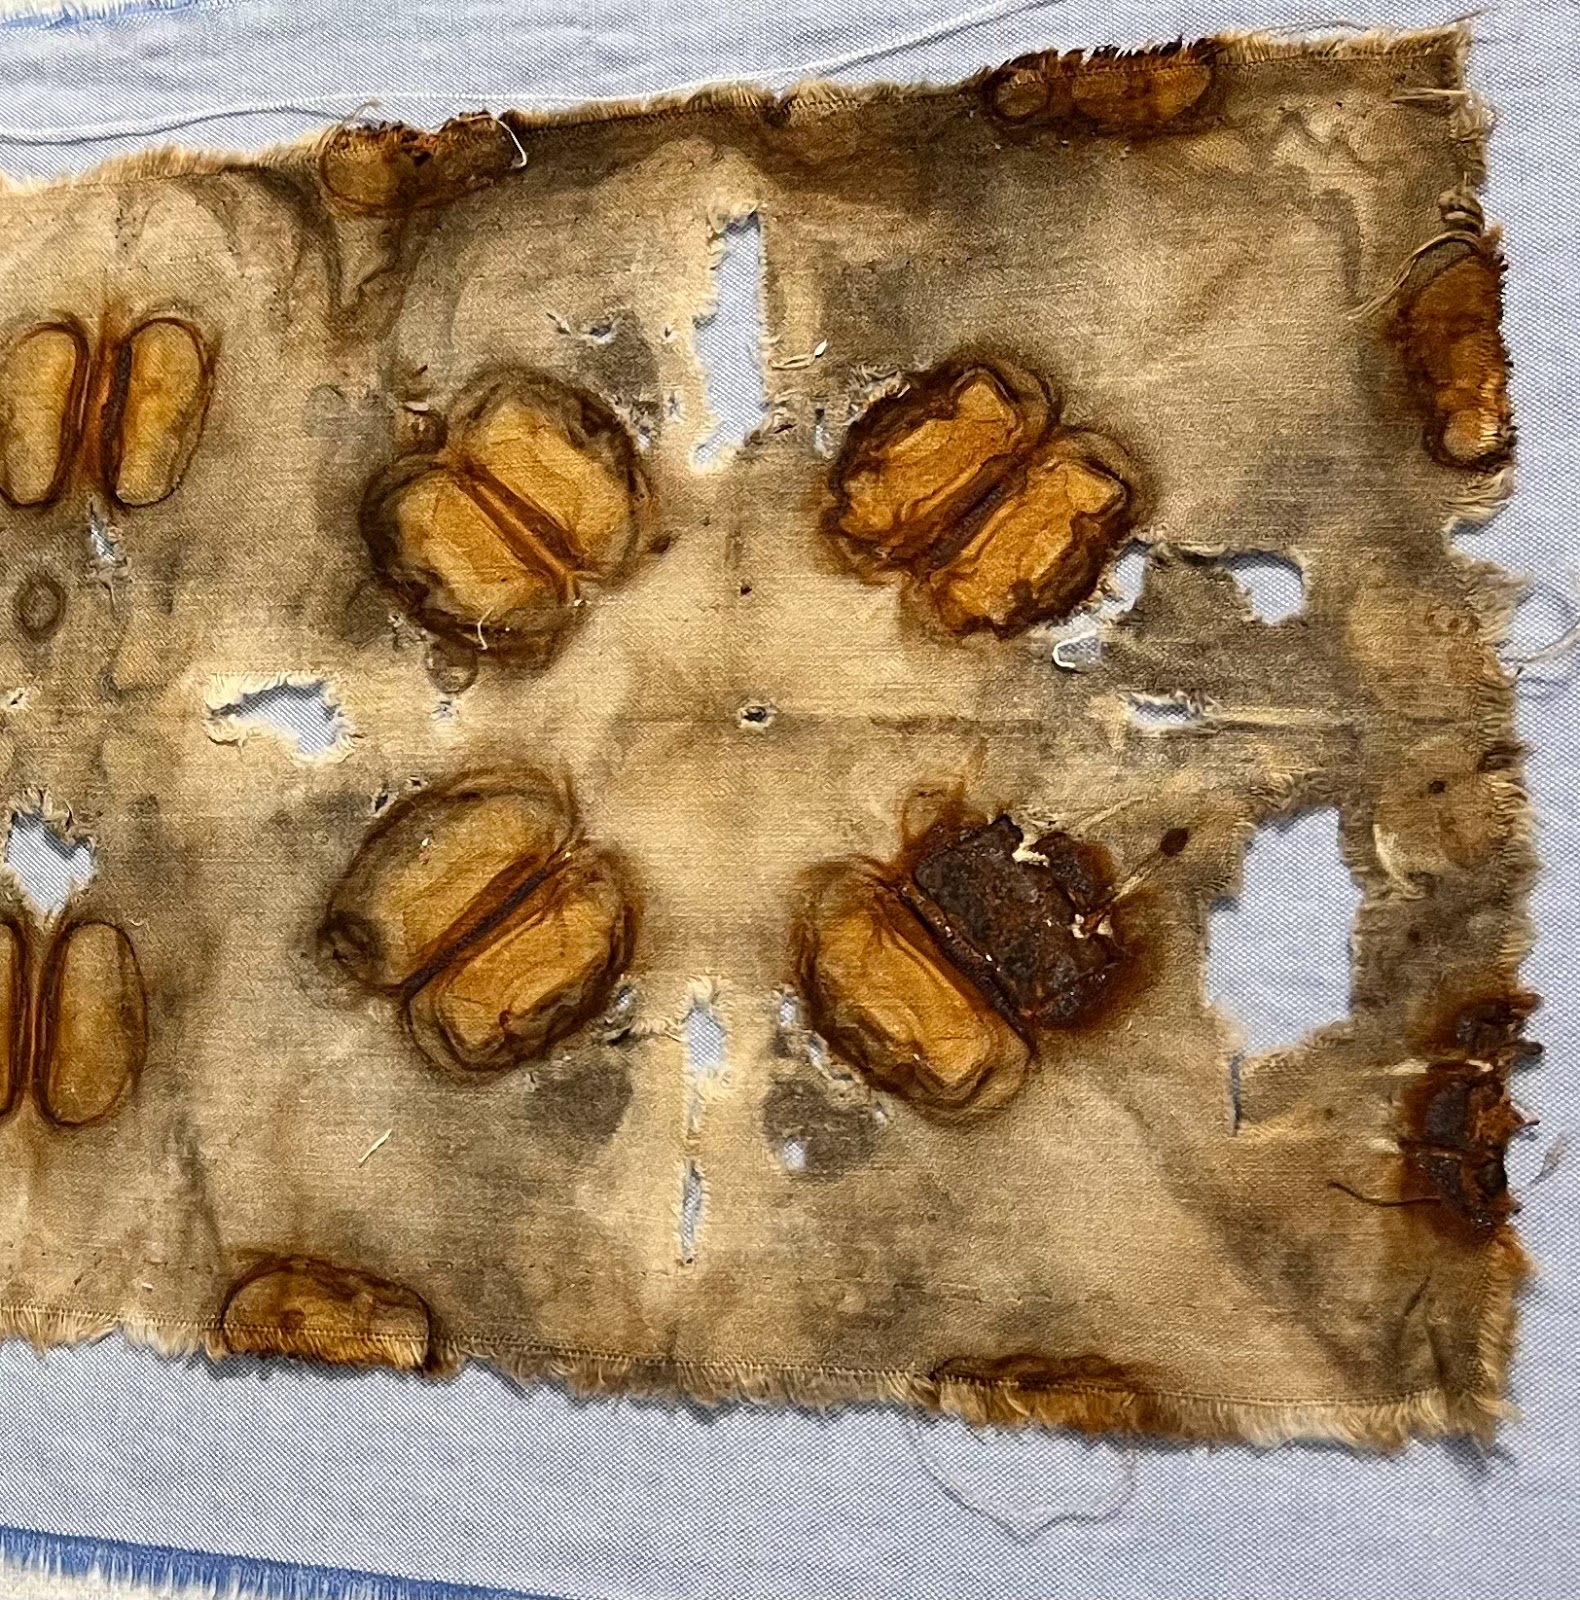
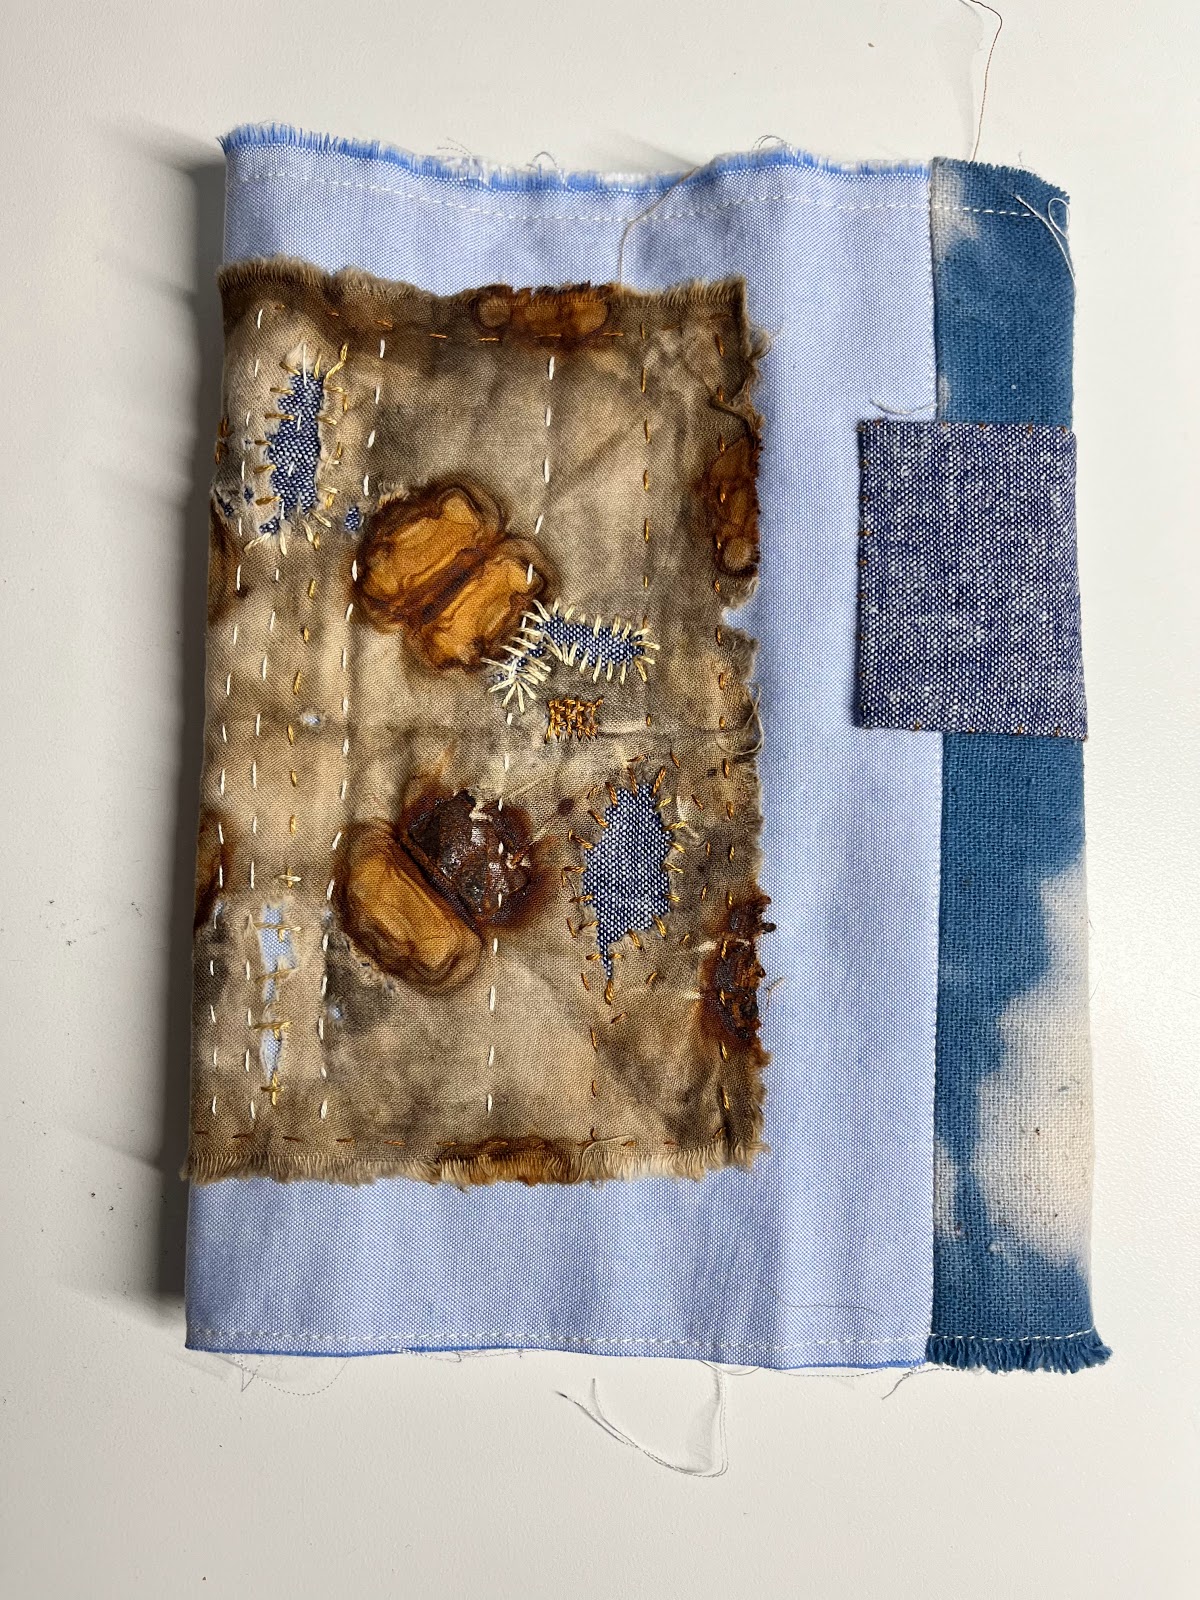
This approach to boro allows me to pull out precious little pieces from old projects. Diane Ericson calls this the *parts department.* An example is the piece below. I used to keep a little brass pot in my pantry with folded cotton inside. Each morning when I finished steeping my tea, I threw the bag into the little pot. After some weeks (months? years?), I retrieved the fabric and unfolded it.

There were tea stains, as well as rust marks from the clamps I used. I really like the design, as well as the obvious decay. It is fragile. Just looking at it gives me joy.


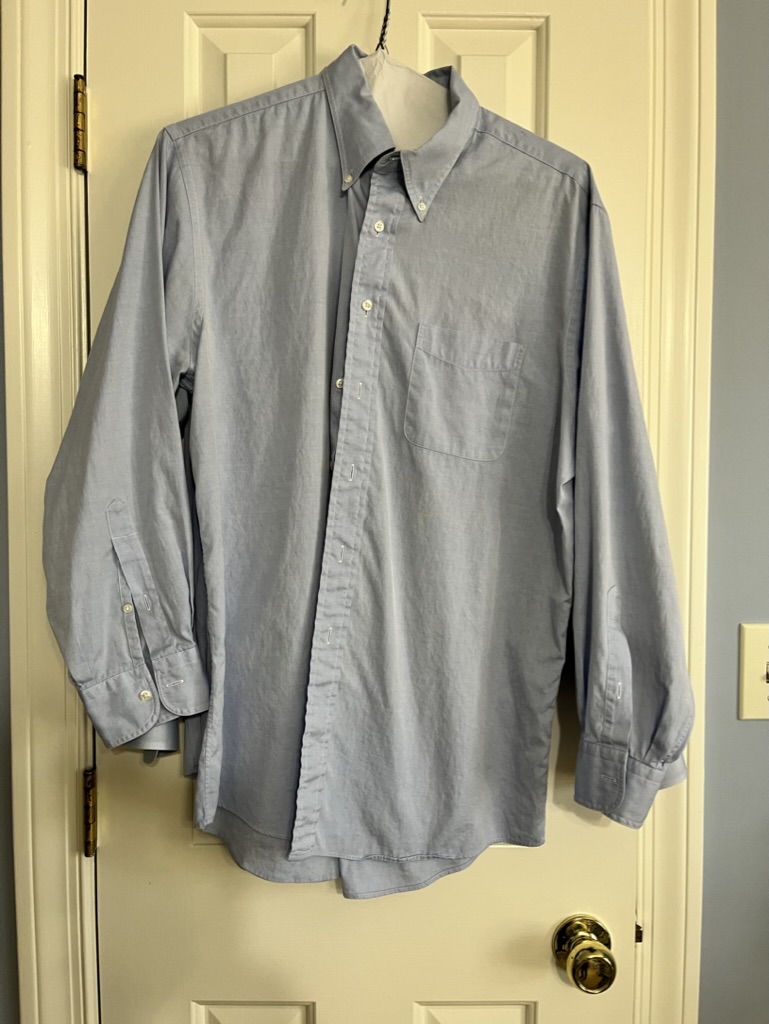
As I considered it, I thought that a light blue background would be interesting underneath and adjacent to it. I did not have any fabric that worked. My husband has more cotton button down shirts than any human needs (just like I have more fabric than any human needs), so I asked him to donate an old one to my project. He was happy to oblige me. 


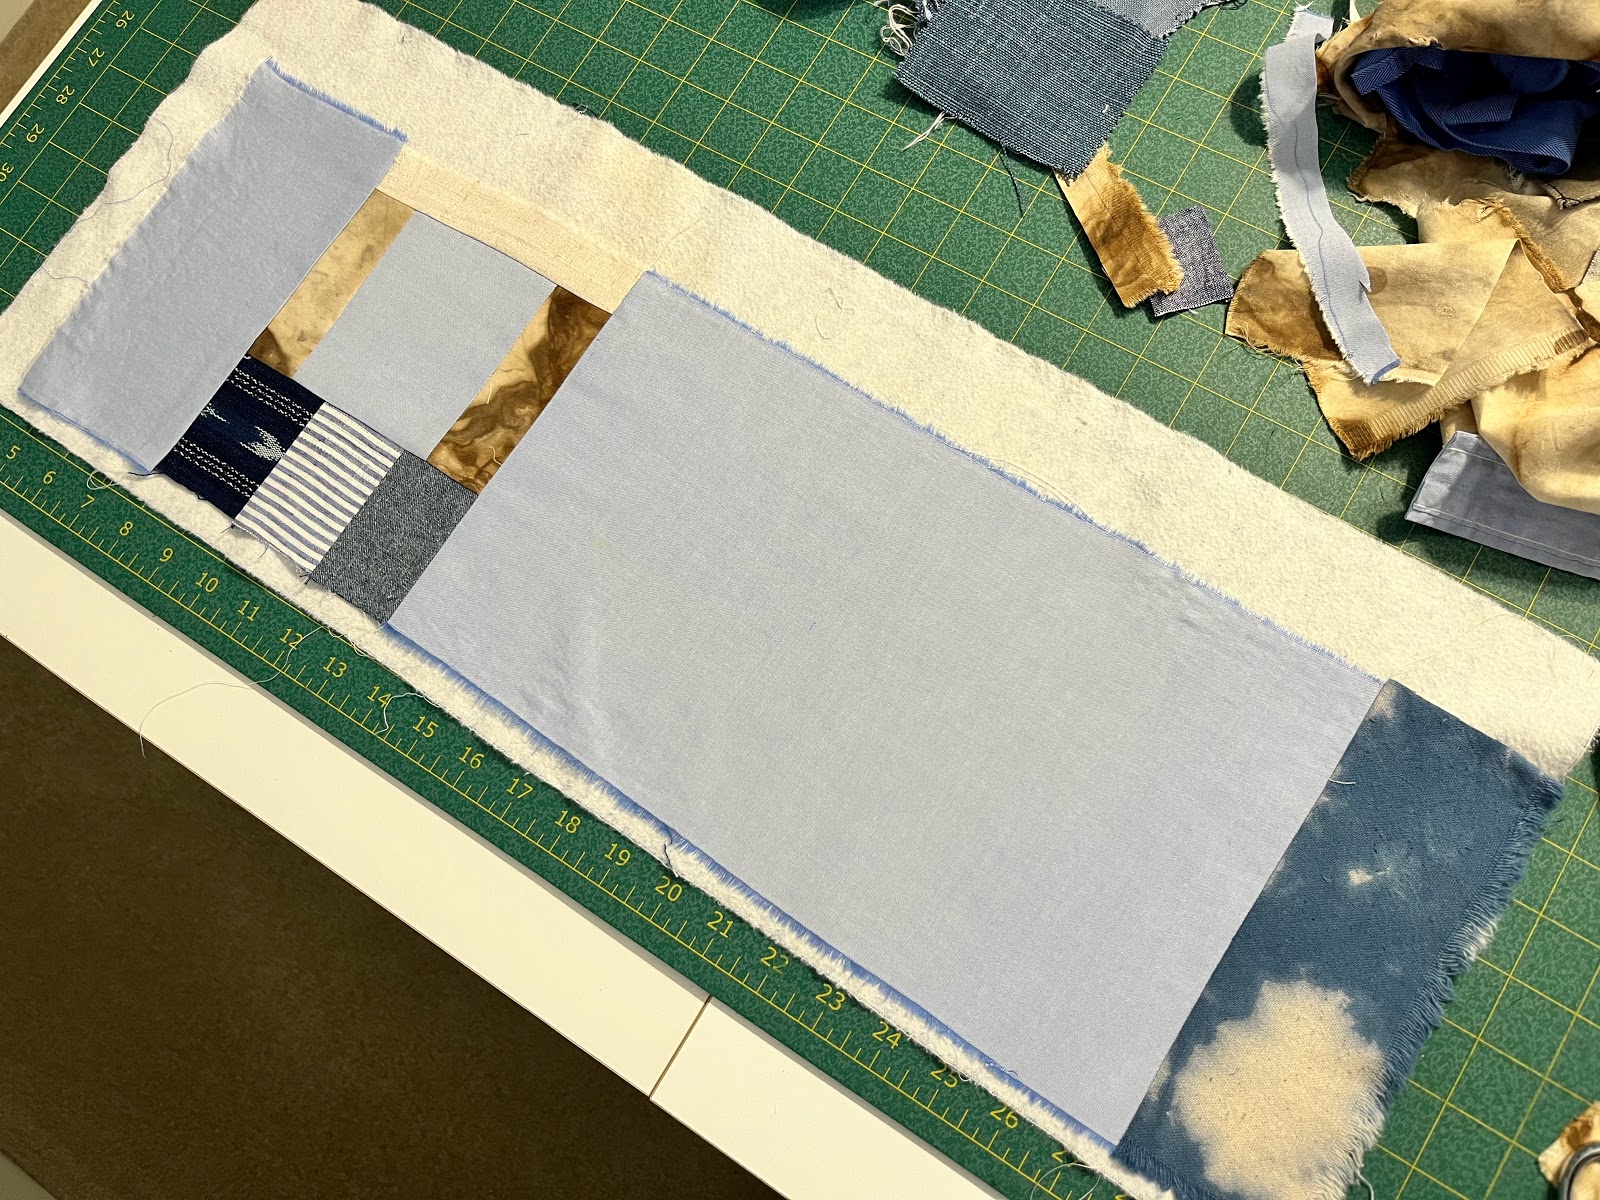
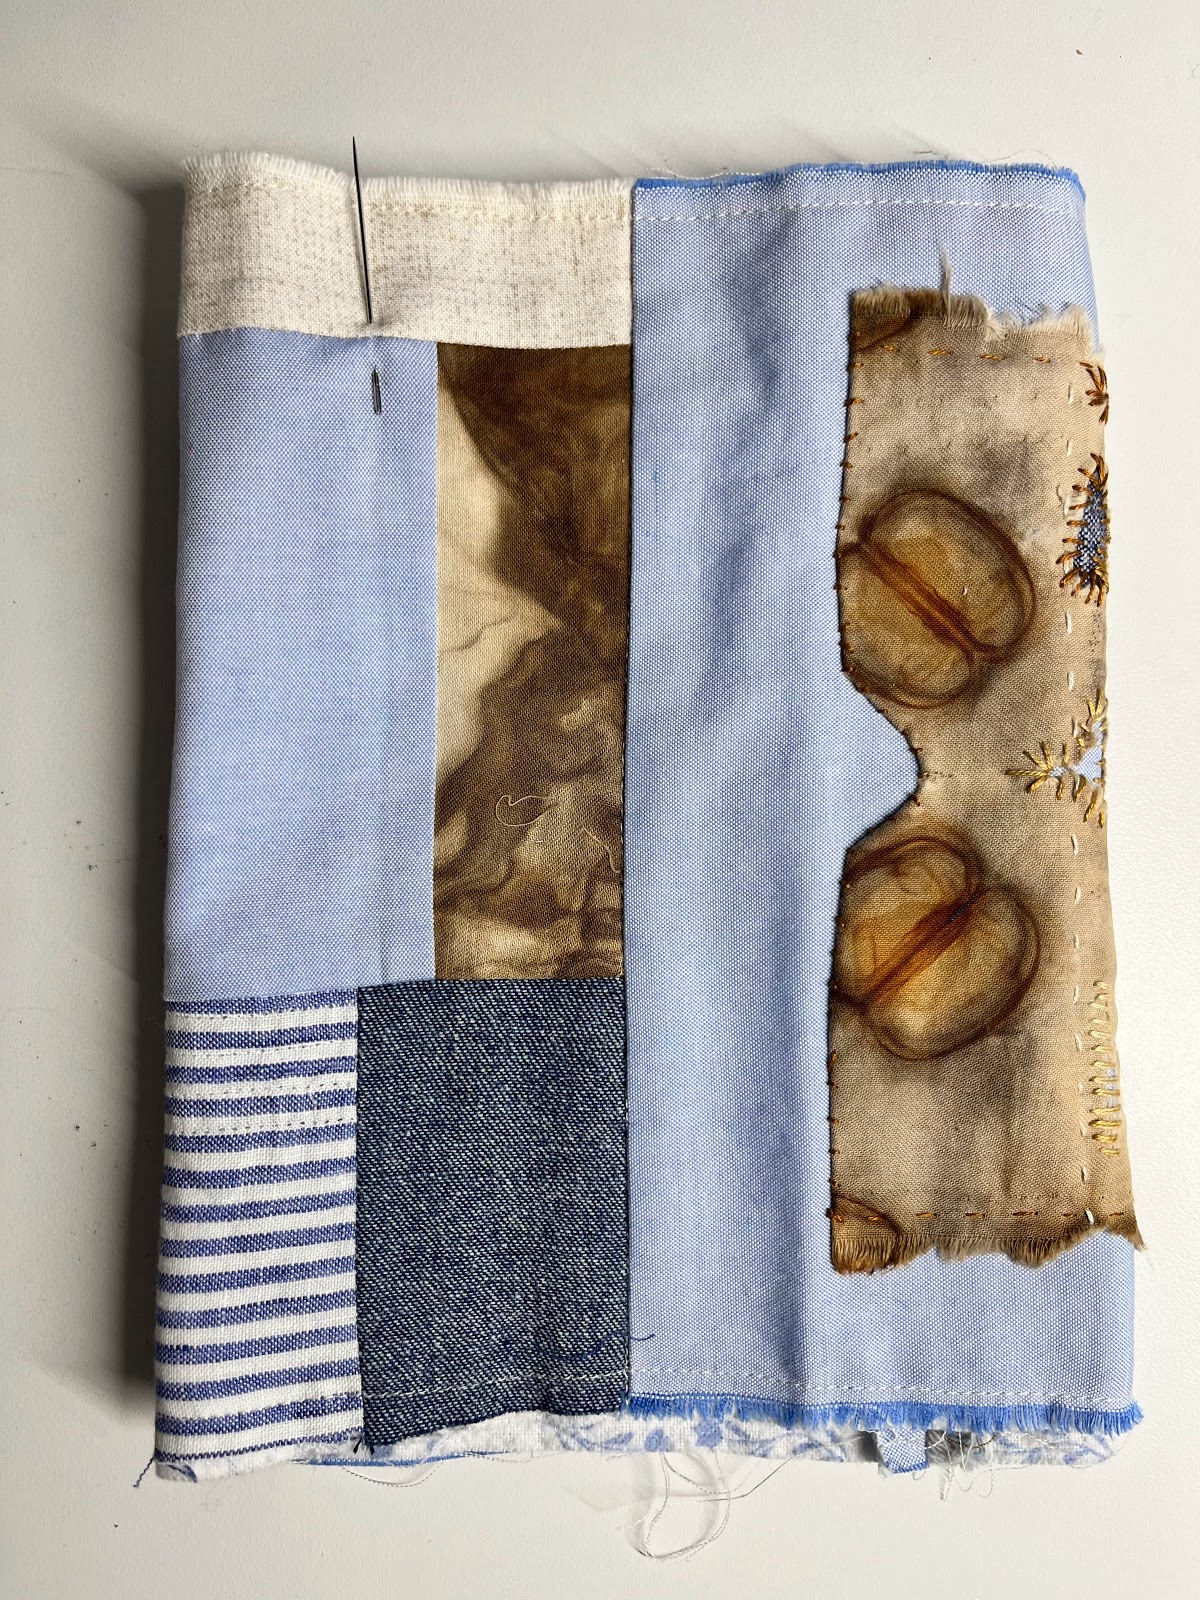
Using this soft light blue shirt cotton,  I began to compose another rice bag as a possible way to spotlight my fragile fabric. Composition is a subject I'm interested in exploring. My sewing tends to be somewhat spontaneous but I do appreciate that composition can create more satisfying results.

One approach is to assume that the vertical seam will fall along a corner of the square bottom. Then you can mark the places where each of the four panels will be ultimately be situated. I have generally taken a seredipitous approach, and applied embellishment that does not depend on careful placement. And I tend to avoid placing the vertical seam at a corner, because it adds bulk to a place where sewing finesse is already required.

This is what I have so far. I can locate the side seam so that the panels are ones I like before sewing to the bottom. In previous bags, I allowed myself to be surprised, but since I'm teaching, I thought it might be helpful to think in terms of planning AND creating.

But maybe not.


Thursday, December 3, 2020

Eco Printing


During Fall 2020 I've spent time trying to learn more about eco-printing. I've done a fair amount of eco dyeing but have long wanted to go deeper with the prints one can achieve from organic or natural dyes.


In the last few months, I've taken two workshops, one from the local fiber art collective, and another from India Flint in Australia. Both were remote or virtual, of course, because this is the year of staying home and avoiding germs. 

The local one was fun but not really focused on printing, at least not what I had visualized. The focus was on purchased natural dyes like marigolds, chamomile, rosebuds and annatto powder. The splotchy colors were vibrant and the results were quick on our silk handkerchiefs. 

But I had hoped for more emphasis on printing. My workshop with India Flint has really given me much to practice in this arena. I love that we are encouraged to use what is easily available, instead of ordering natural dye stuffs online. Ordering stuff online is totally fine, but I enjoy the surprise of what can happen with debris I collect in the back yard. 


Silk produces the best prints. I've had mixed results printing on cotton, or linen, or rayon, but the prints are more 2-dimentional (flat). With silk, there is depth and shimmer, as if the leaves were still attached. This is an off-white silk shantung. This dyeing process softens it a bit.


I've also learned that it helps to mordant with iron and vinegar. I usually leave the cloth soaking in the iron/vinegar bath overnight, then partially dry the item, prior to rolling it tightly around something and securing with twine or elastic.


For me the key ingredients are time, mordanting, and silk. The organic substances chosen to make the prints do matter, but I've been amazed how much the leaves all over my yard produce prints. The leaves and other yard debris used are not uniformly ready to yield lovely stains. For example, the leaves from my Japanese maple and other maples produce pretty detailed prints, but gingko does not produce anything. I understand it can be used as a resist though. Magnolia which is all over my neighborhood, also fails to provide a print. 


Time is also important. First I simmer my bundle for a couple of days, off and on. In one case, I tucked it into the freezer for more than a month after a little simmering. DH now knows that items in the freezer are not necessarily edible!


Mordanting with the iron/vinegar bath produced interesting results with a piece of silk that started out already a light brown. No prints emerged, as the mordant dyed the entire piece dark rich brown. 


Additionally I collect the skins from onions - these make lovely distinctive stains/prints. Also I occasionally buy eucalyptus in the floral section of my grocery store. It doesn't really like to grow in Atlanta as it is too damp here, but it definitely produces pretty prints and pretty colors.


Above, you can see some interesting printing from the twine used to secure the bundle tightly.


Next I'm going to work (harder) on printing on paper. These cannot simmer the way the silk does without crumbling apart, so I'm hoping I can produce something with a quick mordanting in the iron/vinegar bath, Then after rolling the leaves into the paper, I will try steaming it.


I now have enough to make something, maybe a jacket, or a top, out of these silks.