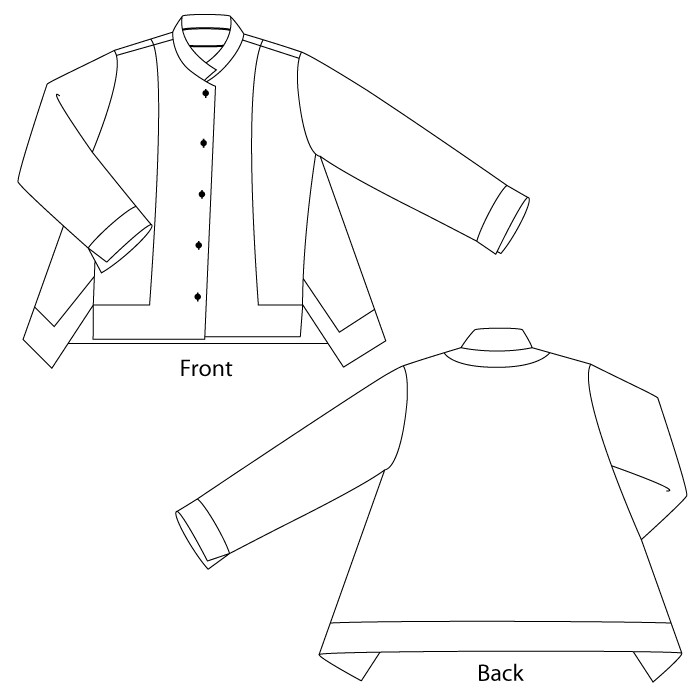
The Liberty Shirt is one of the most popular patterns ever published by the Sewing Workshop. I have noticed that other pattern companies have similar styles, but the one from TSW is my favorite.
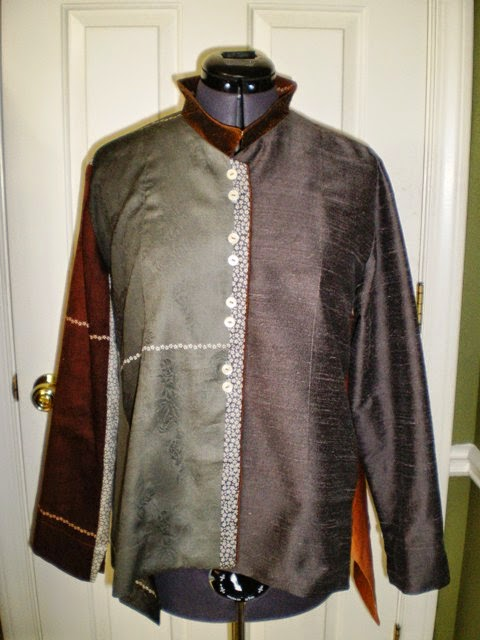
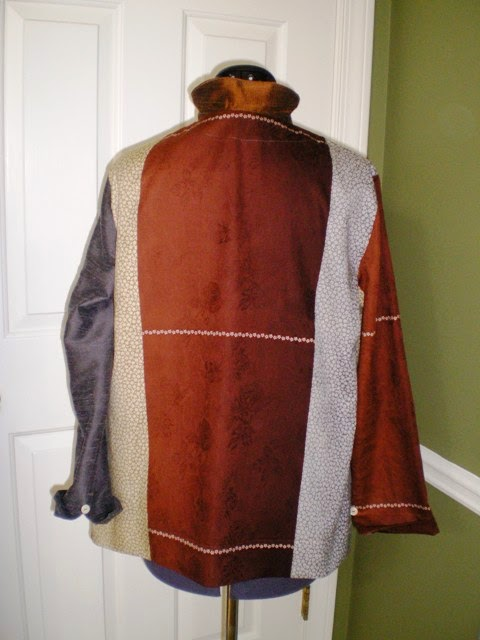
When it was first published, I made this one.
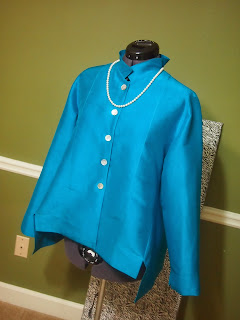
My next one was made in this gorgeous silk shantung. Since it is fancy fabric, I do not wear it as much, but I love the look of it for a dressy occasion, maybe with black silk pants. I made no changes to this one - instead I let the cool design and the striking solid colored fabric shine.
The next time I made it, I used a cotton shirting, cross-dyed in black and white, so it reads gray. This fabric was not fun to sew, as I recall. I behaved like a silk in preserving all areas where I needed to unpick something. And it wrinkles like crazy. I replaced the usual collar with one from TSW's Now and Zen shirt pattern. I used the double collar.
I have made a white version more than once, each with slightly different details. The one below is made in a pretty textured cotton. I created a stand collar to replace the usual one in the pattern.
Evidently I made one in this linen knit. I say, evidently, because I have forgotten all about it. It looks great on the dress form, but I do not like to wear linen knits. They tend to be flimsy and cling to every bump and bubble on my torso. So I expect I gave it away pretty soon after completing it. The significant change in this one was to convert it from a button up top to a pull over. It is such a wonderful color.
The second white shirting version is below. Based on a tutorial from Linda Lee, I used the neckline from the MixIt shirt, omitted the collar, and made the sleeves 3/4 length. It is not visible in the picture, but I added one chest pocket.
My next version was a sweater knit pull-over. I really like this one. The fabric is what Linda Lee calls boucle. It is a wool/rayon blend and a little scratchy. But I always wear it over something else. Other than making it as a pull-over, I made no other changes. I accented those cool front seams with hand-stitch.
My next version was another pull-over, this time in a silk piece with a little lycra. I used black binding to finish the neck and sleeve hems. And I added black piping to the front seams.
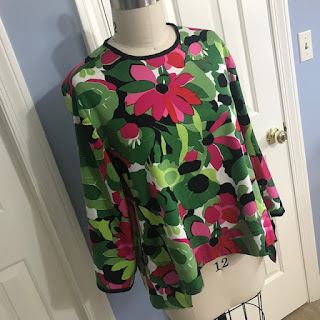
And now, here is my latest.
The fabric is fine Japanese cotton from Nani Iro. It is a double weave and super soft. I bought it on a recent trip to NC. My grandson lives there. The fabulous Mulberry Silks and Fine Fabrics is nearby and a must-see for me.
I accented it with a piece of tana lawn that looks sort-of like Liberty of London fabric. I bought it at the local shop, Gail K, and so I do not really know. The piece was only 36" wide, so I suspect it is not Liberty of London. I have enjoyed using it as an accent on various pieces.
The neckline finish is a variation on the Egyptian shirt pattern from Folkwear. It is a shaped, reversed facing. I also used the tana lawn as a flat piping in the forward seams, as well as for sleeve hem facings.
This fabric has a sweet selvedge. So I hand-stitched that down the back to create a little bit of interest there.
I have already enjoyed wearing this. The Nani Iro fabric is so soft, but the flip side is that it sticks to my high hip fluff. That's OK.
Now I am thinking about my next Liberty hack. I've seen vest versions posted online. And I have a piece of nice fine whale corduroy that would be perfect.
I suppose there might even be a dress variation left. Or a longish duster. Or. Or. Or.




What an impressive array of Liberty shirts and tops. I particularly like the violet one – the drape of the fabric is lovely. And please tell us more about the hanging pocket pendant/jewellery. Did you make it? I'd love to see a close-up. And know more about it. I also love the grey one with the double collar. Your work is inspirational. Brava!
ReplyDeleteSo sorry for the delay. This is called an amulet and, yes, I made it with some remnants. Fun to make and wear! Thanks.
DeleteThis is spectacular from the fabric and design choices to the construction. You do such amazing work. Jean
ReplyDeleteI have a top that will need pairs of buttons so please share the distance between the bottom of the top buttonhole and the top of the bottom buttonhole of one pair.TIA.
ReplyDeleteI believe that each button is 1" from its partner, and each pair is 2" from the next pair. HTH.
DeleteI adore this pattern and have made it many times. Interestingly, I’ve never made it with the collar in the pattern. Thanks for posting about your versions. Nancy D
ReplyDeleteI’m keeping this blog post—————such inspiration here. I’ve made several Liberty shirts but none have been quite right. I’m going to try that Now/Zen collar. Thanks for showing all these! I always look forward to a new post from you.
ReplyDeleteReally enjoyed your Liberty Shirt hacks, especially the purple pull-over wool boucle. I too have mad several of the original shirts and love them all. Are there separate instructions available for the pull-over hack? Did you add the binding or just fold under the neckline? Thanks!
ReplyDeleteReply
Thanks! Sewing workshop has a tutorial you can purchase. Also there is a tutorial here: https://curvysewingcollective.com/tutorial-convert-the-liberty-shirt-into-a-t-shirt/. I did add binding to the raw edge.
Deleteamazing designs
ReplyDelete