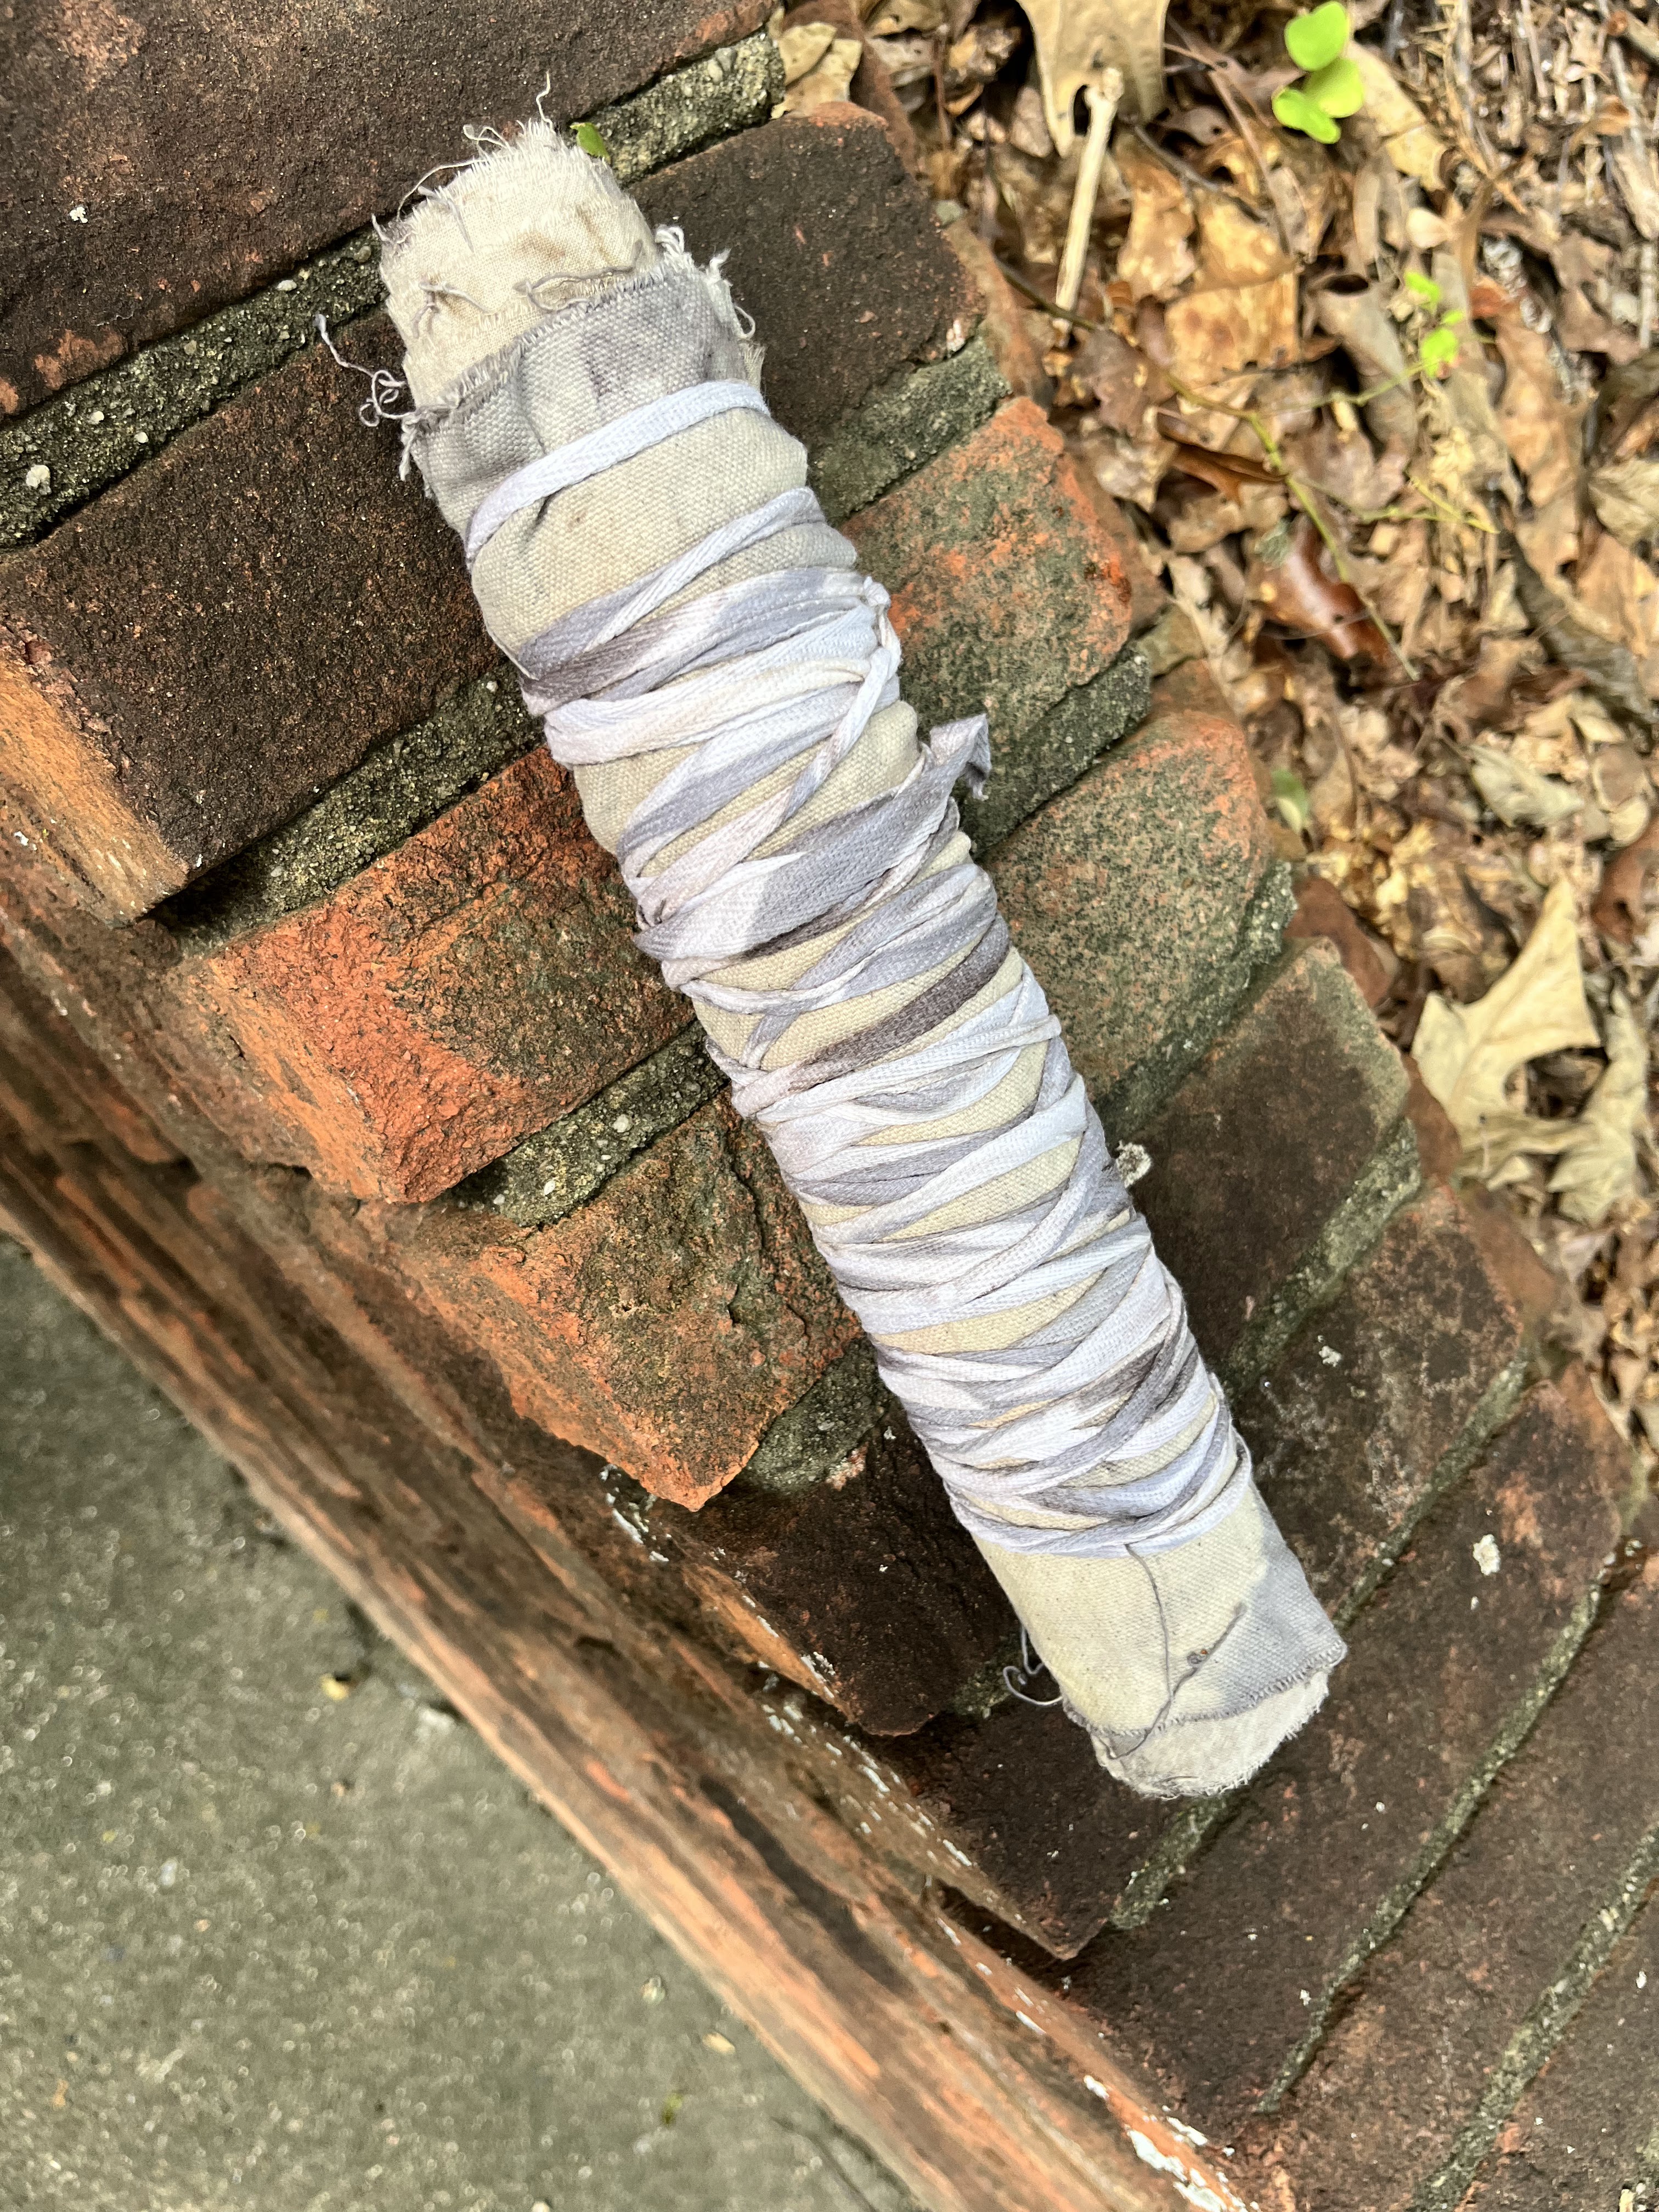
I am addicted.
Sunday, July 23, 2023
More Eco-Printing
Friday, July 14, 2023
O'Keefe Coatdress
When this pattern from Diane Ericson was published, I ordered it right away. I have decided that, even if I never use the actual pattern pieces, it's worth the price for all the creative ideas Diane tucks into her pattern instructions. This comes in the form of a spiral bound booklet that is more like a magazine than pattern instructions anyway.
After having such great fun with her French Fold Shrug, I was hungry for another creative adventure with Diane as my muse. And I am somewhat enamored of Georgia O'Keefe. Who isn't? She was such a force of nature during her time, answering primarily to her inner (and outer?) spirit, and not worrying too much about others' opinion of her.
Since I almost never buy fabric for a specific project, I shopped stash for the perfect piece to try this pattern. First though I pulled out an old cotton bed sheet and made a sort-of toile, using the cropped length on the pattern pieces,. This was not to be a wearable toile/muslin.
Use of a toile or muslin has its limits. A bed sheet is usually constructed with a fairly tight weave. This piece is soft due to its age. But it does not mimic my fashion fabric adequately. I rather liked the way the toile fit through the shoulders and bustline.
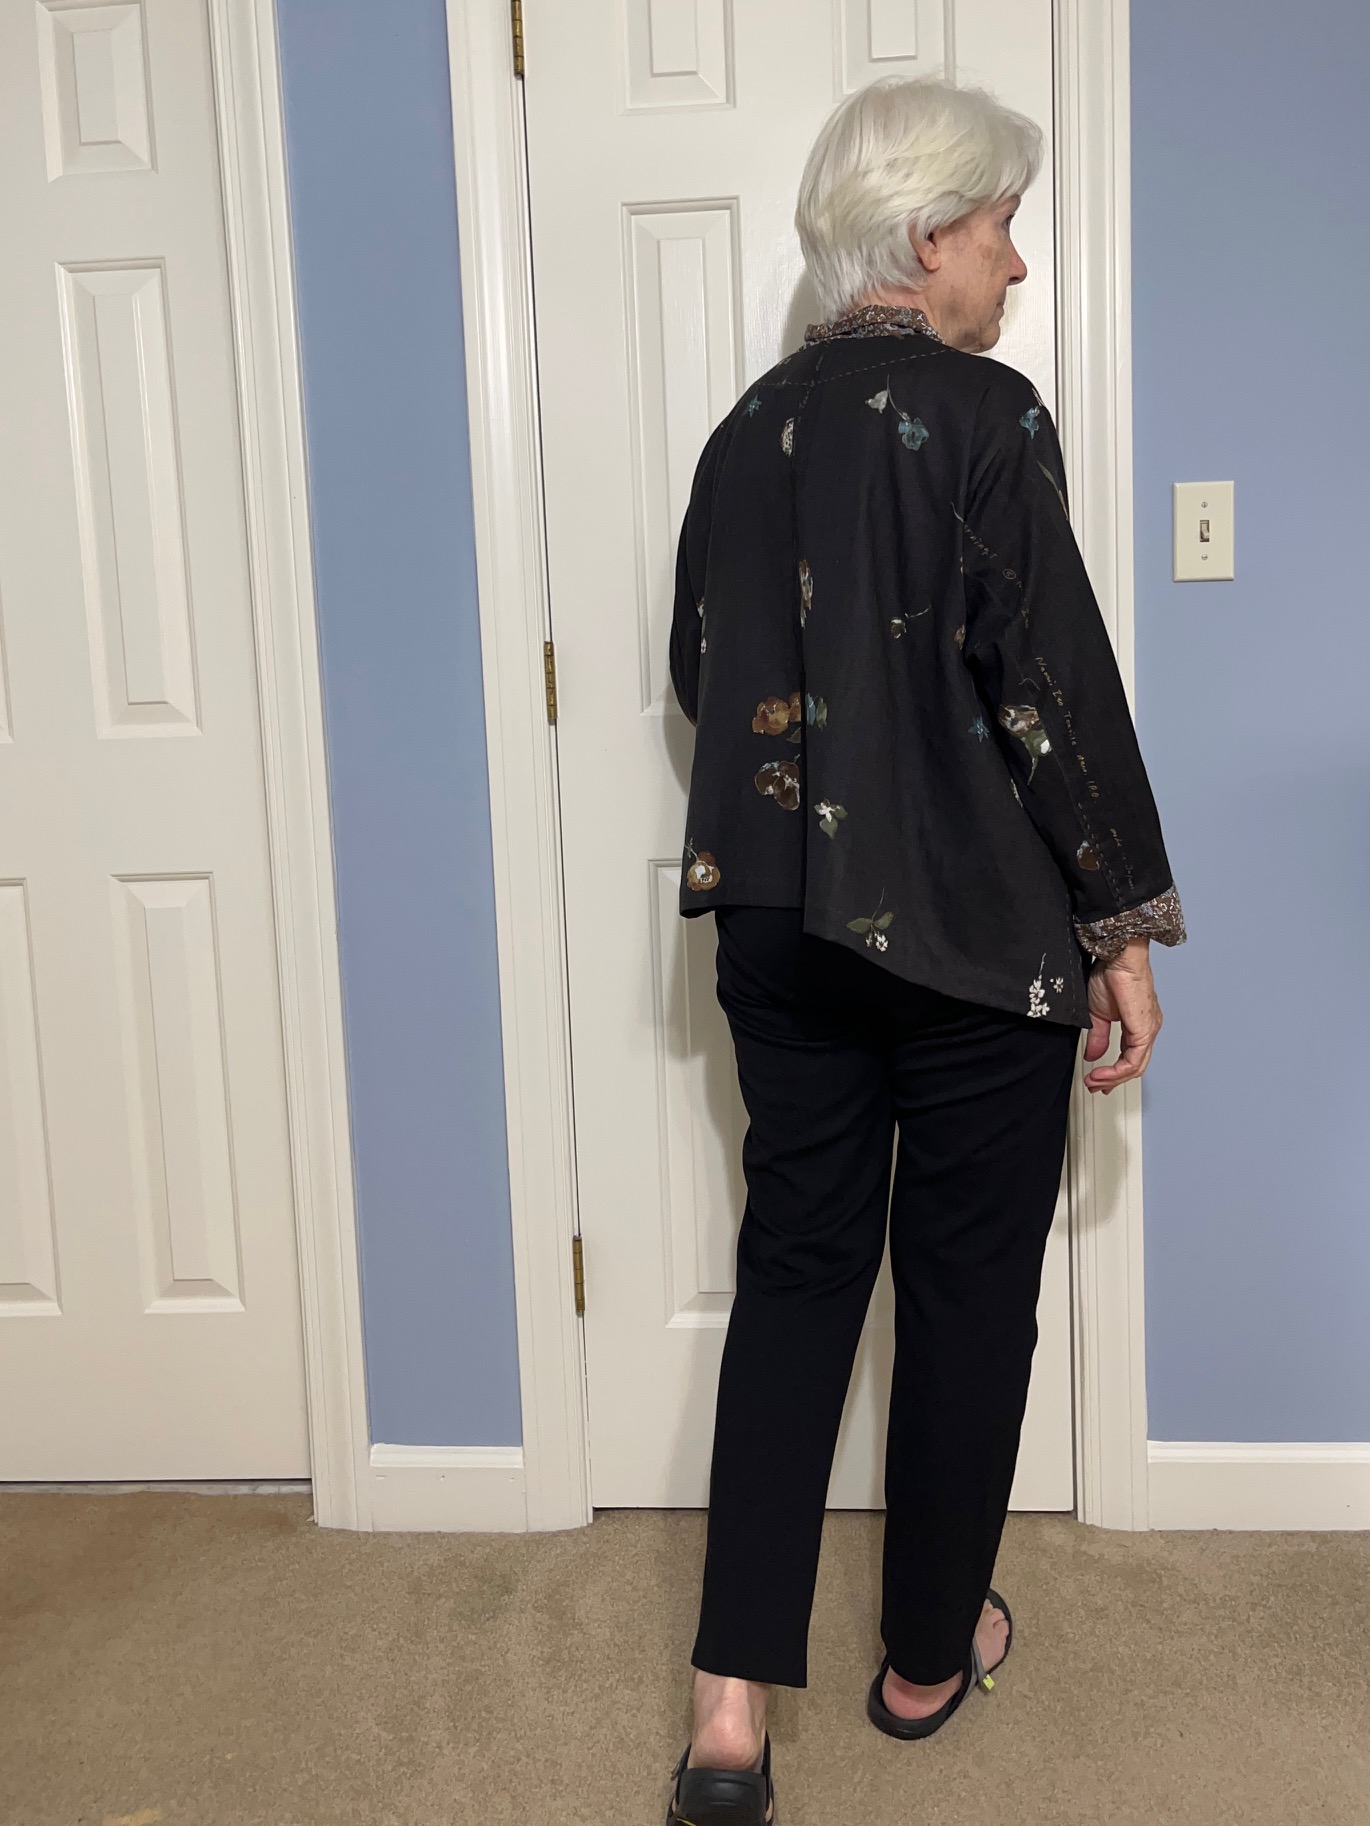
My fashion fabric was in stash but not deeply. I purchased it at Mulberry Silks and Fine Fabrics in NC in early June. It is one of those luscious Nani Iro double cloth gauze wonders. This one is on a soft black background with a light scattering of flowers and leaves. There is also some yummy brown, and even a little touch of shiny gold thread. Beautiful piece.
And of course I had too little fabric. To use what I had as fully as possible, I placed the pattern tissue on it strategically letting the long dress length hang beyond my fabric. This omitted the collar and cuffs which was fine. I had an older cotton lawn from Gail K here in Atlanta that would be good as an accent. The lawn has the same hand as the cotton gauze.
After I basted it all together, I decided the dropped shoulder was not a great look. It was too dropped and, with this soft fabric, there appeared to be no shape to the garment.
Trying to raise a dropped shoulder, after the fabric has been cut, is not for the faint of heart. It requires messing with the side seams and the shape of the armhole and the shape of the sleeve, lots of kludgy after-the-fact stuff. I played around with lapping the side seams as Diane is prone to do. It is a cool technique.
I omitted interfacing from the collar, as well as the cuffs. I added interfacing to the center front only to support the buttons and buttonholes. I also used a mix of buttons, a la Diane.
I like the finished collar - it's soft like the overall garment. In the spirit of Diane, I folded in in some pleats in the back collar and visibly stitched it down.
A Diane Ericson sleeve is beautiful. It is one piece but, with the addition of a dart, executes like a shaped two piece sleeve. My final garment does not show this off properly, perhaps again due to the soft fabric. I plan to revisit some patterns that fit me nicely and convert the sleeves so that they hang with this soft curve at the elbow.
In the end, I sewed ordinary side seams down for about 6" and left the remainder open as a vent. The sleeves were attached in the round and look OK.
Here is the final piece, though Diane recommends that no garment need ever be final. That's a philosophy that resonates with me. Those cuffs are going to change, for sure.
For now, it is OK.
Monday, July 10, 2023
Hana Fukin
I started to title this One and Done. But now that I'm finished with my first (!) one, I don't know. Maybe I need one in my sewing box to keep me happy centered while watching the news.
Hana Fukin means Kitchen Cloth or Flower Cloth. It is a form of sashiko that I had not tried. It looks complex (to me) but is super simple - just the running stitch over and over again. Over and over and over again. Starting in different directions, and in different locations. Next time, I'll be a bit more deliberate. Oops! I said next time.
According to the blog Zen Stitching, daughters from samurai families learned to sew Hana Fukin to acquire desirable mental attributes of perseverance and patience.
Certainly I am deficient in perseverance and patience. Or maybe I'm just too old to worry about desirable mental attributes any more. To be honest, I don't think I ever worried about it. But what a sweet idea.
Oh, and precision is a good idea, unlike my version of sashiko which is, shall we say, more free-spirited. At the end, as I usually do, I embraced my lack of precision and mine is random, or more precisely, full of mistakes.
I actually pulled some of it out as I made the mistakes. But then I decided, Nope. It is OK full of my mistakes. First off, I did not have and could not find very precise instructions - did I mention my lack of patience? I figured it out as I went along, and missed the mark a number of times.
And now I like it. It feels nice and will feel nicer with use.
It was fun to order the kit from Sashiko Lab in Japan. And it was fun to receive the little package. It came with a rectangular piece of navy blue (indigo?) cotton fabric containing a bit of starch. One half of it was lightly printed with white dots less than 1/4" apart. The dots guide the stitching and, depending on where you start and stop the running stitch, can produce an amazing array of designs.
The kit also contained the most lovely soft wonderful-to-stitch sashiko thread in medium brown. I'm so glad to have some remaining to use in other projects. I have since learned that Sashiko Lab also carries sashiko thread for left-handed stitchers. I guess it's twisted the other way???
There were also instructions in Japanese and a few tiny drawings of the beginning stitch order.
So maybe this is not one-and-done. Maybe I need to order another kit from Sashiko Lab when/if they become available again.
Friday, June 30, 2023
French Fold Shrugs
Pattern: French Fold Shrug from Diane Ericson
This is a super interesting pattern designed by Diane some years ago. It has floated across my consciousness over the years and I finally decided to make it. The overall design is almost zero-waste. The resulting garment is created through folding and strategic cutting.
It starts with a rectangle, so the result also is related to the size of the rectangle which can be varied to create longer/shorter sleeves, as well as longer/shorter overall piece. This could be a small shrug or even a longish coat, I think. So many opportunities for play!
Sizes: S, M, L (easy to adjust up or down)
Seam Allowance: 1/4" or whatever you like.
Inspiration and Help: Diane Ericson (with Gayle Ortiz) and the big sew along by Gini
VERSION ONE: Size S (20.5" long X 54" wide), pieced linen plus a hand-dyed linen/cotton blend. The lining is light weight cotton dobby weave.
The front *flanges* are folded to the back beneath the upper jacket. Likewise the back flanges are brought to the front and placed under the upper portion of the upper front.
I had fun playing with the folds on version 1.
Lessons learned:
- Stay stitch ALL the cut edges, especially the place where three seams come together
- Lining ups the ante for learning. The place where 3 seams meet is not pretty.
- I'm really a size M. Size S is too tight through the shoulders. There is no size chart.
- I want to play with length, width and more folds.
On me:
VERSION TWO: Size M (36" X 48"), heavy weight cotton double faced positive-negative weave on a thrifted piece from Goodwill. I omitted the lining.
Lessons learned:
- Stay stitich ALL the cut edges. Serging is challenging given some of the angles.
- That positive-negative weave provides lots of design options.
- Yep, I'm size M, though with different fabric I might even go up to L.
- It can be completely zero-waste by changing the front cut a bit.
- The off-white and black is not great on me. I may dip it in blue dye and see what happens.
VERSION THREE: Size M (36" X 48"), Brussels washers in a beautiful green apple green. No lining.
I chalked in the cutting lines and stay-stitched at 1/4" before actually making any cuts.
After adding the second row of stay-stitching, I decided that I did not want the raw edges.
The sample is a right angle, so easier than my tight acute angles. The sample gave me a start. I'm still working on it.
The neckline has variations too. If the pattern is cut with a T shape up the front, then a slight shawl collar is formed in the front. I've noticed this in some of Gayle's pieces (see the above link to Diane's blog)
On me:
Lessons learned:
- I stay stitched twice around all raw edges, once at 1/4" and again at 1/2", thinking I might leave it raw edged. However, the fabric ravels too much to do so, IMO.
- The drape and weight of Brussels washer is perfect for a summer shrug.
- Still size M.
- Tried the zero waste option by cutting a T shape up the front. This creates a lovely fold-back that I like.
- I'm still playing with the edge finish. For now, I've attached a bias piece of light weight printed linen to the edges and sewed it in place with a running stitch.
NOTE: I have not finished any of these. Finishing is overrated. Honestly this pattern lends itself to never finishing. It is hard to stop playing long enought to finish.