 After reading a recent article in Threads Magazine, and then an online piece at the Center for Pattern Design about the concept of "Waste Free" garment construction, I just had to try a piece myself. Having never drafted or draped a garment, this was especially challenging, but my fabric demanded it! At the March 2010 Sewing Expo in Atlanta, I bought these 3 pieces of cotton kimono fabric from June Colburn. Each was about 14" wide and about 36" long, so even if I just stip-pieced them together, my piece would only be about 1 yard square - not much. But they go together so beautifully (thanks to June) and they needed to be used wisely. I ended up with this top and had almost no waste. I had to cut off a bit (less than an inch) from the bottom of the front and the bottom of the back. The striped piece was too sheer so I interlined it with cotton batiste, but did not have quite enough batiste. So I had to cut the fashion fabric.
This is what I started with:

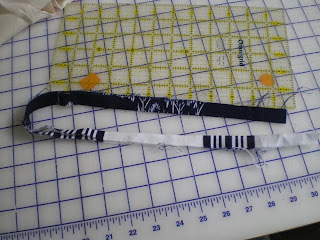
And this is what was left.
The lower band portion was the first part I cut. It was cut into 3 pieces - 2 pieces for the front and back band. The leftover portion was sufficient to make a facing for the neckline. I reversed the facing so that it is a design element on the outside of the neck. This created 2 oval shaped remnants - one from the facing and one from the garment itself. The garment remnant was half from the dark fabric and half from the striped piece due to the way I pieced them right down the center front and center back. These pieces were perfect for little pockets in the front horizontal seam.
I had great fun making this even though DH says it makes me look hippy. I don't think he's referring to that 70's look either. So it really is (almost) waste free and (unfortunately) waist free - not a great look for me. Maybe the same concept can be applied to a larger piece of fabric so that I can avoid the horizontal line at my hips. In fact, I can now visualize an even better way to put these 3 together to avoid that hard horizontal line. It would've been even more cool to make one of the pieces run the length of the front, another run the length of the back, and then fit the leftover pieces into the side front and side back, so that the overall design would be vertical.