Tuesday, February 13, 2018

Haiku Two


The Haiku Two jacket pattern was a remake of their original Haiku pattern. And now it too is out-of-print. What a shame. It has that Japanese, Miyake-like cut and shape that was the signature of the Sewing Workshop, early on.

I made the original Haiku a looooonnnnngggg time ago out of black and white herringbone silk. I remember wearing it while sitting in a meeting one time right after I became department chair. Maybe it was Valentine's Day.

It's probably good I cannot find a picture or any evidence of this original Haiku as I think it wore me. It was ginormous. It had these glorious deep patch pockets. I wore a thick red heart brooch with it.

When the Haiku Two came out, with its less voluminous lines, I intended to make it too. Finally I did and here it is.


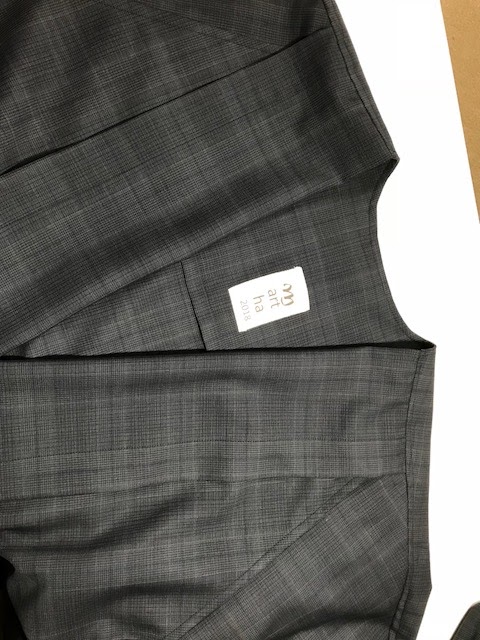
The fabric is wool men's suiting, very light weight with great drape. It was a cut piece from Gail K in Atlanta. It was a dream to cut, press, sew. A truly lovely piece of cloth. The pattern does not call for lining which is fine by me. Living in the southeastern U.S.A., I get a long better mileage with an unlined light-weight wool coat.


I'm not sure why the Haiku Two is OOP. I think it is such a pretty style.


I love the lapels in the front. One can never have too many vertical lines.


I love that the sleeves are raglan in the front and cut-on in the back. The pattern pieces are crazy shapes!


And I love all the top-stitching.


Finally I love that it still has the glorious deep patch pockets.


So far I've worn it once. I think I'm going to have to shorten it. It is still too voluminous in this longer version. That means sacrificing the wonderful pockets but I can probably add smaller ones. Or maybe hidden ones.


Or maybe I should leave it alone!


Thursday, February 1, 2018

More Eureka!


Today I completed yet another pair of Eureka! pants from Fit for Art. After having been fitted by Rae at the Atlanta Expo last March, I have a perfectly-fitted-for-now pattern for fitted pants. What fun to know that almost any pair I make will fit.


This pair is as close to jeans as I get these days. I recently purchased this beautiful navy blue cotton denim from The Sewing Workshop for exactly this project. Often I make purchases without any particular plan. This time was different. I knew that a hole in my wardrobe could be filled by dark navy denim pants.

Because I could count on the fit, I decided to try something a little different. I used Sandra Betzina's excellent instructions from her Power Sewing book to make a fly front. Strictly speaking I think it's a mock fly front but, seriously, who wants all that bulk that you get with a real fly front.

Sandra's technique does not require a matching zipper. It will never show.
Adding a fly front meant that I needed a waistband, something I often avoid by creating a facing or even binding the waist edge. I made this waistband as narrow as I could and still accommodate an appropriate button. I think it finished at under an inch wide.


Even after I trimmed, graded and pounded it, the area for the buttonhole was too bulky for my wonderful Bernina automatic buttonhole maker. Luckily I made several samples and discovered this before even trying on the actual waistband. It was a no-go. My Bernina also has a separate foot for manual buttonholes that I almost never use. It worked out perfectly for this. It's so nice to options!


Because I am (really, really) trying to lose weight, I changed the construction order. In particular I attached the waistband to the front waist sections and the back waist before stitching the sideseams. That is, I cut and attached a waistband section to each front waist (on either side of the zipper) and a separate waistband to the back waist.


I am ever-hopeful that I'll need to take the side seams up some day soon and this will make that easier.


Also just finished this small gift for fiber art friends who are getting married. Each person in our group is making them a 5x7 piece of art. I do love fiber art. It never has to fit.