The
Picasso Top and Pants pattern is the latest from the Sewing Workshop. When they sent out an email teaser, I was instantly enamored. The pants are cropped with lantern shaped legs, similar I think to one of the blog posts on their site. I have long admired that remake of their Trio pants but never got around to following their directions for modifying the pattern. At this point in my sewing life, I know I would much rather follow a pattern than draft one. So, thanks for drafting these pants, TSW!

The pants have the TSW signature waistline that is elasticized with a flat front. I first encountered this waist treatment in their Plaza pants that I've made many times. It has the comfort of an elastic waistband but places no bulk over the tummy. Their instructions still have you omit the elastic from the flat part but I've found I like it better if I extend the elastic all the way around, using the elastic in the flat part as a stiff interfacing. It only requires a vertical stitch through the elastic on either side of the front band. Without the elastic to support the waistband, my pants are prone to fold over there. It is not pretty.
The fabric is a chocolate rayon crepe - very drapey - ordered from Stone Mountain and Daughter. Rayon is not my favorite fabric but it works here as it has great drape and is light weight. It's still summer here in the southeastern USA. And this brown will wear beautifully on through the fall.
During the hot summer months, I am drawn to loose pants that are cropped like these. It is so much better than shorts on me! And they feel great.
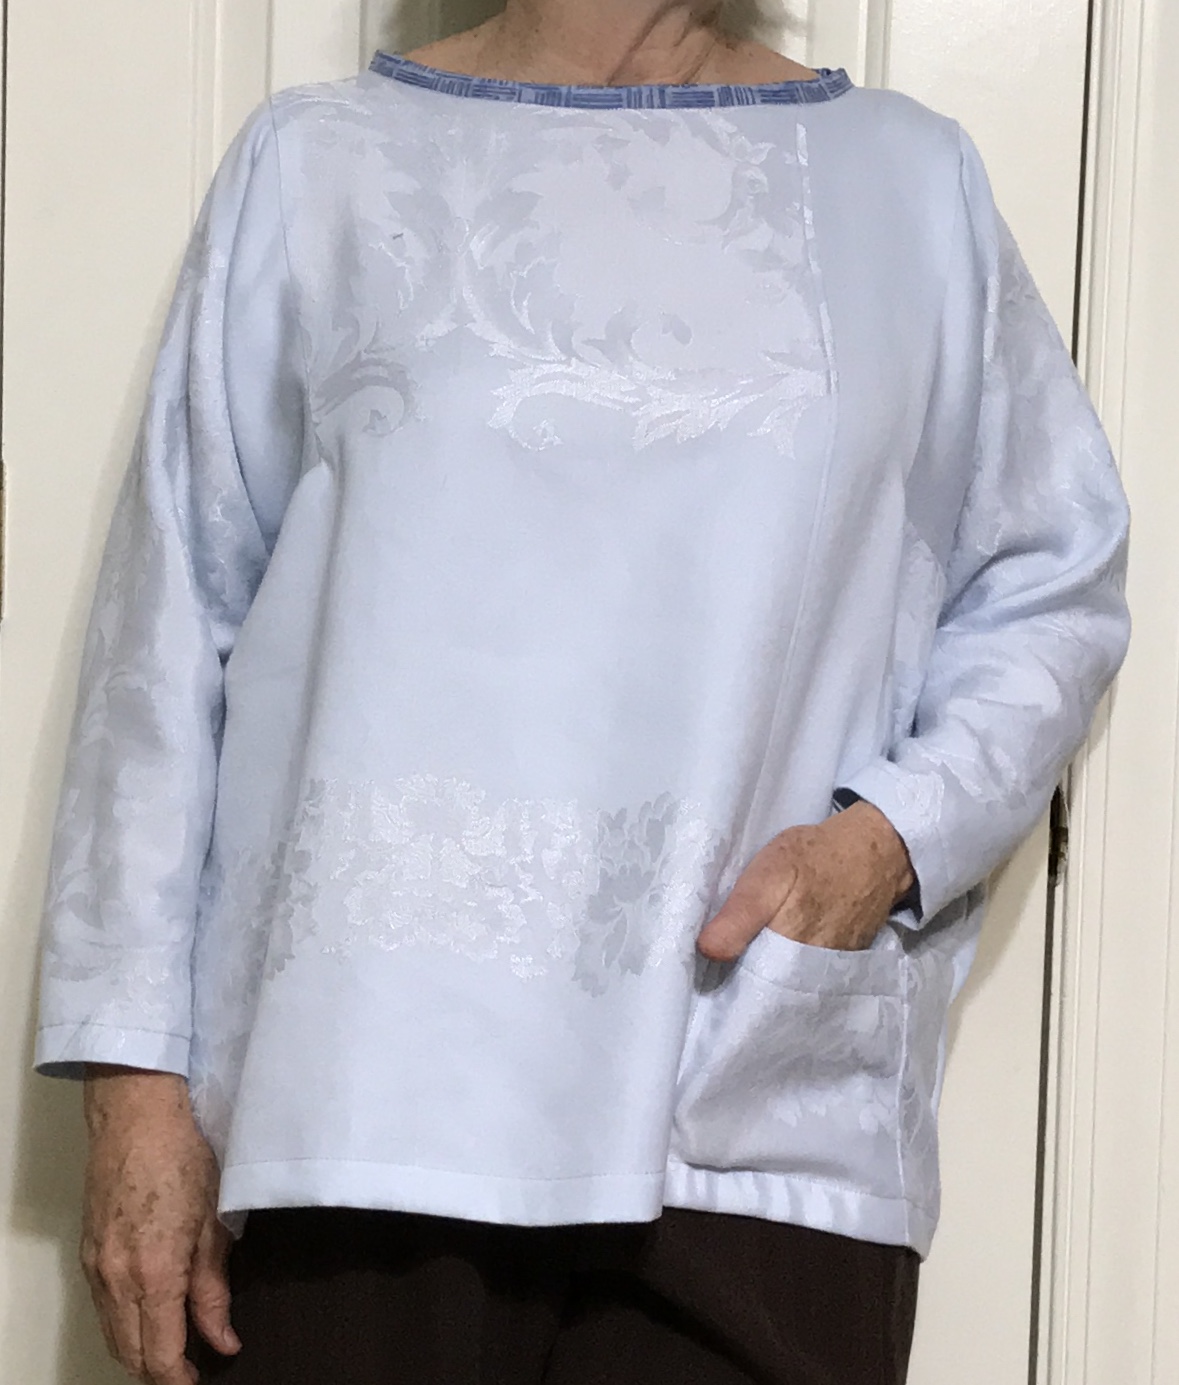
The top is also interesting. I like the asymmetry in the front and the cute little pocket. I've started adding a single pocket to many of my older garments. And aren't those square arm holes great?
So far I've only made a toile or muslin of the top. I often skip this step as I cannot stand to waste the fabric. I did skip that step with the pants but I took careful measurements and traced my size onto tracing paper rather than cutting into the original pattern tissue. They fit perfectly. Yep. I was lucky.
Having said all of that, I took a bit more time with the top. I began in my typical it's-only-fabric pants-on-fire manner. I usually cut a size M in this pattern line, but I started thinking about how this was probably oversized and I could cut a small. I was so cocky that I cut right into the pattern tissue on the size S lines.
I
almost cut out the shirt using this interesting and expensive piece of fabric I purchased from Cutting Line Designs in March. It's a cotton-linen blend, a minimalist design by Yoshiko Jinzenji, and just the right weight for a top.
I washed and dried the fabric. I began to imagine how I might lay out the pattern pieces to take advantage of the placement of the markings on the fabric. And then I happened to glance at the suggested fabrics for the top. Knits with 2- or 4-way stretch. What?!?
Sure enough, a tissue fitting revealed that a size S would be too small, at least in the lower sleeves. The lower sleeves are probably drafted with negative ease to make it easy to push up the knit sleeves to 3/4 length. Of course, there is no such thing as negative ease with a woven fabric.
Whew!
I dug through the stash and found an old cotton jacquard tablecloth to use as a toile. Then I graded the pattern tissue out to a size M. Cutting and constructing the toile was quick. I'm quite pleased with the fit. The shoulder seams fit me perfectly. The sleeves are probably a little short but I'll likely roll them up anyway.
I am now looking forward to making the top in real fabric. The table cloth is OK but a little heavy for a top.
I'll make the next one with my re-graded size Medium. I learned I need to make a minor change in the finish of the neckline. The neckline has a sharp curve at each shoulder, making it difficult, even with a bias strip, to create a smooth finish. Next time, I'll finish the front neckline and the back neckline before sewing the shoulder seams. I find that often works best on a boat neckline like this one. In fact I think that's what I'll do even with a knit.
 |
| My neckline is finished with a bias strip of quilt cotton. It looks smooth here but it tends to pop up at the sharp curve. |
So will I make a muslin with the next new pattern? Hmmm... Probably not.