 |
| Peony vest and Odette shirt from The Sewing Workshop |
I've just completed some small skirmishes with knits. Knits are like that for me. Perfect for travel. Great for 3 seasons of wear. And I enjoy buying them. But sewing them...it's always dicey.
Each type of knit behaves differently. Even the same type of knit varies from piece to piece. The drape, the amount of stretch, whether pressing is possible or useful, the stitch - so many variables. And unpredictable.
So I'm trying to loosen up a bit. After all - these are just clothes!
First up, 3 pairs of Helix knit pants: black, plum, and gray ponte knit. These were sort-of straight-forward and I made them in a quasi production mode. Darts, inseams, top-stitch inseams, outer seams, hems, and then crotch seams.
 |
| Helix pants - super easy to make |
The only time I hold my breath with the Helix pants is when I attach the elastic waistband. It is attached by first sewing the 3 inch elastic into a circle. Then the top edge of the pants is lapped under the right side of the elastic circle and stitched in place. Because the elastic circle is a bit smaller than the top of the pants, a little stretch-and-sew is required. And the lapping wants to separate or the lapping grows too large. Pants #1 took about an hour on the waistband. Sheesh!!

I thought, maybe I should make a more conventional covered elastic waistline. I thought that until I tried on the finished Pants #1. I love the way that waistline looks and fits. A conventional elastic waistband is so much more bulky and looks more home-made, I think.
So Pants #2 and Pants #3 were finished with the same lapping technique as Pants #1. I tried to loosen my grip and pretend to be less of control freak. It worked!
Having warmed up with a stable knit, I was ready to work with a more challenging knit.
I had purchased a medium weight jersey at a tag sale a while back, so I'm uncertain of its content. It feels a lot like super soft rayon jersey. It curls a little - just a enough to tell the right side from the wrong . It has a slight tendency to get sucked into the sewing machine, though use of my walking foot fixed that problem. In fact, the walking foot seems to be the answer with knits, no matter the question.
 |
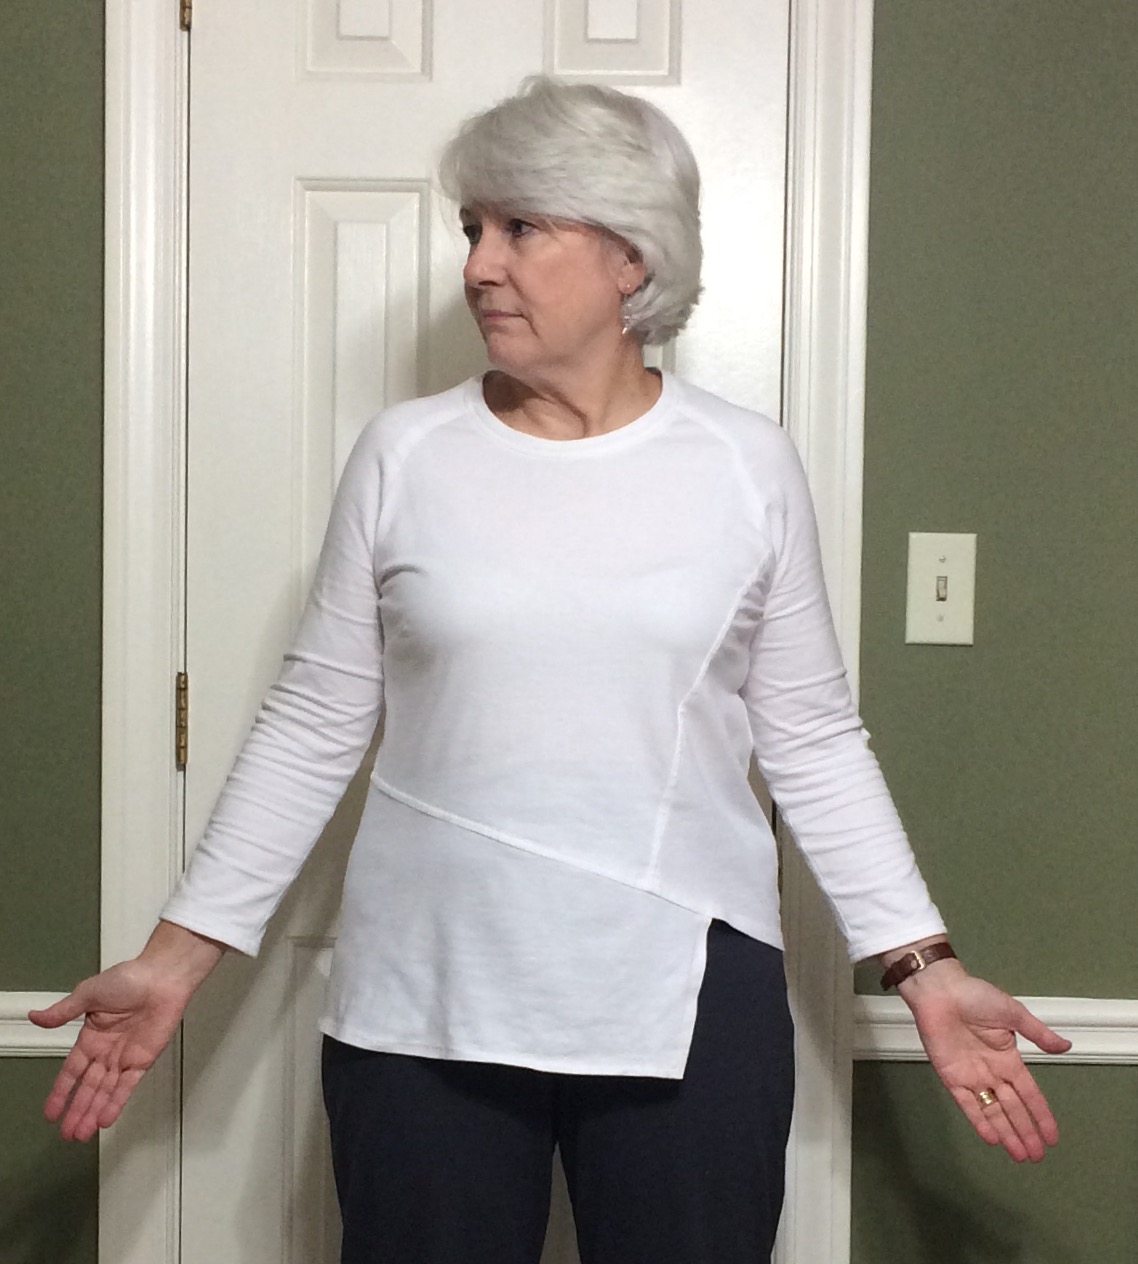
| Odette shirt from the Sewing Workshop |
I made the Odette shirt from the Sewing Workshop, one I've made before. I like the result but I'm amazed at how much bigger it is than my previous Odette.
 |
| my new Odette I reversed the pieces - it mirrors the older one below. |
 |
| My older Odette |
I am not ready to give up on knits. In fact, I think I actually like knits. And I'll enjoy wearing the orange one. Here is how it works with my latest Peony vest:


