Thursday, February 21, 2019

San Diego Jacket

Let's see. Where was I?


Oh, yes. I was panicing about my Stations of the Cross piece.

And I was learning how to design a foundation pieced pattern for the set of complex shapes I created for this piece. I learned how to foundation piece to a degree, but I'm still a rank novice when it comes to designing this thing with this technique.

Yeah. What's this?
Late one night I decided that most of this piece is better managed with needle-turn applique and strip piecing, something where I have better skills. I was tired and making mistakes. My sewing area had devolved to this:


I ended up with one salvageable piece that may/may not go into the final piece.


Time to switch gears, at least for a while. The next day, I took time to tidy up and decided to finish another WIP,  a San Diego jacket from the Sewing Workshop.

I had cut the face fabric and the lining but was deciding if I wanted to add an interlining. I had also decided to use a precious piece of black leather for the facing to keep that scratchy wool away from my neck.


The lining is a medium weight silk from Gail K. It seems to be more manageable than silk charmeuse for sewing purposes and still a nice weight for a lining on this jacket.


The face fabric is a fairly hefty wool, a bit scratchy. A piece of super soft leather was lanquishing in stash and so I decided it might make a good facing for the jacket. This will protect my neck from the wool. The jacket pattern includes a cut-on facing so I had to measure and measure again before cutting the leather facing. I was very careful.


I used cotton flannel to interline the face fabric, using vertical quilting to attach the interlining. I got a bit confused and made some mistakes with the leather facing and its quilting. Dang.


After creating some new seams, I'm OK with the result. Too bad I did not trust my original cutting and think more carefully before sewing the leather facings. As you probably know, leather is as unforgiving a fabric as ever there was. I won't use real leather again - my conscience won't let me.


Sigh.


I've finished inserting sleeves and sewing side seams. The fit looks great for a fairly heavy jacket. Now I'm excited to finish. Next I have to fine tune the lining pieces to make it easier to attach to the leather facings.


Thursday, February 14, 2019

180 Degrees


Each year for the past four, this has been the season for me to panic. Once again I have volunteered to create a 24x30 inch piece of art for my church's Stations of the Cross. This year my station is "Jesus takes up his cross."


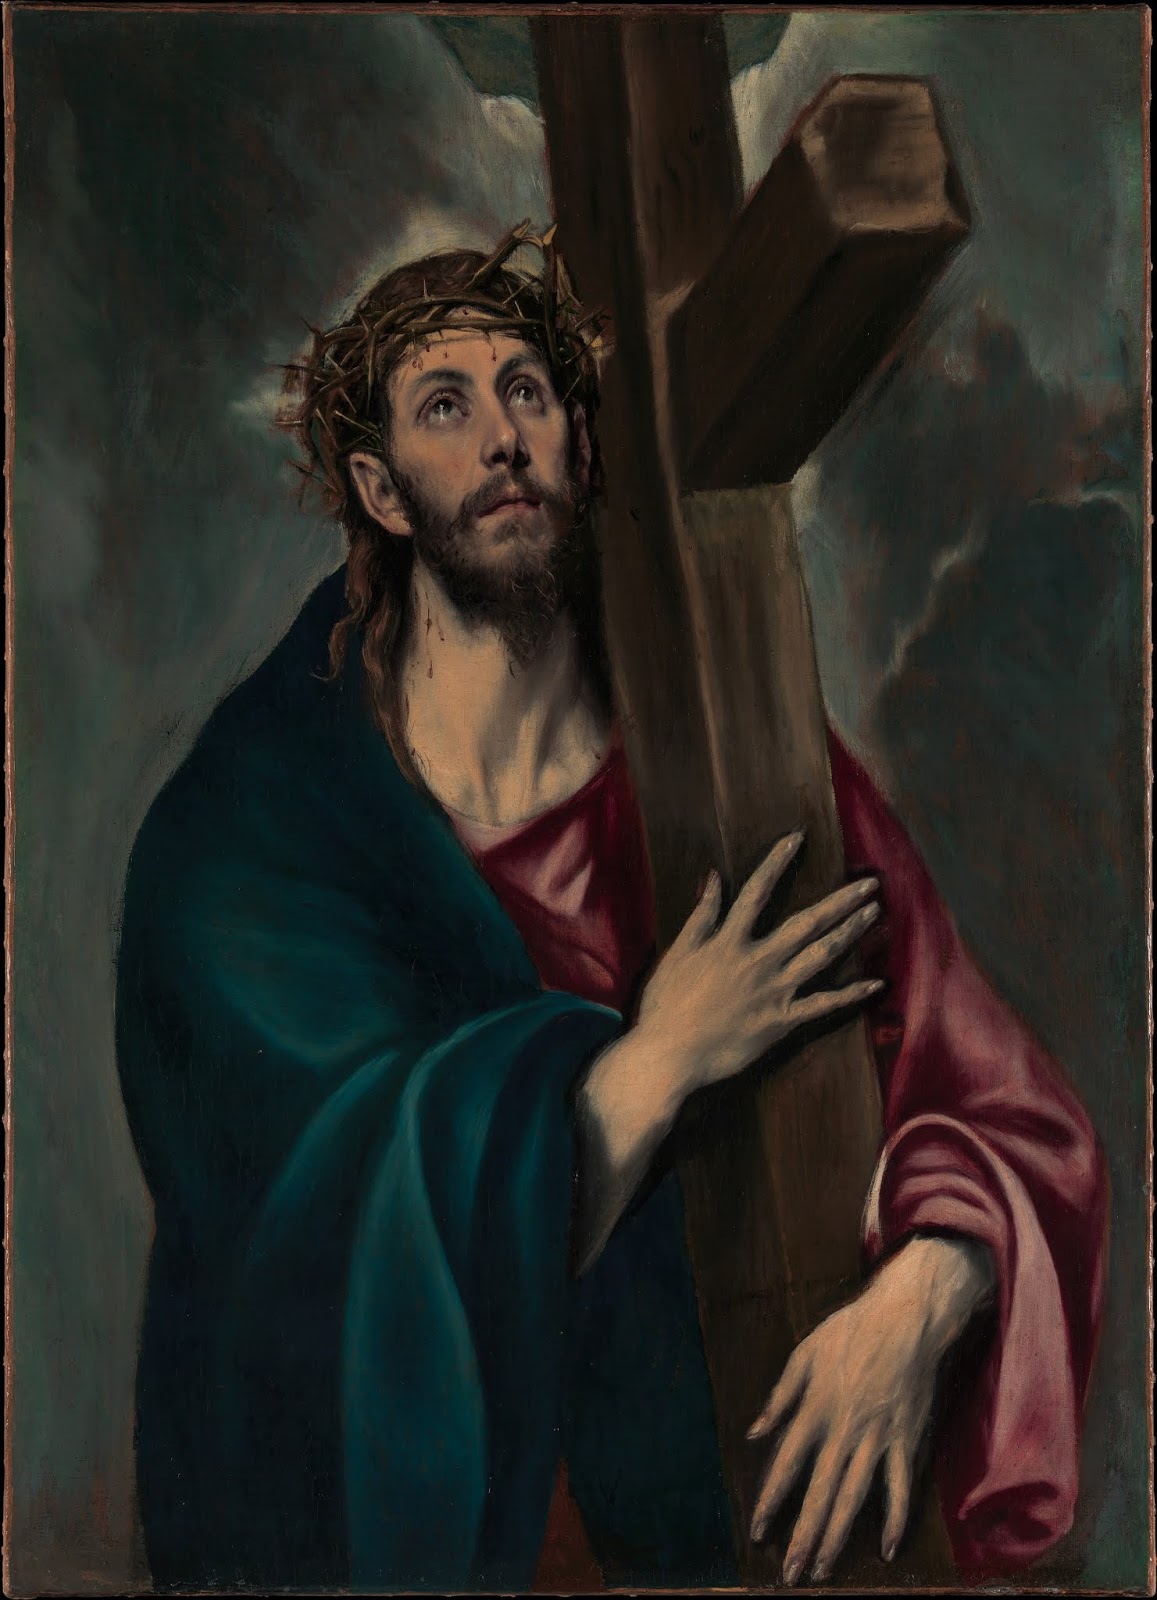
I found a number of art works online, many chocked full of inspiration. I was especially intrigued by El Greco. Alas, I am not El Greco. Even if I had some of his talent, it's not my style. So I looked around for more inspiration. One Sunday I found it:


In particular, I was inspired by the three children in this picture. So I began to sketch.


I have become interested in abstraction and so I wondered how it would be to reduce this image to essential shapes, with only suggestions of the original photograph.


Several experiments later, I had this:


The final piece needs to be 24x30 inches. The above abstraction is much smaller. I know that it is possible to enlarge such pieces many ways - an overhead projector, Kinko's, and so on - but I wanted immediate results at home. So I folded the above cartoon into 16 pieces. Then I took a piece of 24x30 inch newsprint and folded it into 16 pieces. Using each of the 16 sections to maintain proportions, I was able to sketch this 24x30 version onto the newsprint. This will be the source of my pattern pieces.


But wait! Maybe I could use a new skill. This one is variously described as paper-piecing or (more correctly) foundation piecing. It is the best way to achieve sharp points in geometric shapes. A few Youtube video's later, I had a light grasp on this technique. Very light. I experimented and filled my trash bin with experiments. Now I feel like I understand the general idea.  


Executing foundation piecing begins with a geometric shape in the middle, as in shape 1 above. I drew a random shape in the center of tracing paper. My starting shape has 5 sides, but it works with any number. Shape 1 is sewn to shape 2 first. Neither piece of fabric needs to be an exact match to the pattern drawn on tracing paper. Rather, each needs to be large enough to cover the shape plus SAs. The extra fabric is trimmed later. Shape 1 is sewn to shape 2, right sides together. The stitching is done on the tracing paper following the drawn line, with the shapes below, right sides together. Flip to right side and press in place.

You can see in the drawing that I initially thought I could make shape 3, that smallish triangle. That wouldn't work. I had to extend shape 3 to include the previously sewn seam. Shape 3 became that 4 sided shape in the lower right hand corner. In other words, my next sewn line needed to be adjacent to and include the previously sewn line. If you look closely, you can see how shape 3 is sewn to shapes 1 and 2.

So I proceeded around shape 5 in a clockwise manner, each new seam enclosing the previous one. I also trimmed away excess fabric as I went.


Next I needed to learn how to design a foundation pieced pattern, as well as execute it. I started with this shape from my cartoon, abstracting it still farther to a hexagon and a rectangle.


I watched a couple of videos online in order to learn how to create a foundation piece design. My goal was to piece the combined shape of the hexagon and the rectangle using the foundation piecing technique. These videos described a design process as almost mystical. One person described it as intuitive.

You see, you can only apply the sew-and-flip process of foundation piecing for a while. Then you inevitably encounter a Y seam and must subdivide the piece into two units. Each unit is sewn separately using foundation piecing. Then the two units are attached.

This discovery process is not practical, IMO. I wanted to design my entire piece and then execute it.

So I kept playing until I learned something. Foundation piecing works as long as the angles involved are 180 degrees or less. That is, it is not possible to use this technique to piece the combination of the hexagon and the rectangle.

So now that I understand that, I think I can devise a plan for piecing my cartoon, probably starting with the figure on the far right. Maybe. Stay tuned.


In the meantime I have some nice placemats.


Wednesday, February 6, 2019

Komebukuro


Once again my creative energies have been fueled by Instagram posts, this time a charming bag by Karen of kzstevens designs. The more versions I saw online, the more I itched to make my own. Yesterday I finally did.


This is an inexpensive instant download pattern with no taping of pages together. It costs $6. Sometimes I see these seemingly simple patterns and think to myself, I can figure that out. But why would I? Karen has figured it all out and all the pieces fit together perfectly. As a bonus, she has great style. More importantly I want to respect her intellectual property and hard work. See some of her work here.


The $6 provides you with illustrated instructions in PDF to print or just follow on your device. There is no need for pattern pieces since they are all rectangles. Measurements are provided for this 6 inch bag as well as measurements for larger versions. This size is just right for the stuff I carry with me.


I followed the suggestion to create a patchwork piece for the exterior. Starting with white cotton flannel I used a quilt-as-you-go technique by Svetlana Sotak found here. Creating this smallish patchwork was way too much fun. I had a blast using little pieces of red fabric from stash. Many of them served as happy reminders of garments or other projects I've made.


The fabrics were not all of the same weight but quilting them to flannel eliminated any worries there.
I used a canvas print for the interior. The combination has just the right weight IMO.


I did add one step to Karen's instructions. Attaching the sides to the square bottom is the only challenging aspect of this project. I found that by stay-stitching the seam line on the bottom and the sides, I was able to pin them together and stitch the square seam more accurately.


I love this little bag. Now I want to make another. In the meantime I'll be wearing lots of red. Perhaps 2019 is my year to love red.


For more inspiration see other bags made from this clever pattern here.