Tuesday, March 7, 2023

17th Birthday Gift

I've not been sewing as much in the last few months as I wish. Too much in the non-sewing part of life going on and demanding attention. Sewing keeps me sane, so this is not something to mess around with.

After my fun with bricolage, I found the sew-jo to finish a shirt I cut out maybe 3 months ago. It was dicey because it has all the classic shirt details that I love. I just assumed I would ruin one or more of these details.

But, surprise! It all went great. I took my time and enjoyed the entire process. 

Luckily the pattern I chose was The Blouse Perfected from Cutting Line Designs. I have blogged about that in the past. It is just such a great pattern - really a small book on professional techniques for completing classic shirt details.

First up was the collar and collar stand. CLD approaches this process in a manner that is quite different from others, I think. The collar stands are attached first, sandwiching the neckline in between the two stands. Then the ends of the collar stand are completed, leaving a gap for the collar. The collar is finished on three sides and top-stitched. Then the collar is dropped inside the gap in the collar stand. It is machine stitched to the right side of the stand and invisibly stitched to the inside of the collar stand.

I thought I'd screw that up, for sure. But indeed, it worked out perfectly. CLD patterns are nothing if not meticulously drafted. And the explanations are detailed with clear illustrations. Everything fits together as it should.

I also took my time on the sleeve plackets. There are so many ways to mess those up! 

The stars were aligned and it too worked!

And then I found perfect buttons in stash. This is when sewing is totally satisfying, right?


Thursday, February 23, 2023

Bricolage

In January, I attended a virtual class with the wonderful Mary Ray via my local fiber art organization, Southeast Fiber Arts Alliance. And it was just full of the kind of inspiration that makes you want to drop everything and get into the sewing studio. It was just what I needed!


We have a follow-up virtual meeting this coming Saturday. During this meeting, participants' bricolage projects will be shown. I cannot wait to see what everyone made.

So what is bricolage anyway? As I understand it, the basic idea is to use what you have. That is not all that difficult given the embarassment of riches I have in my fabric storage.

1st Attempt:

Ever since I made a vest from my husband's old jeans, I have been collecting old jeans. I volunteer at a food pantry that also includes a clothing closet. I sometimes rescue items that are deemed unredeemable and end up in the trash. The clothing volunteers are on to me and pass along used jeans when not useful.

I now have a fairly substantial pile of old jeans, some already diassembled. I tried to disassemble more but, two bandaids later, I simply cut them apart. Next I made *fabric* by stitching pieces together.

My idea was to recover 8 cushions on my sunroom love seats. Ha!

2nd Attempt:

When I finished covering one cushion, I stopped. It did not look that great, honestly. And it took forever to piece together enough to cover a cushion. This surpirsed me. Not one to let go too easily, I converted it into this pillow:

3rd Attempt:

About a decade ago, we visited Spain on a tour. In Barcelona I became enamored of Gaudi, of course. How could I not? And I wanted fabric to remind me of Gaudi. 

Tours like ours did not include fabric shopping.  Instead I bought a tshirt with a Gaudi-esque print on the front. It was a too-small size but I liked the front print, so I bought it, figuring I could work it into something.

After capturing the maximum amount of fabric from the tshirt, I pulled out some thrifted tshirts acquired over the years, one of which I had used for another project, leaving me with less that one tshirt.

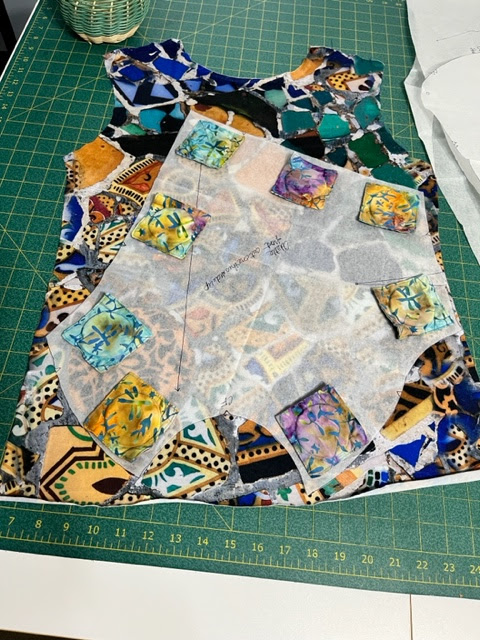
I selected the Odette pattern from the Sewing Workshop's Odette and Ivy. It's an interesting take on a tshirt with lots of assymetrical piecing. 


My approach was to start with the focus fabric from my Gaudi tshirt. I wanted to use it as efficiently as possible while keeping the focus on it. It became the front piece.

I worked from there using first one and then another shirt to cut out the various pieces of the Odette. In the end I did not have a lot of choices. The sleeves and the lower band take a good bit of fabric. Then I spotted the bicycle and decided to incorporate that.

Next I began to cut apart the other tshirts, using parts for first the large pieces in the pattern, until I had each piece cut out. I enjoyed the process so very much. And I like that the funky bicycle made it into the final piece.

OK - bring on the bricolage!


Thursday, January 12, 2023

Boro Stitching

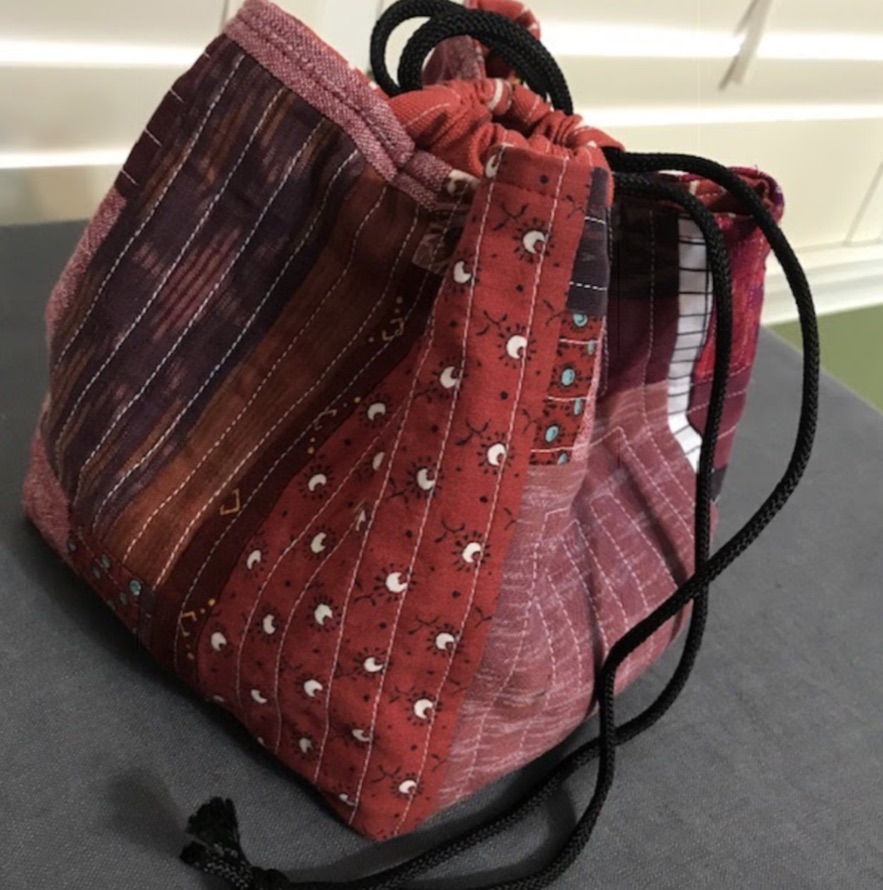
Japanese Rice Bag from 2019

Non-sewing activities in November and December left me feeling a loss. Sewing is so much a part of my life that I feel off-center and ungrounded when I don't have time for it. So here it is January and I have cleared off the wrapping paper and other detritus that filled the cutting table. I've started the new year with time in my healing space, the sewing room. And it's very, very good.


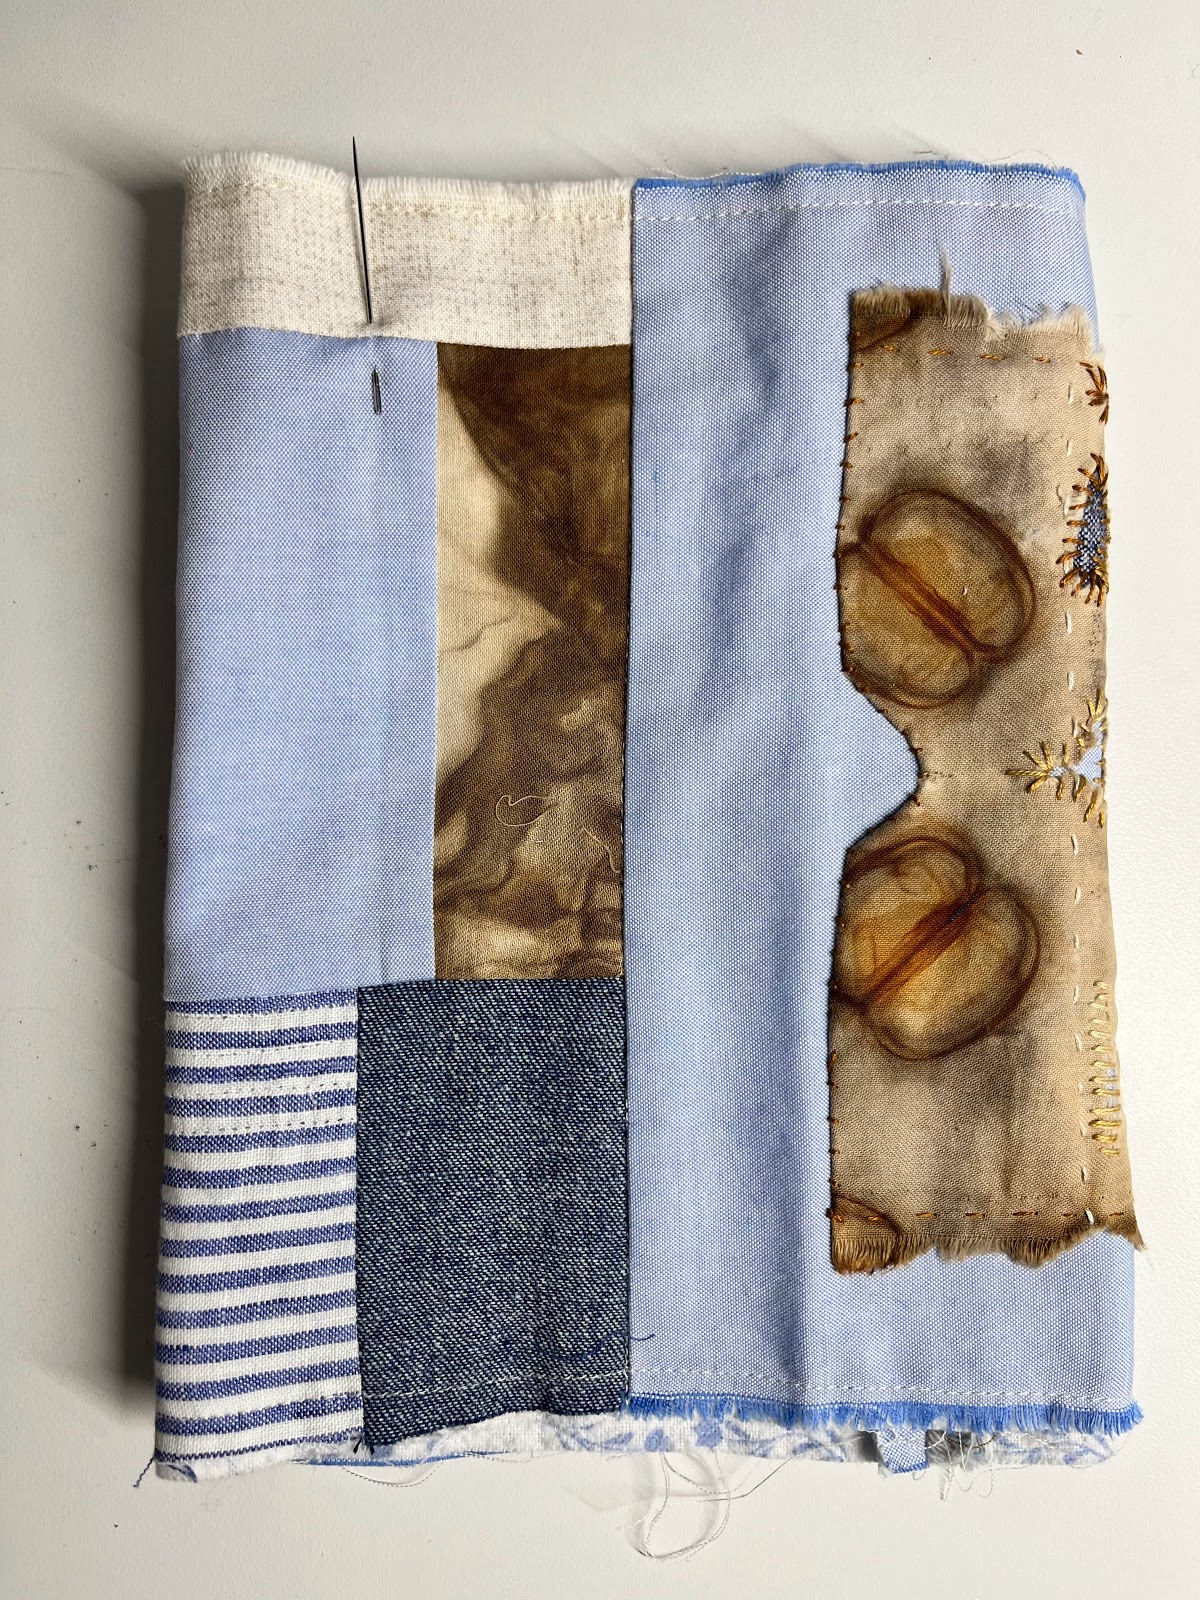
Next month I am teaching a class on boro using the lovely Japanese rice bag pattern from K Z Stevens. Also known as komebukuro, it is a traditional bag used for religious celebrations to bring rice to temple. I love the shape of bag and the fact that it provides a blank canvas for fiber art exploration.

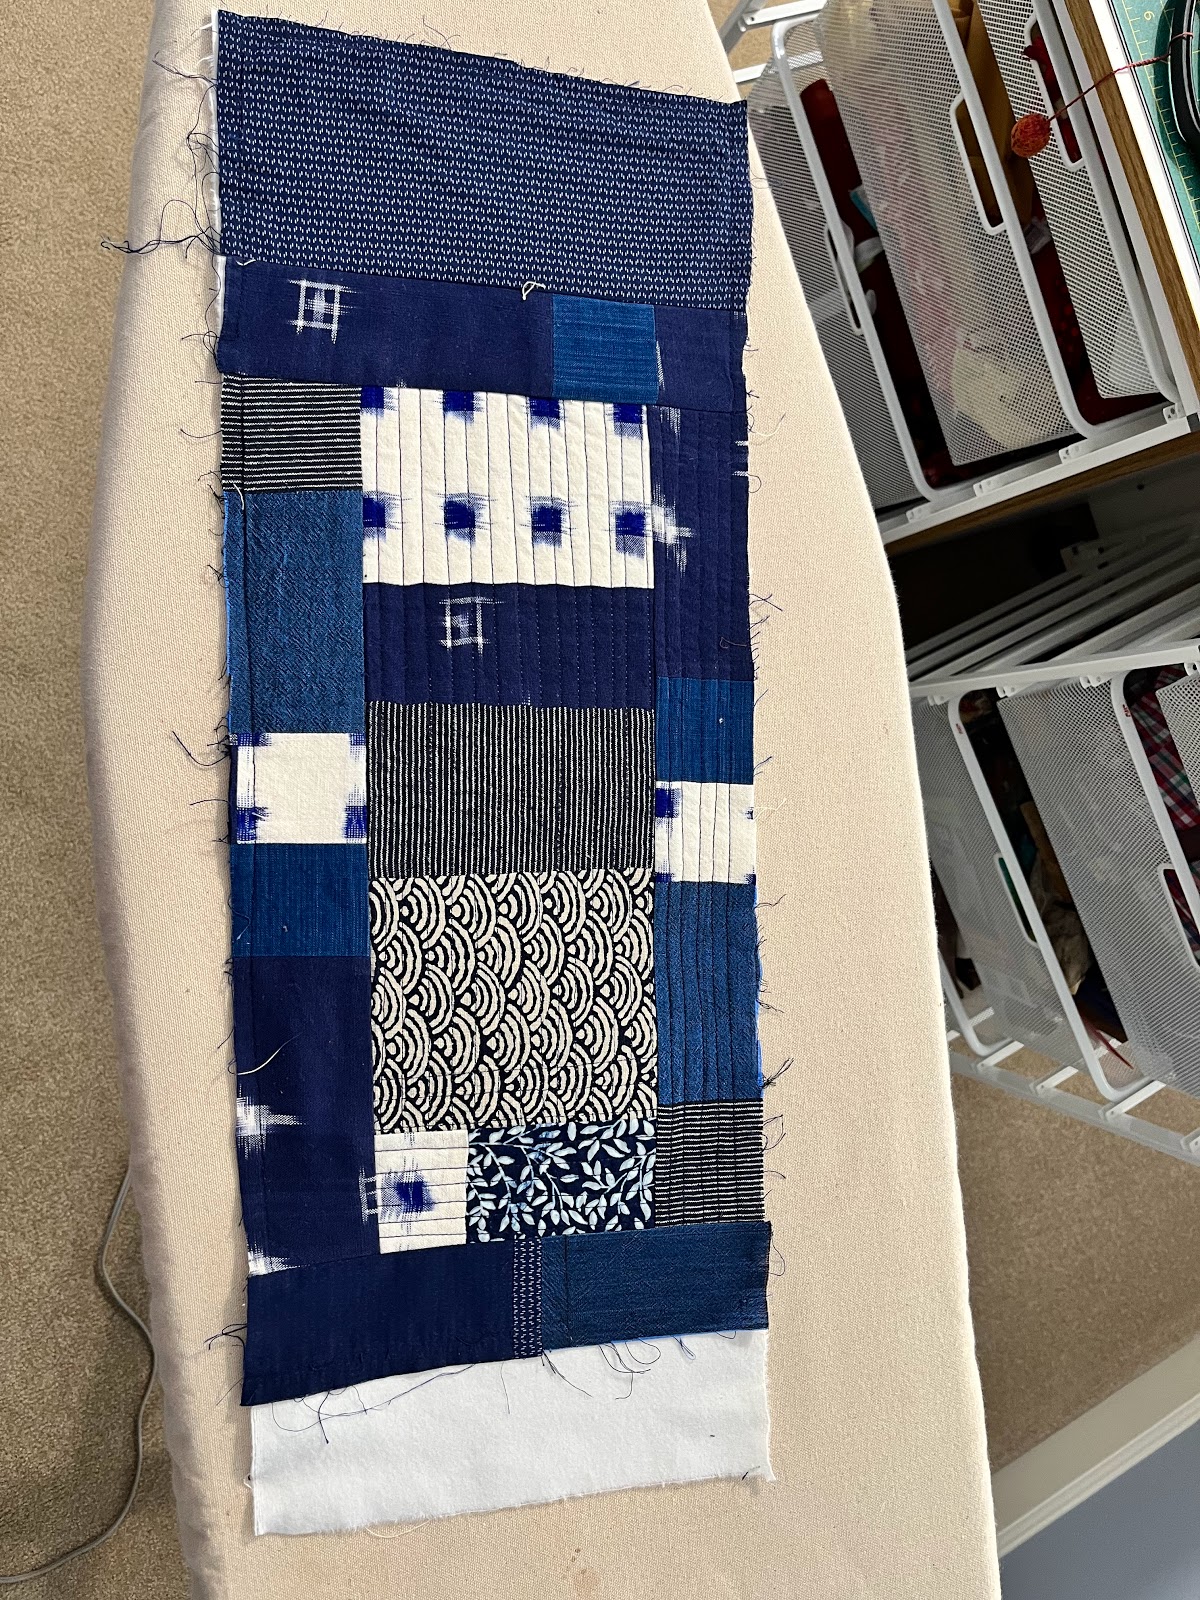
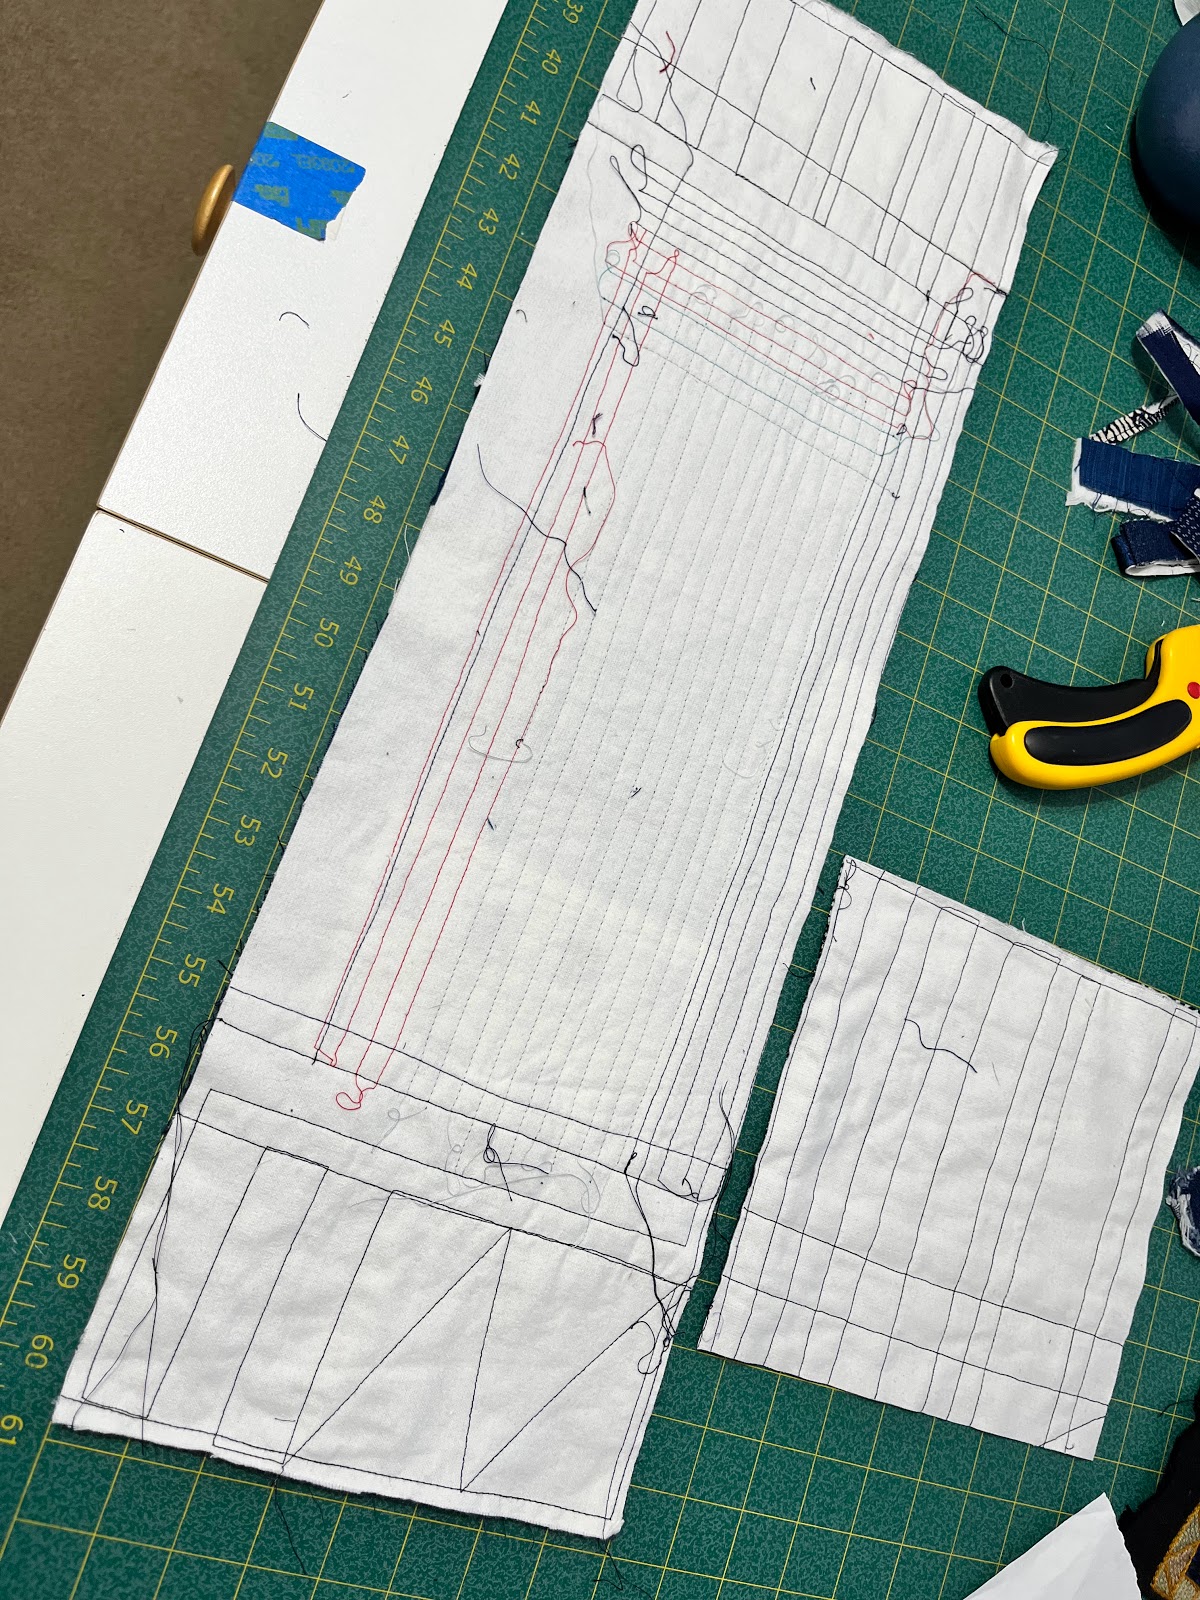
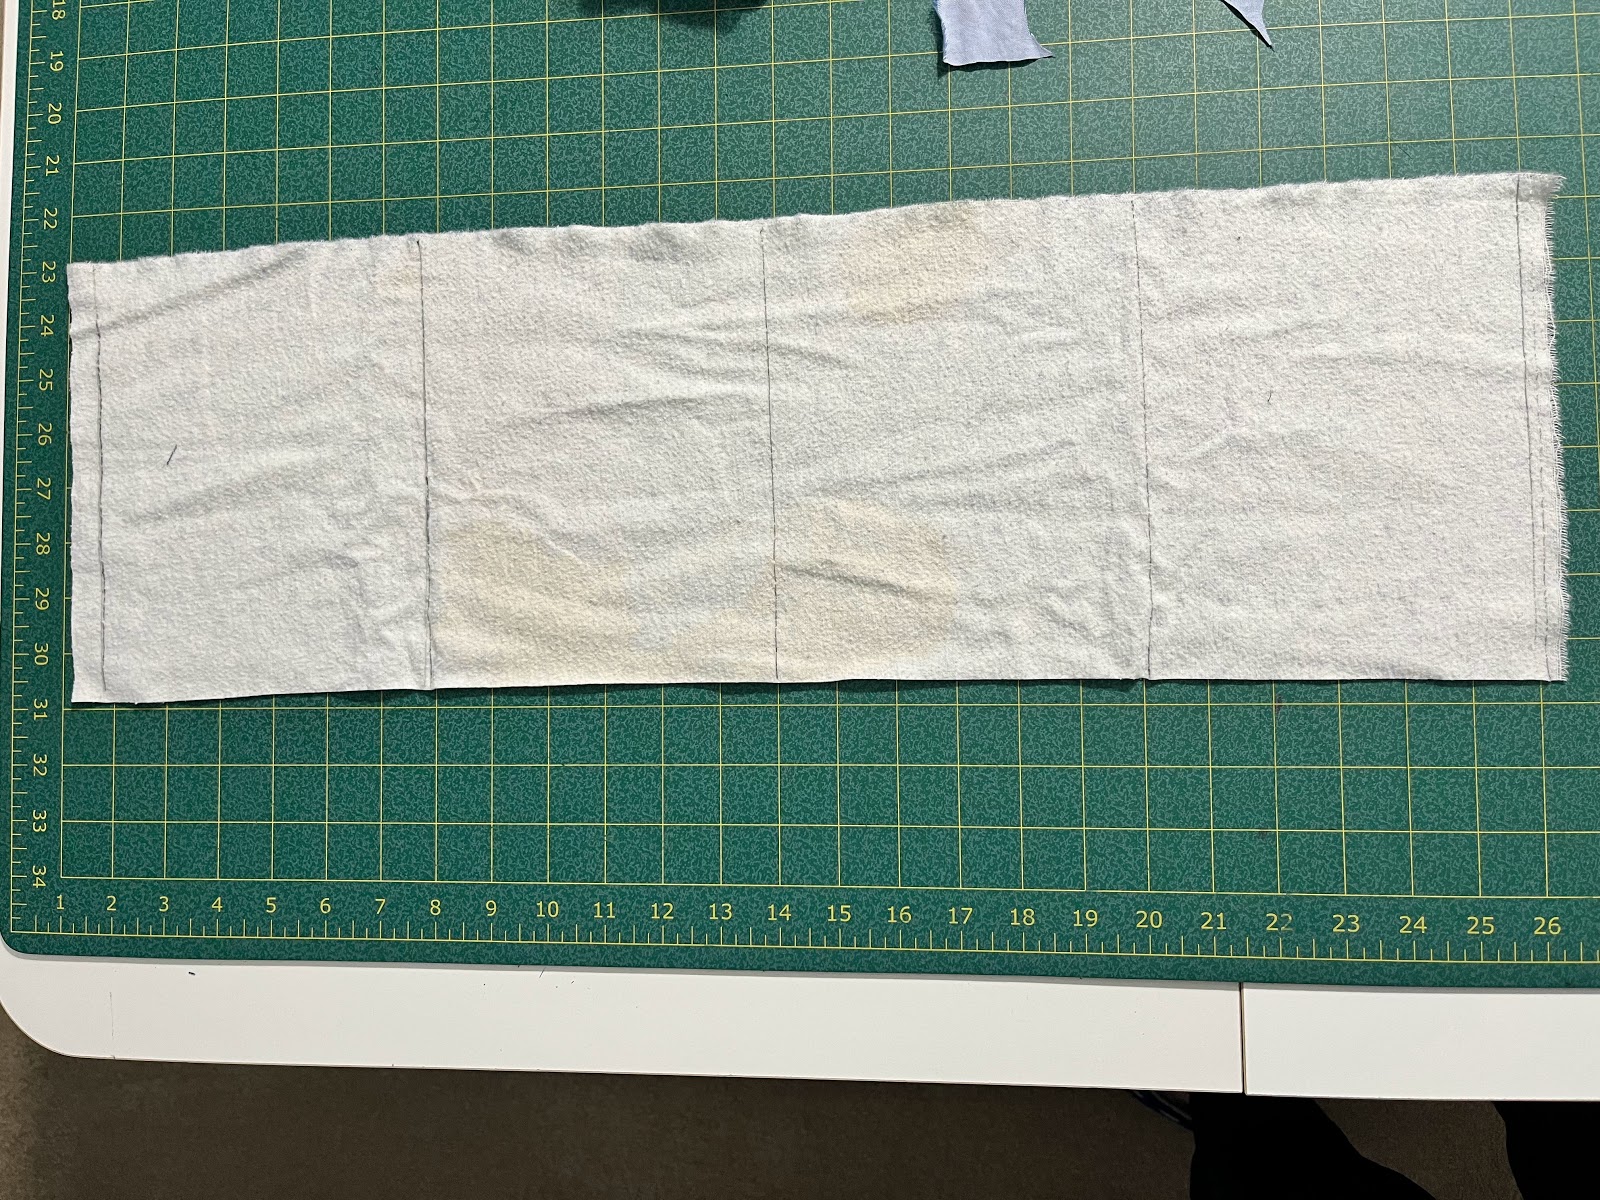
Side panels (rectangle) and square bottom cut to size on a piece stitched to white flannel

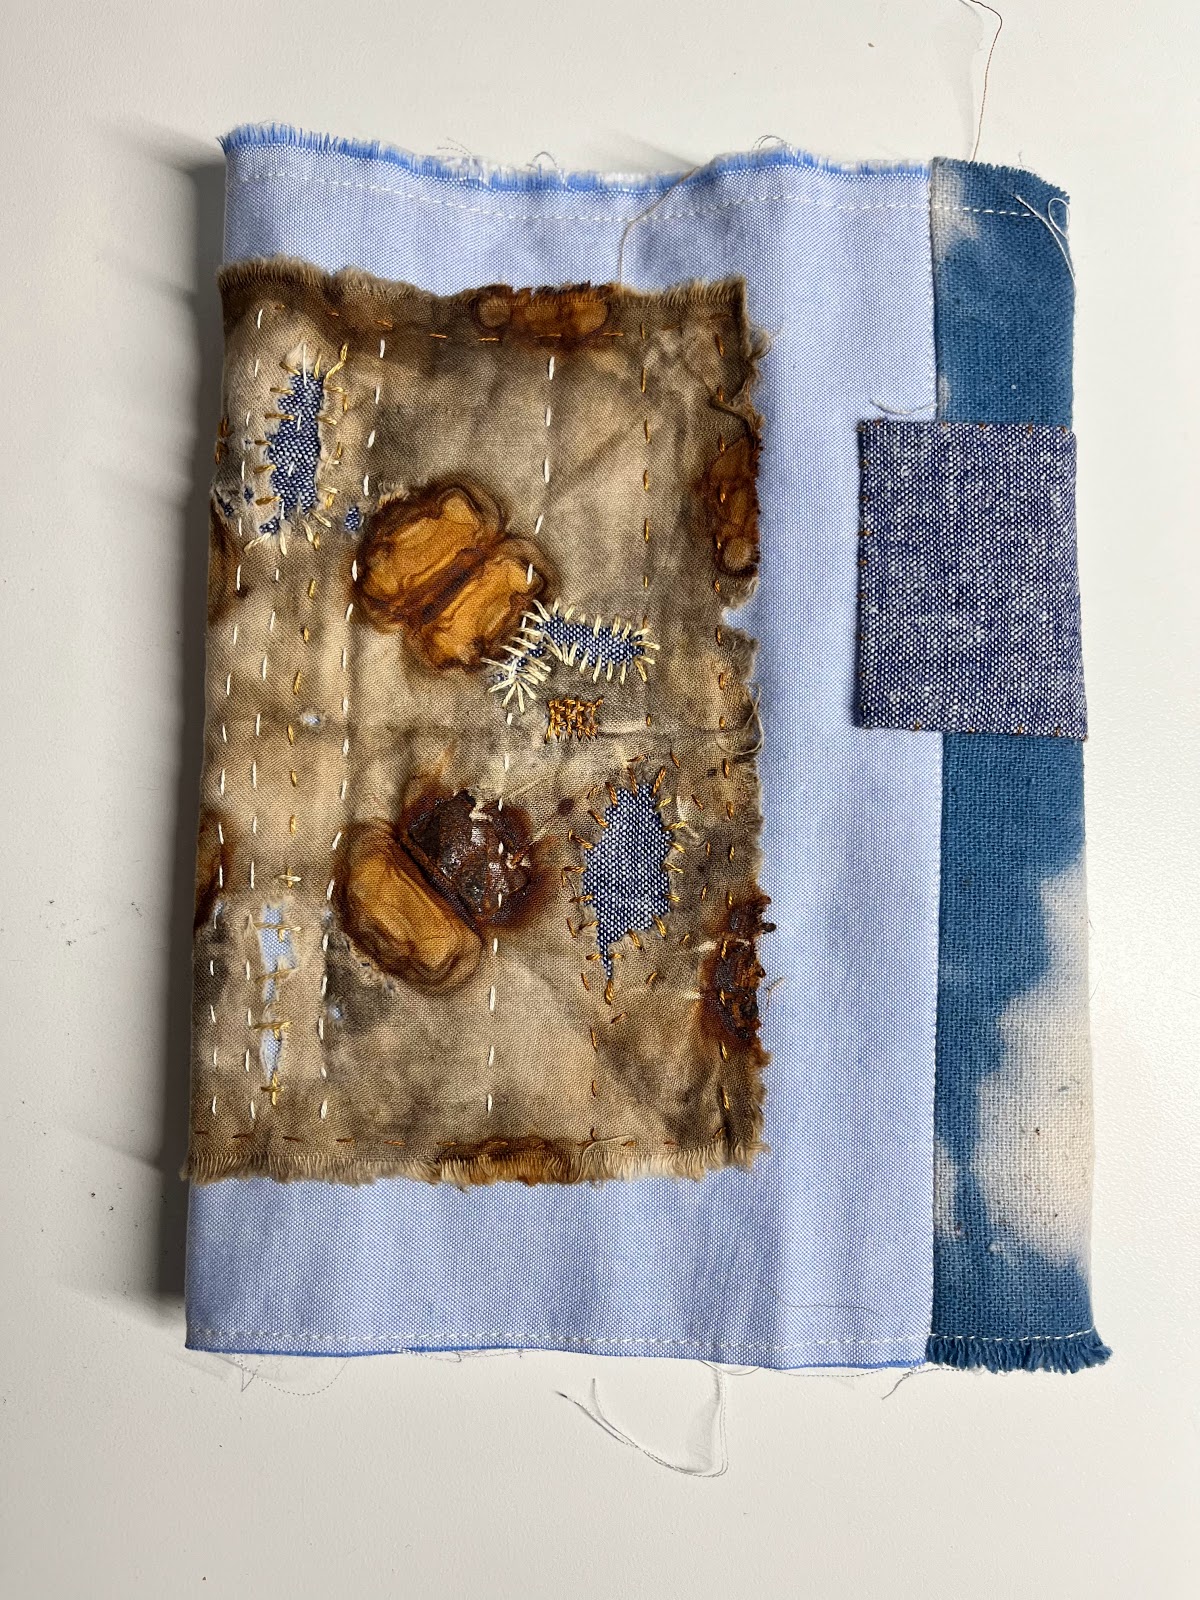
As prep for my class, I made this sample.

It's fun to remember the previous projects that are represented in this bag, as well as the adventures involved in acquiring the fabrics. For example, I see remnants of a favorite Archer shirt from Grainline Studios worn recently on a trip to Israel:


While rummaging through my remnants, I began to wonder, just what is boro? And what might boro be for the 21st century sewist? No one I know has precious rags that have been pieced together to provide warmth during the winter, as the original boro did. So I thought, perhaps, for me, boro stitching means using what I have and not buying new. Though not real boro, it captures the spirit.


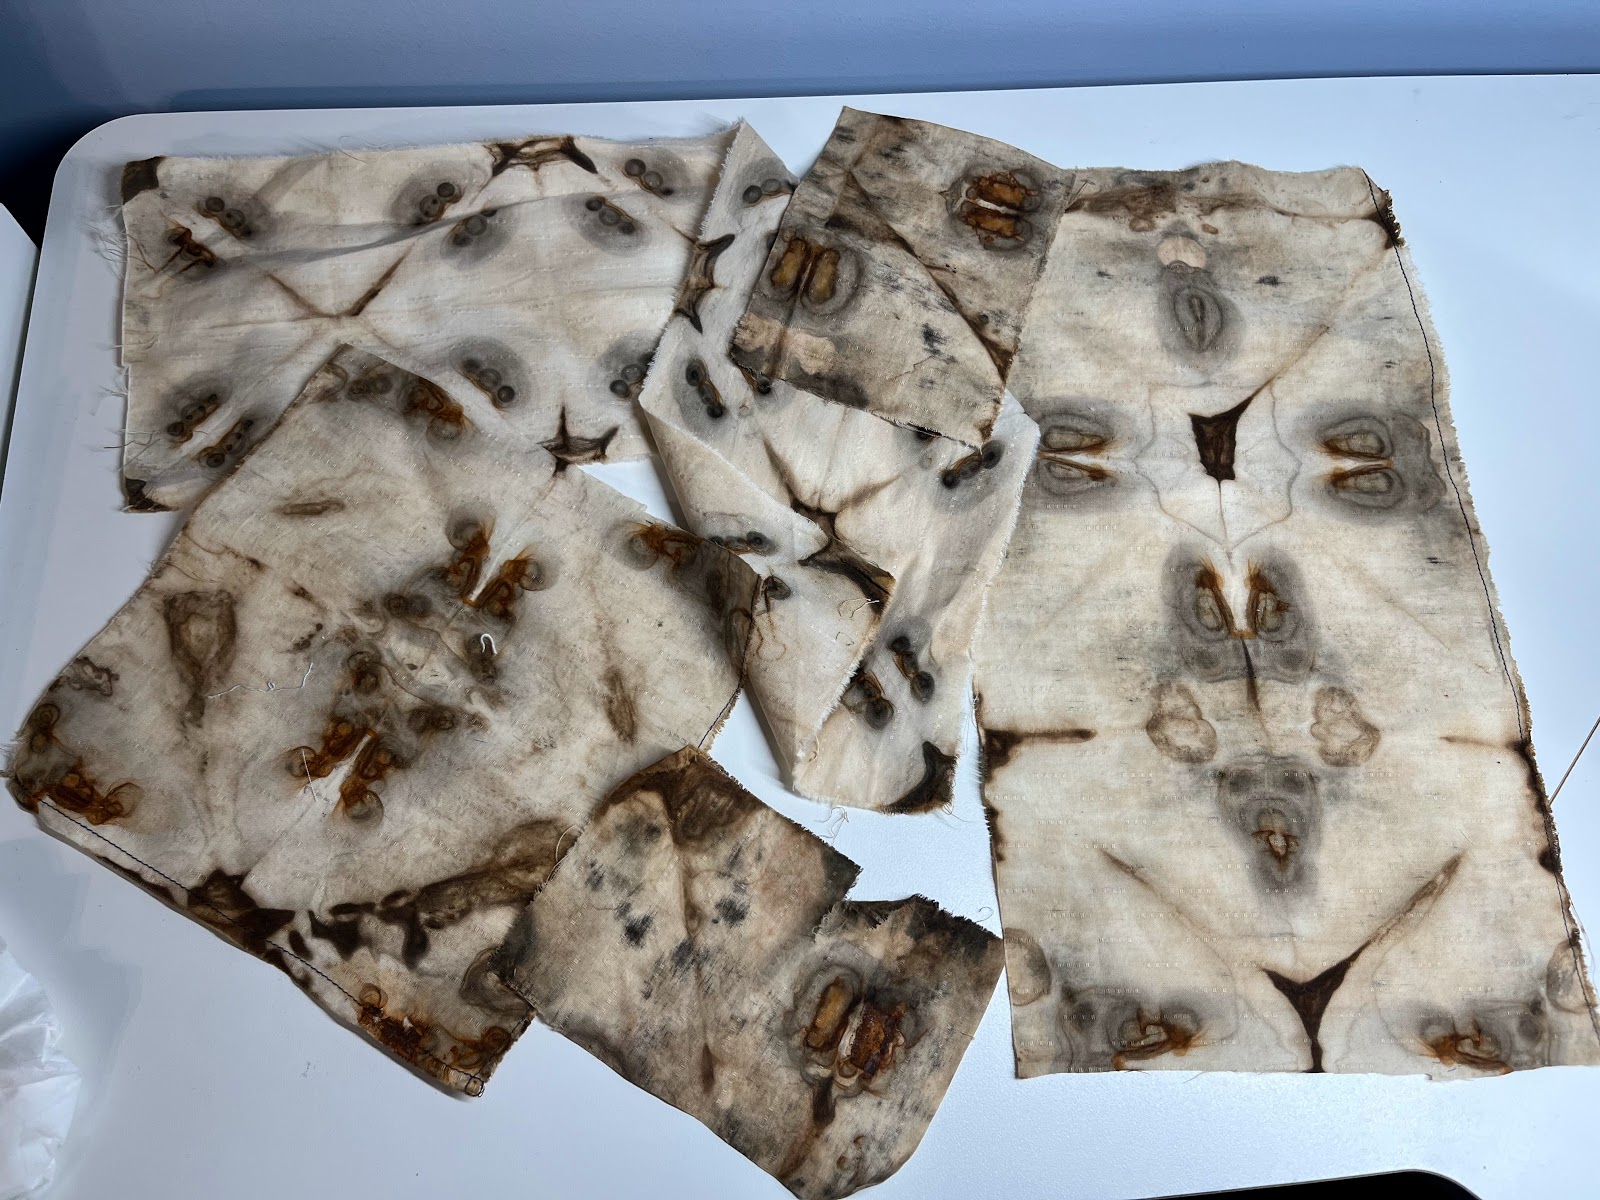
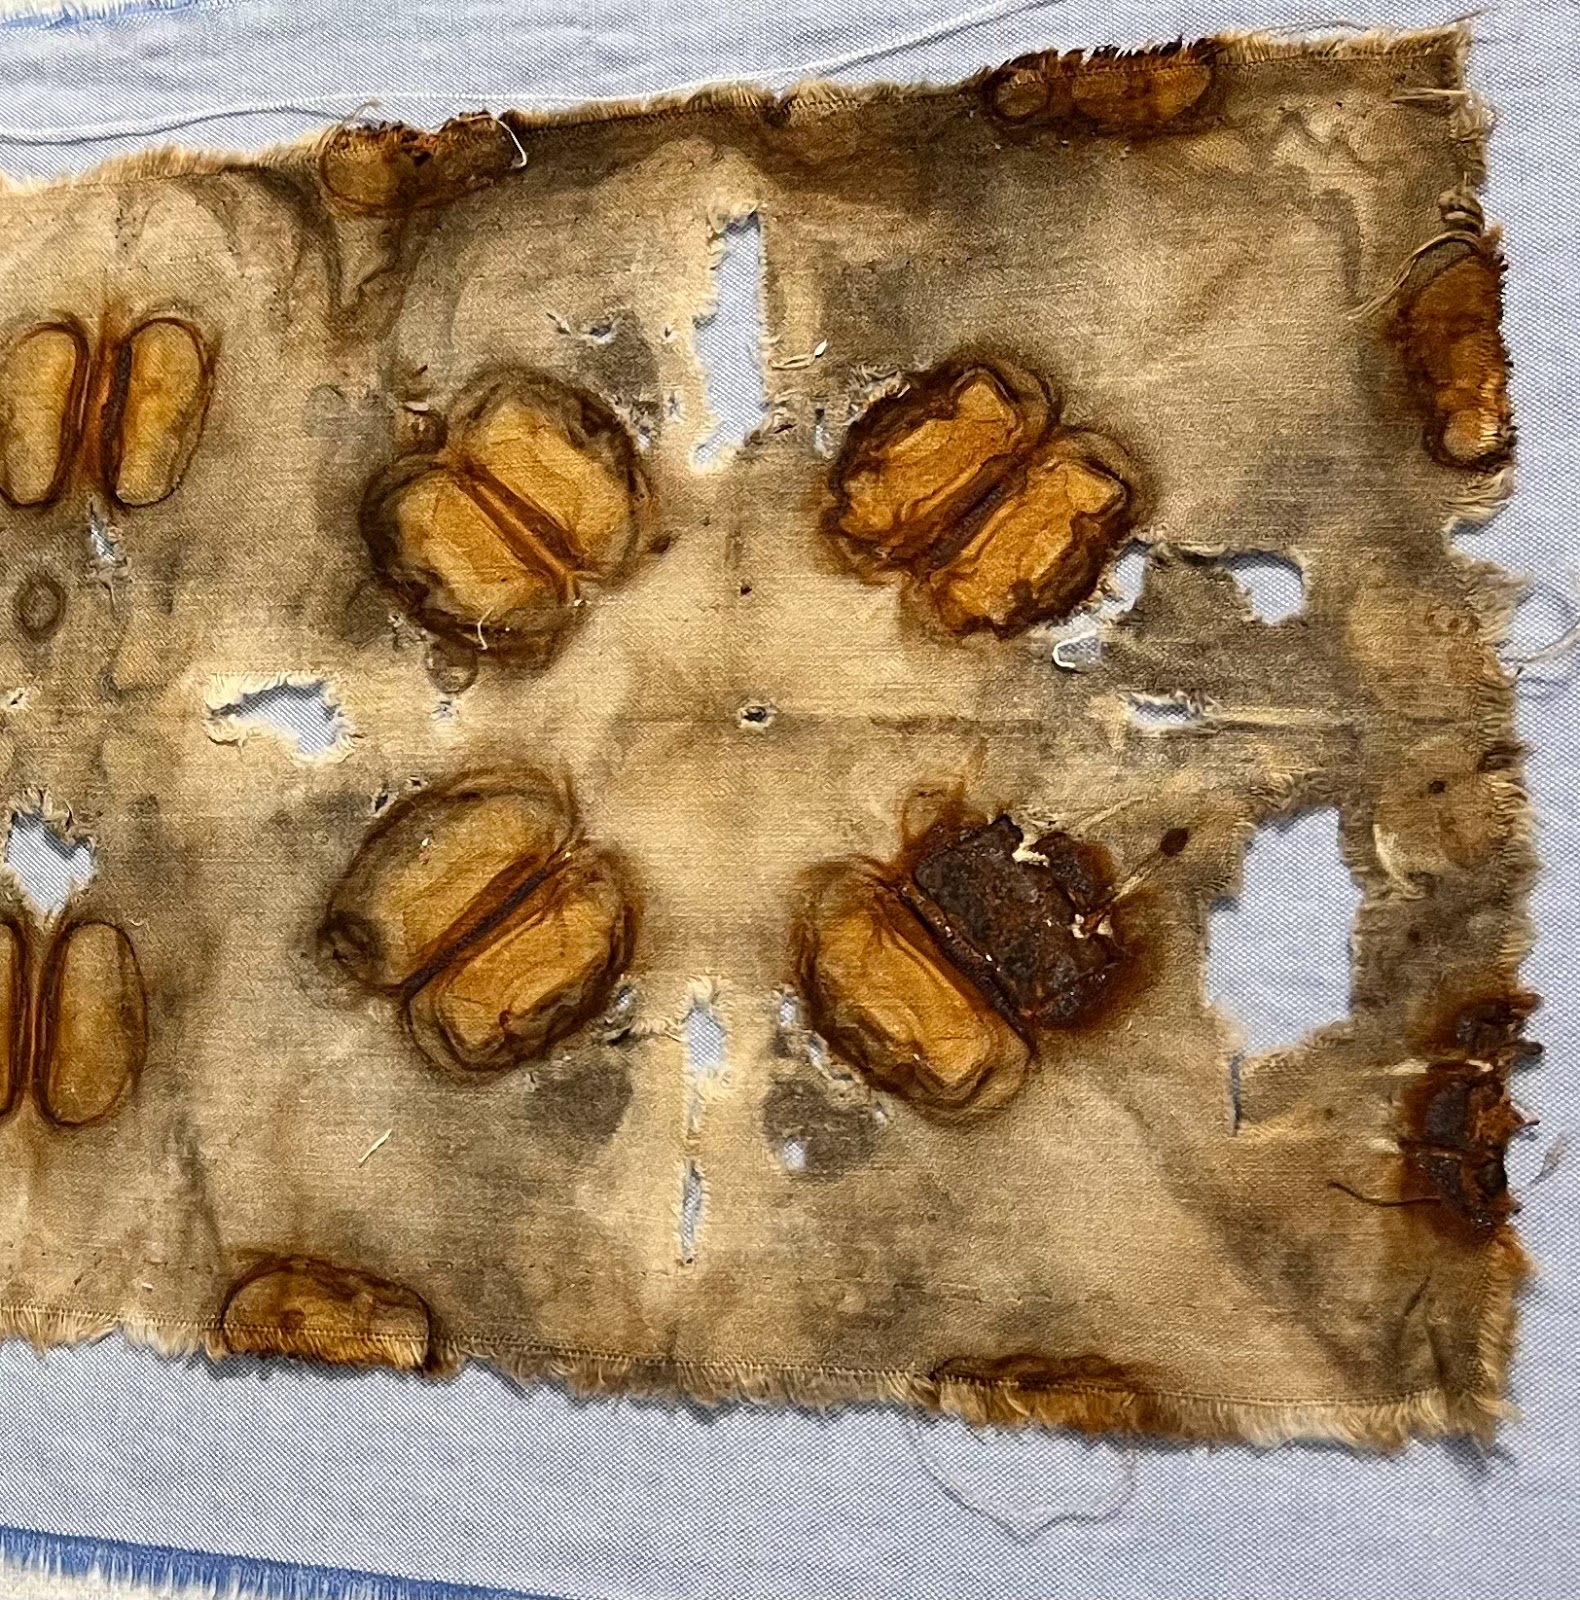
This approach to boro allows me to pull out precious little pieces from old projects. Diane Ericson calls this the *parts department.* An example is the piece below. I used to keep a little brass pot in my pantry with folded cotton inside. Each morning when I finished steeping my tea, I threw the bag into the little pot. After some weeks (months? years?), I retrieved the fabric and unfolded it.

There were tea stains, as well as rust marks from the clamps I used. I really like the design, as well as the obvious decay. It is fragile. Just looking at it gives me joy.


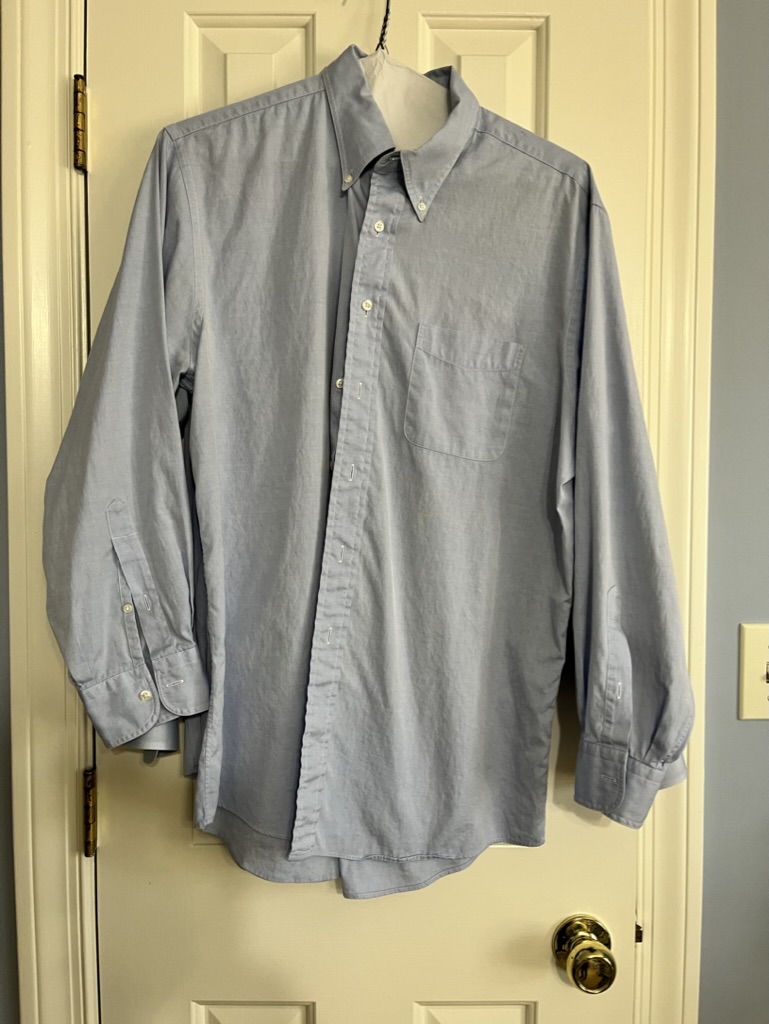
As I considered it, I thought that a light blue background would be interesting underneath and adjacent to it. I did not have any fabric that worked. My husband has more cotton button down shirts than any human needs (just like I have more fabric than any human needs), so I asked him to donate an old one to my project. He was happy to oblige me. 


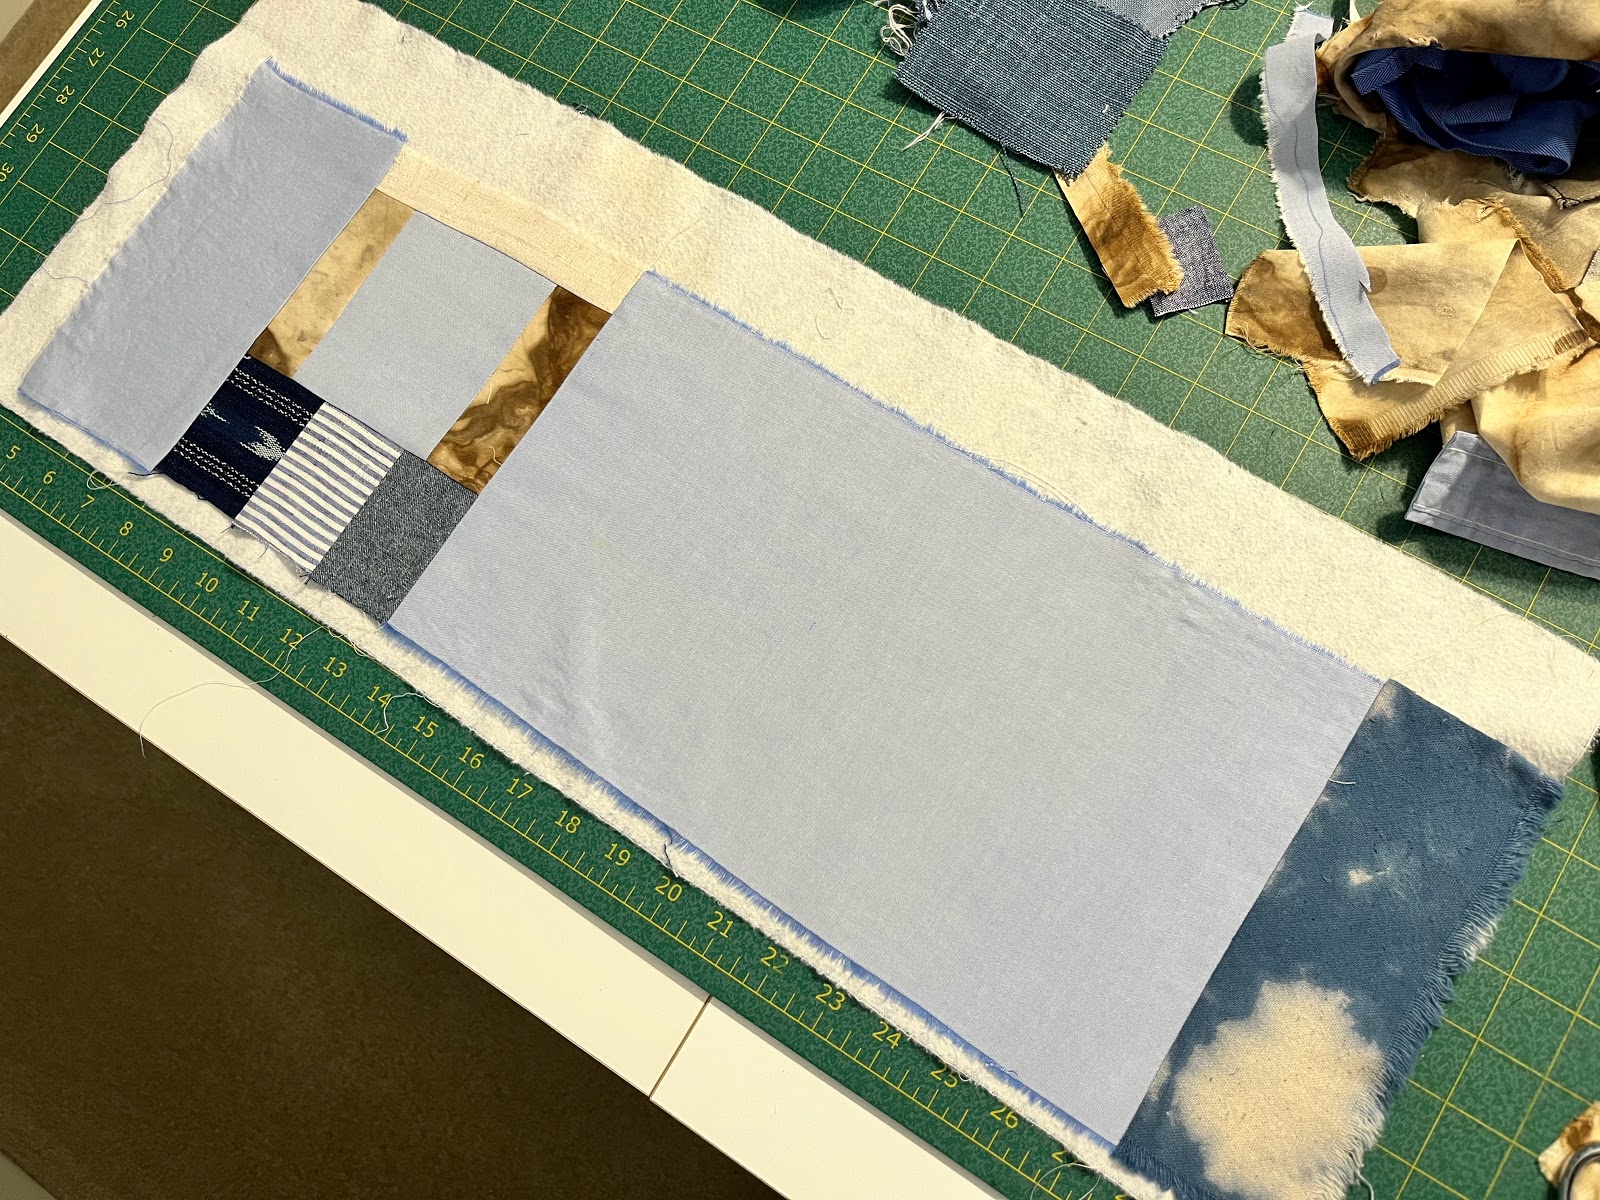
Using this soft light blue shirt cotton,  I began to compose another rice bag as a possible way to spotlight my fragile fabric. Composition is a subject I'm interested in exploring. My sewing tends to be somewhat spontaneous but I do appreciate that composition can create more satisfying results.

One approach is to assume that the vertical seam will fall along a corner of the square bottom. Then you can mark the places where each of the four panels will be ultimately be situated. I have generally taken a seredipitous approach, and applied embellishment that does not depend on careful placement. And I tend to avoid placing the vertical seam at a corner, because it adds bulk to a place where sewing finesse is already required.

This is what I have so far. I can locate the side seam so that the panels are ones I like before sewing to the bottom. In previous bags, I allowed myself to be surprised, but since I'm teaching, I thought it might be helpful to think in terms of planning AND creating.

But maybe not.


Friday, October 28, 2022

Autumn Color and the Chopin Blouse

A kind of mood board from June Coburn

Now moving into autumn - I do love those colors - burnt orange, chocolate brown, burgundy, deep teal. I have a nice little pile of these in stash. It's been fun pulling them out and planning some pieces and ensembles. 

Patterns: Pearl jacket, Bristol top, Helix pants

Fall also puts me in the mood for shirts and all the details that accompany a shirt. An old Sewing Workshop pattern, the Chopin blouse, caught my eye somewhere, probably on the Sewing Workshop gallery. And then I discovered that I do not have it in stash. So how did that happen?!? I tend to collect all their patterns, but particularly the old ones.

The older ones have all the interesting details and shapes. The Chopin blouse came out in 1999 so it's of millennium vintage. In the illustration it looks kind of 90's, doesn't it? The shoulders look wide (and they were) and the proportions are very 90's, as well.  

So I queried my local ASG chapter and Beth (thank you, Beth) donated her copy to me. She said she doesn't want it back, but if you change your mind, Beth, you can have it. I traced my size and so the tissue is still intact. 

Oh, my, the details on the Chopin blouse! I kept some and omitted others, especially all that ruching! There is a collar band with a ruched collar above it. I just dropped the ruched collar and kept the band, something I often do with shirts anyway. The cuffs on the sleeves were deep and also ruched. I liked the depth but drafted a new cuff. 

Cuff facing, placket, cuff and other placket

Right and wrong side of cuff after assembly

Cuff ready to attach to the sleeve hem

I really love the shape of the sleeve. It is slightly bell shaped. The very deep cuffs angle back in to the wrists creating a narrow shape at the bottom. And the cuffs present a cool place for extra buttons. In the end I used 3 buttons on each cuff.


Finished cuff

Those pockets! Too bad they don't show up at all in this brown and white linen. I'll have to incorporate that idea into another shirt some time. I think it would be fairly easy to draft them onto a different pattern since they are simply overlaps top-stitched in place.
And there are godets in the side seams, giving the appearance of a waist. I think that would be flattering on lots of people.

Lastly there is the pleated back peplum. I goofed and inserted it backwards so mine is a box pleat instead of an inverted pleat. I might go back and fix that but probably not.

The silhouette was a problem. The pattern as drafted is quite oversized as most 90's shirts were. I am wondering if shoulder pads were intended. The shoulders on the size S definitly fell off my shoulders by a good inch.

And it was too long. I shortened the overall body by 3". In the back, I shortened it by 2" at the top of the peplum and another inch along the hem. I shifted the godets up a couple of inches after adjusting the horizontal seam on the peplum. Then I cut the remaining hems to be even with the back hem. The resulting hem is straight, instead of a shirt-tail hem.

I narrowed the shoulders and reduced the side seams on the shirt, as well as on the sleeve underarm seam to accommodate the shoulder adjustment. 

There were no lengthen/shorten lines on the pattern pieces, so I just had to wing it. Because it worked out, I now think of it as fun. It was quite nerve-wracking in process, though, because I was working with the fashion fabric rather than a muslin. 

I know. I know. But I was channeling Diane Ericson the entire time. She has such a playful approach to design and typically works with the actual fabric, adding and subtracting as the design and fit require. I aspire to be that experimental. 
And I got lucky this time.