Final Steps:
- Cuffs attached
- Shirt tail hemmed
- Sleeves inserted
- Bumpy stuff flattened
- Buttonholes (always a nail-biter)
- Buttons
Cuffs:
I was reminded of a tip from sewing friend June when adding the cuffs. Place cuff and sleeve right sides together, keeping the cuff facing out of the way. If you push the cuff piece about 1/16 inch beyond the sleeve placket edge. Then when you turn it right side out, grade the layers, and tuck the raw edges inside, there is just enough room. Of course, this is known as allowing for turn-of-the-cloth.
When I line up the edges perfectly, with no allowance for turning the cloth, there is either the little bit that wants to jut out, or worse, that awful buckling of the sleeve placket. This fine cotton shirting only needed that 1/16 inch but of course heavier fabrics need more.
Shirt Tail:
Once again, I used Pam Howard's effective technique here to create a smooth curve on the shirt hem. I had added a center back seam to allow for a little curve in my back, so I also created a vent.
Alert!
Sweet, sweet Pam has given me a link so that you - my blog buddies - can sign up for her excellent shirt making class on Craftsy and receive a discount:
This class, along with the newer one on constructing a tailored jacket, are really wonderful. I use techniques from those two classes constantly.
Bumpy Stuff Flattened
Even with the turn-of-the-cloth technique above, I sometimes grind my teeth when I put a buttonhole in the collar band. If that one looks bad, it is really, really bad. You know what I mean.
My Bernina makes gorgeous buttonholes but it likes a flat surface. So I steamed the collar band as flat as I could, then used the clapper and left it there until everything cooled. The buttonhole went in without a hitch. Hooray!
 |
| Smashing |
 |
| Smashed |
 |
| Buttonhole success! |
Buttonholes and Buttons:
The rest of the buttonholes were a breeze.
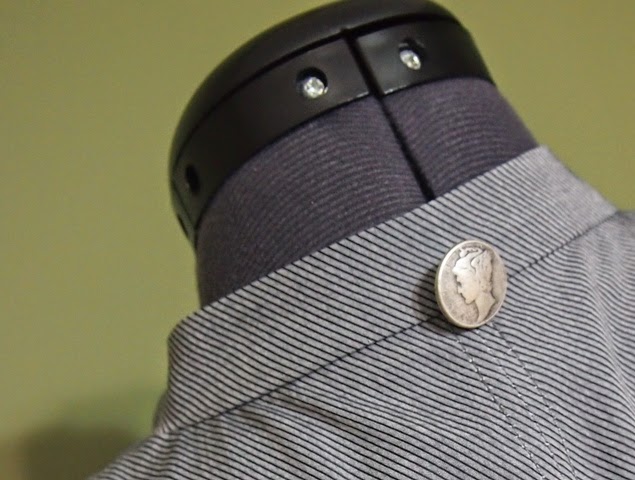
And I just love these buttons. On a recent vacation I shopped at a wonderful little button shop in Montreal. I purchased way too few of these metal buttons made from Canadian coins. So I had to use the US coin buttons on the sleeves.
 |
| I purchased one larger button in Montreal and so put it on the back. |
This is a really good pattern. Try it. You'll like it.
And don't forget to use the discount Pam passed along over on Craftsy. Thanks so much, Pam!


What a fabulous post! And outcome. Just wonderful.
ReplyDeleteOne word.... WOW!
ReplyDeleteGorgeous shirt! love the details and I just signed up for the Craftsy class...
ReplyDeleteGreat shirt and excellent buttonhole! I have already signed up for Pam's shirt class but have yet to watch all of it.
ReplyDeleteLooks wonderful! I have some of those same coin buttons--along with some buffalo nickle buttons. Love them!
ReplyDeleteI love it! The style, color and fit are perfect :-) Happy for you.
ReplyDeleteI really like the details and the buttons. It is beautifully done!
ReplyDeleteGreat work on a quietly beautiful shirt! Thanks for the tips you've given throughout your sewing of it. The fabric and the buttons are a good pairing. Really nice!
ReplyDeleteOh, you are amazing! I've always hated making cuffed items because of that bit of stuff that hangs out when turned!
ReplyDeleteEven though I don't always comment, I do always read, and am ALWAYS impressed!
xxoo
Martha, Beautiful blouse/shirt. You've "almost" convinced me to try one. Yours is amazing
ReplyDeleteMarciae
Fabulous as always and I love your extra details!
ReplyDelete