Monday, May 18, 2020

Reading and Watching Too


For watching, I've just started Mrs. America on Hulu recommended by my DIL. Cate Blanchett is brilliant as Phyllis Schlafly. I loved it from the first scene. I'm also a big crime drama fan, watching Baptiste on Masterpiece. In that genre, I highly recommend Rectify and Reckoning on Netflix, both starring the very intense Canadian/Australian actor Aden Young. 


For reading, I've almost finished One for the Black Bird, One for the Crow, a period piece about two strong women on the Wisconsin frontier in the 19th century. It's based loosely on the author's grandparents. I'm enjoying it but I think it's too long. Or maybe my attention span is too short. 

I like the back better than the front.
For a group my husband and I are in, we're reading Evicted, an eye-opening account by a Princeton sociologist. Also for my activist bent, I'm reading American Prison, the history of our penitentiary system. Every other chapter describes the author's experience as a prison guard in Louisiana. 


I may need to read something light now.


I have a baby quilt in process. So far, I've constructed it with fabric on hand. But this is the point when I realize that I don't like making quilts. The color scheme chosen by these new parents is gray, blue, white and a little gold. My design went awry and it does not read baby at all. I have an idea to fix that and I will finish it though.


Have you two been watching Linda Lee each Tuesday on FB live? I've been enjoying it. She's such a good salesperson and I'm such a good customer. 


Hope you are inspired to create during this time of #stayhome.

Wednesday, May 6, 2020

Tessuti's Simple and FREE Apron


This make was pure pleasure. It has all the components for satisfying sewing:

  • 100% linen, the good kind
  • simple lines and shapes
  • loads of top-stitching


Yes, I made an apron. And, as it happens, I need one. I find myself cooking way more than usual within this corona confinement. I think it's lovely enough to wear whether I'm cooking or not.


Last summer, we spent a week in a resort in the French Alps. The trip was designed by our son and his family, and we were invited to tag along. Most activities were of the outdoor kind. But we ladies did find some sweet spots for shopping.


One nearby village had two shops of note. There was a little shop where the entrepreneur makes handbags out of bicycle tires and other unusual materials. She had her workshop set up as part of the shop. I was charmed.


The second shop contained various small items, housewares and hand towels and the like. I noticed some lovely linen aprons for about 70 Euro each. There was something about the linen in such a simple item that was attractive to me. My reaction was of course, wouldn't that be fun to make? What sweet memories.
As we are all more-or-less confined due to the novel corona virus, Tessuti has issued a free downloadable apron pattern that is exactly this basic design. I think of it as the French apron. Merci, beaucoup!

view from the back with no hips
It is considered one size. But, of course, it fits me a little differently than it does their models. You can see the difference in the wrap.

view from the back with hips
The linen is from a shop in the fabric district of Paris, a shop with tables containing beautiful linen cut into 3 meter pieces. If only I had brought an empty suitcase...


The instructions are pretty straight-forward, if maybe a little verbose. The pattern calls for fabric that is 60" wide in order to cut on the fold. I decided to create a center front seam so as to use my 55" width fabric more efficiently. I am inexplicably happy with that center front vertical flat-felled seam. I like the effect of the intersecting top-stitching, on the front pocket and elsewhere.


On the other hand, I got tripped up with one phrase. Late in the instructions, there is a reference to matching a *finished* edge to a *neatened edge.* In order to attach the straps to the front edge, you are to align the *neatened edge* of the garment armhole with the finished edge of the strap. Hmm. I figured out what needed to be done way before I figured out what a *neatened edge* was.


Most of the edges are finished with a shirt-tail method I learned from Pam Howard. This is the perfect technique for a cooperative linen like this one. The idea is to stitch 1/4" from the raw edge, and then use that line to fold the edge under twice, creating a neat narrow hem. Some recommend pressing it in place first, but I find that just creates a crease I don't want. Instead, I finger-press it as I go, edge-stitching the final hem. It is very zen.


So, back to the *neatened edge.* This is the edge created by folding over that line stitched 1/4" from the edge, and then folding again. I think.

INCORRECT
In the above picture, I'm trying to determine how to attach the strap to the front bib. You can see that the strap edges are finished and the armhole is not. This picture shows the wrong way to sew it. Below you can see the correct way to place the straps on the bib.

CORRECT

I guess that *neatened* means folded twice but not stitched. Anyway, I figured it out. Below you can see how the bib facing looks right after stitching it to the garment top edge, sandwiching the straps inside. The top edge is stitched at 1/4". The armhole edge is stitched at 1/2". And the bottom edge of the facing is turned under prior to stitching.


This is really a simple sew. I promise. I do not know why I obsessed over the neatened edge. I do really like the result.


It was so very satisfying to make. You know how wonderful a really good linen can be to sew.
#makesomethingeveryday


Tuesday, May 5, 2020

The Sarah Campbell Spell


When I saw this orange print peaking out from a stack of fabric bolts at the Sewing Workshop (TSW) in February, I had been studying under the tutelage of master print-maker Sarah Campbell for several days. The end of the bolt read Japanese cotton crepe. Then I touched it. And I had to have it.


It's only today that I realize that I may have been ever so slightly influenced by Sarah's flamboyant aesthetic. But I love it still and that class is old news now, since it occurred before Covid-19 (BC).


Shortly after that trip, the Venice shirt was issued by TSW, first as a download. I worried only a little about all those ruffles on my hips and that little dippy thing on the back hem. I wanted a sewing puzzle. Poof. Wish granted.


But, back to the deep red-orange Japanese cotton crepe. Yummmm. I took my time and enjoyed the process for quite a while. The fabric was lovely to cut and sew and feels nice on. Perhaps due to my fits and starts, or because it was a full moon, or because I'm a bit distracted these days, a few mistakes were made.


I followed the pattern fairly closely, making only minor design changes. I changed the shoulder seam bust dart to a pleat. I made plain 3/4 length sleeves. And my collar is a simple band.


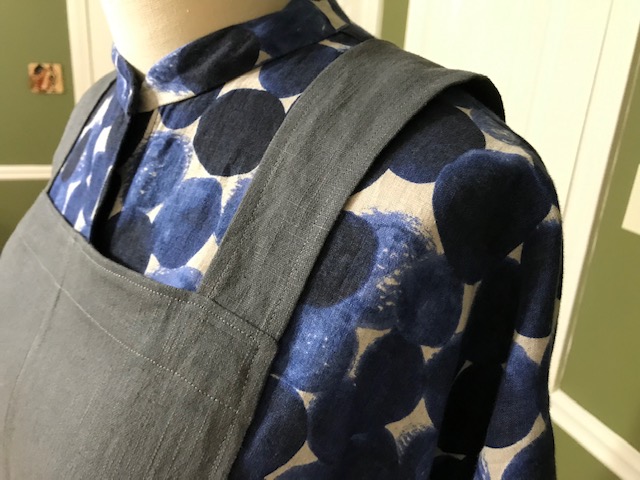
The pattern includes what they call an all-in-one collar, a.k.a. convertible collar. It is one of those collars that combines the conventional collar stand and collar into a single pattern piece. I prefer mostly just a band, but sometimes both band and collar, rarely the combination of the two.


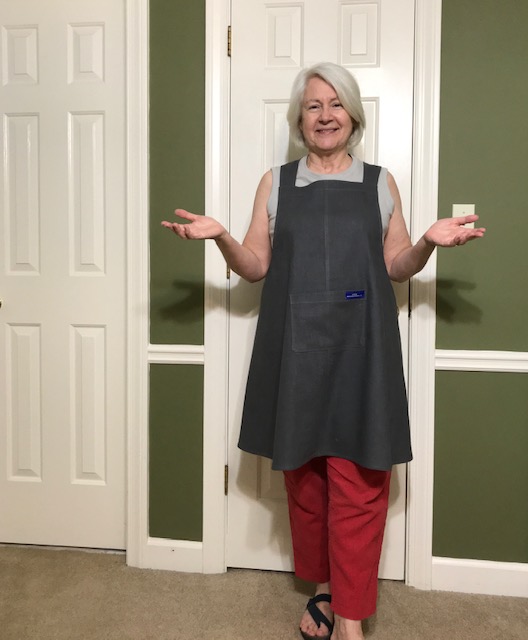
Things went so smoothly at the beginning. Above it is in an early stage. I like the fit enough to repeat this as a more conventional shirt, that is, with a shirt hem. The sleeveless version looks nice on my dress form.


Trouble only started when I began the ruffles. I started with such high hopes! I measured the left hem and measured the unruffled ruffle piece. Then I installed my ruffler and tested it on a piece of muslin that was cut like a ruffle. With no changes to the ruffler, it appeared to ruffle to exactly the right length!!! How lucky is that?!?


The pattern instructions included zigzagging over a piece of heavy thread and then gathering. The left ruffle is long enough that it was not going to be easy to ruffle that way, IMO. But then, in general, I find ruffles to be fiddly and unpredictable. I was motivated to make the ruffler foot do the work.


As a bonus, the ruffler foot even sounds cool. I attached the left ruffle to the shirt, finished the edges with the serger, and edge-stitched. Then I compared it to the pictures of finished versions. Hmmm... not quite right.

Incorrect
A quick email exchange with Linda Lee (thanks so much, Linda!) confirmed that this was indeed incorrect. The instructions in the PDF version are not clear to me. I now know I should have ended the ruffle at the dot, not at the notch.


In order to fix this, I cut an additional piece for the left ruffle, matching the pattern, and made it work, perhaps with a bit of brute force.


On the right side, I made it work using some hand gathering and some machine gathering. In this print, it looks fine. Really.

Correct
In the category of knowing-what-I-know-now, I wish that I had simply cut each ruffle extra long to start. Then I could use the ruffle foot, and finish the ends to match the hem and the end dots.


Truthfully, if I had this to do over again, I'd skip that opening in the back and make the ruffle even all the way around. Adding the placket, buttonholes, and buttons was not worth the effort in retrospect. But. I wanted a puzzle and I got just that.


This wild print gave me another opportunity to use remnants of the black and white linen stripe fabric for the collar band and the sleeve facings. So that was fun.


All in all, I'm happy with this make. I do recommend it. It fits nicely through the shoulders and bust, skims the rest, more or less. I look forward to leaving the house some day wearing this shirt.


It's kind of sweet, I think.