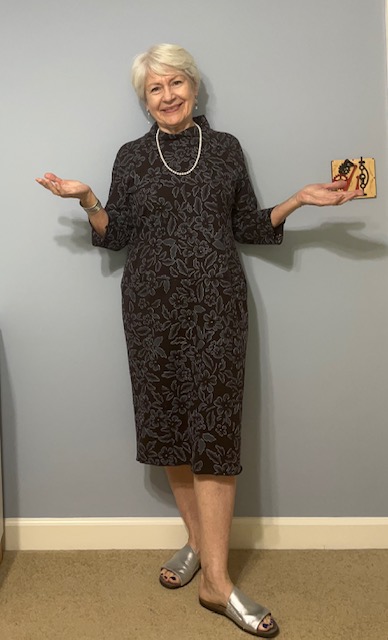
I'm wearing the sample they provide for trying out sizes.
In April, I was lucky enough to attend my second workshop at Alabama Chanin in Florence SC. It was such a fun and inspiring time with fellow sewing enthusiasts and gorgeous clothing. The price includes one kit. This time I chose the fractal dress, an interesting silhouette with 21 sections - 4 upper fronts, 4 lower fronts, 4 upper backs, 4 lower backs, 2 piece dolman sleeves, and a collar.
- Pattern: Fractal dress, size S
- Outer knit: brown (earth)
- Inner knit: brown (earth)
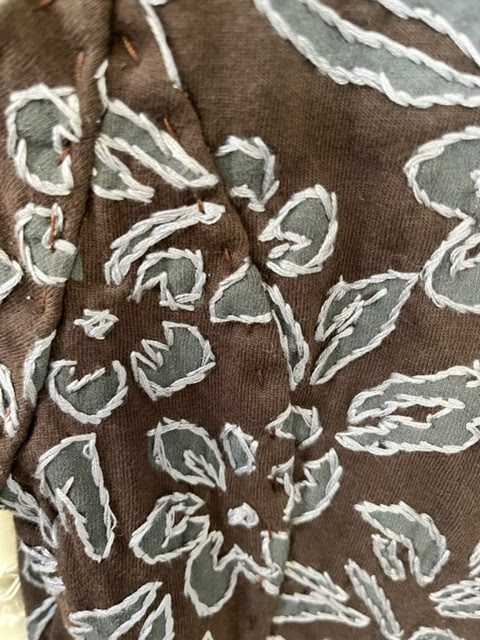
- Stencil: Abbie's Flower
- Embroidery floss: Dove
There was a version of the Peacoat displayed in the AC shop with this stencil and color scheme. All of us drooled over it.
Sample from the Peacoat on Display
The first time I attended an AC workshop, I chose the Peacoat as my project so I did not want another version of that particular pattern. Instead I chose the Fractal dress with the same stencil and color scheme.
Each kit comes with an 8x10 sample of the stenciled fabric and another 8x10 without the stencil for trying out ideas. I used negative reverse applique on my sample and concluded that I did not like that effect. (Note to self: it actually looks nice, so maybe I'll use it on a future project.)
So I returned to my trusty reverse applique. I used this in my Peacoat and enjoyed the entire process. I completed one section with that in mind before bailing and selecting a different approach.
One sleeve section, stitched double layer, nothing cut away
My 3rd and final selection was to use a single layer of the knit. Nothing will be cut away, of course. I am using a version of the back-stitch to outline the motifs. I really, really like the way that sort-of choppy back-stitch relates to the leaf shapes. At first, I worried about that choppy stitching but then I embraced it as very leaf-like. I use 2 strands of the Dove embroidery floss.
This version of the dress is on-going. The stitching is very time-consuming and meditative. I don't want it to end! You can see how far I've progressed in the picture above. Of course, my decision to stitch single-layer presented me with another whole dress without any stenciling. How fun is that!?!
Tried out the Herringbone stitch in Dove floss
After a particularly inspiring session at my ASG neighborhood group, City-wide Couture, with our local beautiful Toni Morrison, I was anxious to try her idea of stitching wrong sides together (WST), using a decorative stitch to keep the seams pressed open. The seam allowances are only 1/4" so it's hard to keep the seams pressed open otherwise.
Feather stitch in Dove gray floss
Though I do love the Dove (light gray) floss against this dark brown, I wanted something a little different. I am surprised by how much I like this burnt orange against that dark brown. I am enjoying thinking about fall clothes and this combination fits in nicely.
I sewed the underarm seams right sides together per usual, choosing to accent the other WST seams with my go-to elastic stitch, the feather stitch. It was such great fun. And I've decided that this is a top, rather than another Fractal dress.
Yes, it's a bit short for a top, but I think it will be fun to wear. And I'm amazed at how well it coordinates with clothes in my closet, some quite old.
I had a great time playing dress-up with it.
With my linen Pearl jacket, TSW pattern Pearl and Opal
With my Japanese cotton vest, Cutting Line Design pattern Artist in Motion
Cotton home-dec fabric, TSW Plaza jacket
My first and last Coco jacket in silk home-dec fabric