Showing posts with label accessory. Show all posts

Sunday, August 4, 2024

I am still sewing

I am still sewing. And making. Maybe I am making more than sewing. Here it is August, and, for the life of me, I cannot remember if I made anything from start to finish during July. There is no July blog post.

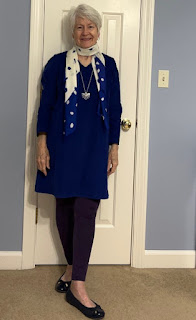
Wait! I did make something. Printed pants. But I have not worn them and I need to figure out why. Oh, yeah, they make me look fat. Yes, I know that is a cliche. I will pull them out and see if I can *fix* them.

The pattern was my tried-and-true fitted pants pattern, the Eureka, from Fit for Art. It still fits me in the challenging places. And it is easy to adjust for weight fluctuations.

The fabric I chose is a firm cotton Japanese print from deep stash. It has a pretty selvedge so of course I tried to incorporate that. I may have to rethink that, as I believe one of the issues with this piece is the hem length. I was going for a cropped length, but perhaps this is just awkward.

I will make it work, if only because I love the fabric so much. It is a deep navy with a muted print. It is solid navy on the other side - no bleed through of the print creating an ugly and wrong side.

These are definitely comfortable, so what gives? Maybe it needs pockets.

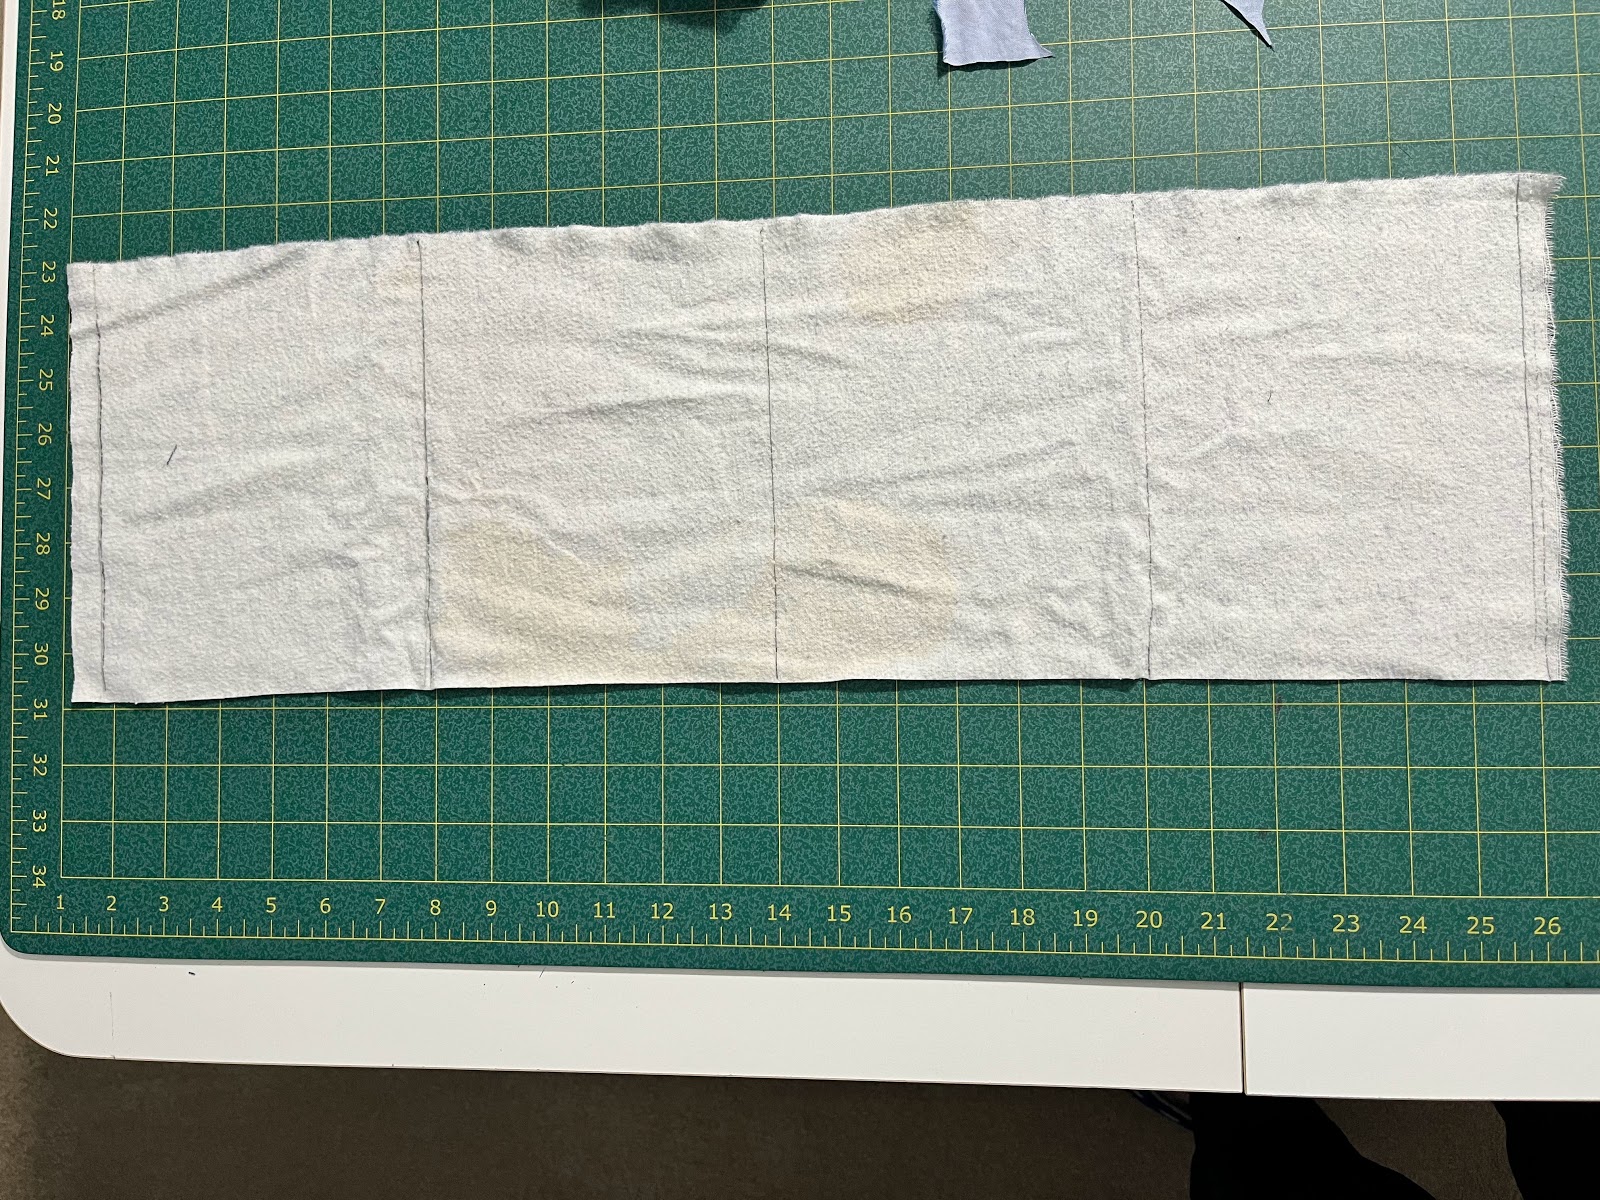
In other sewing/making news, I have taken two classes. One is the Sashiko Summer Slip-ons class, an online class offered by Tatter Blue and taught by Sanae Ishida in two sessions. There was an optional kit that I ordered. 

Sanae Ishida is delightful and the folks at Tatter are lovely to work with. 

That class concluded a week or two ago. Yesterday I finally finished a second slip-on, completing a wonky pair. 

They feel insubstantial. So I added a pair of arch supports which makes them stay on, more or less.

I have enough supply from the kit to make another pair. But, I am not sure if I will. The first one I made was entirely (well, exceipt for one mistake) like the provided instructions. That is, it was made entirely by hand. The sole is faux leather. Sewing it to the shoe top is definitely the only challenging part of the whole process, especially around the heel. My hands hurt when I finished.

So, now, several weeks later, my hands have heeled. I have completed the other shoe in the pair, this time, by machine. Using the machine definitely saved my hands, but it was still quite difficult to attach the tricky heel portion. I definitely should have added some stay-stitching and clipping there before trying to sew it.

The machine saved my hands, but it is quite difficult to control all the layers with a machine. If done by hand, it is easy to see if the layers are shifting and move them back into place.

So, if I make a second pair, it will be hybrid. I will make it by machine up to and including some important stay-stitching and clipping around the heel. But I'll sew the heel by hand. Maybe. We'll see. I am beginning to itch to make a garment. It has been too long for my mental well-being.

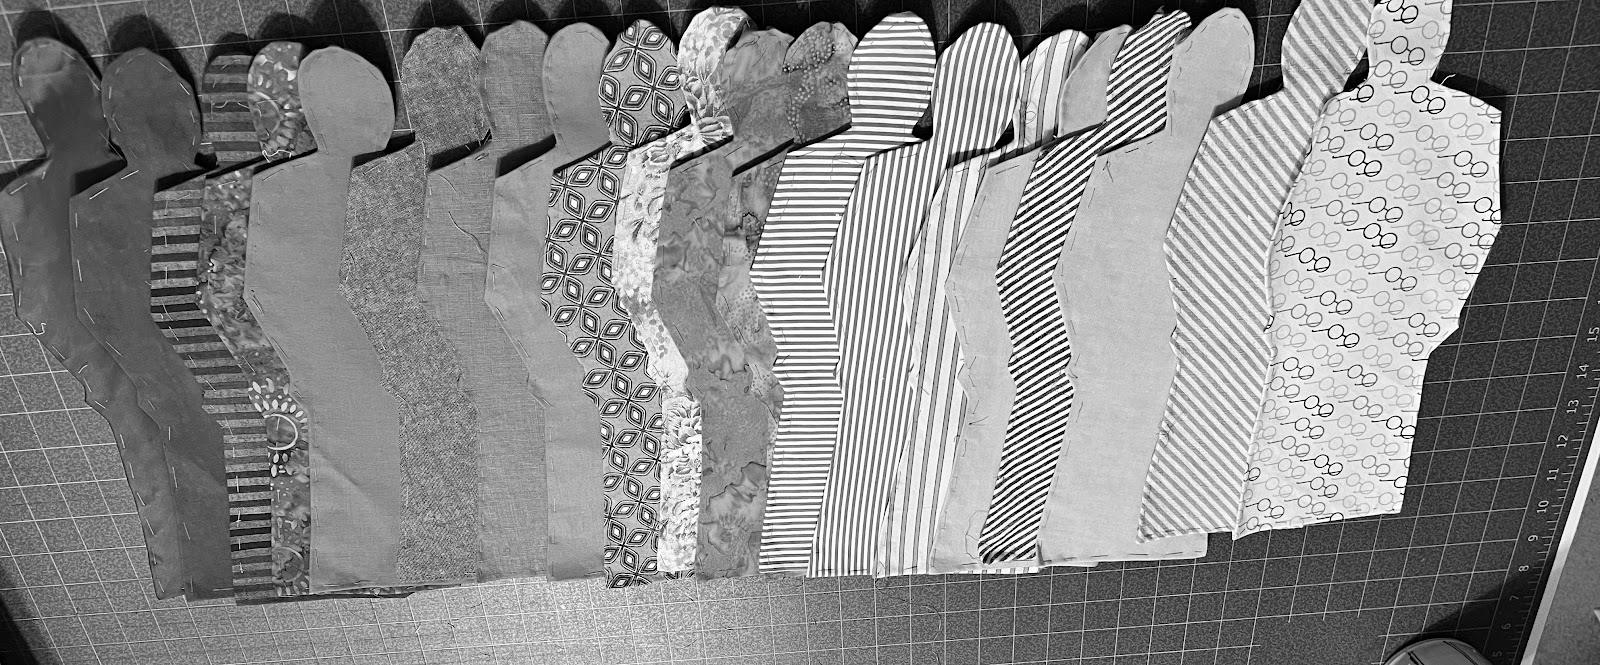
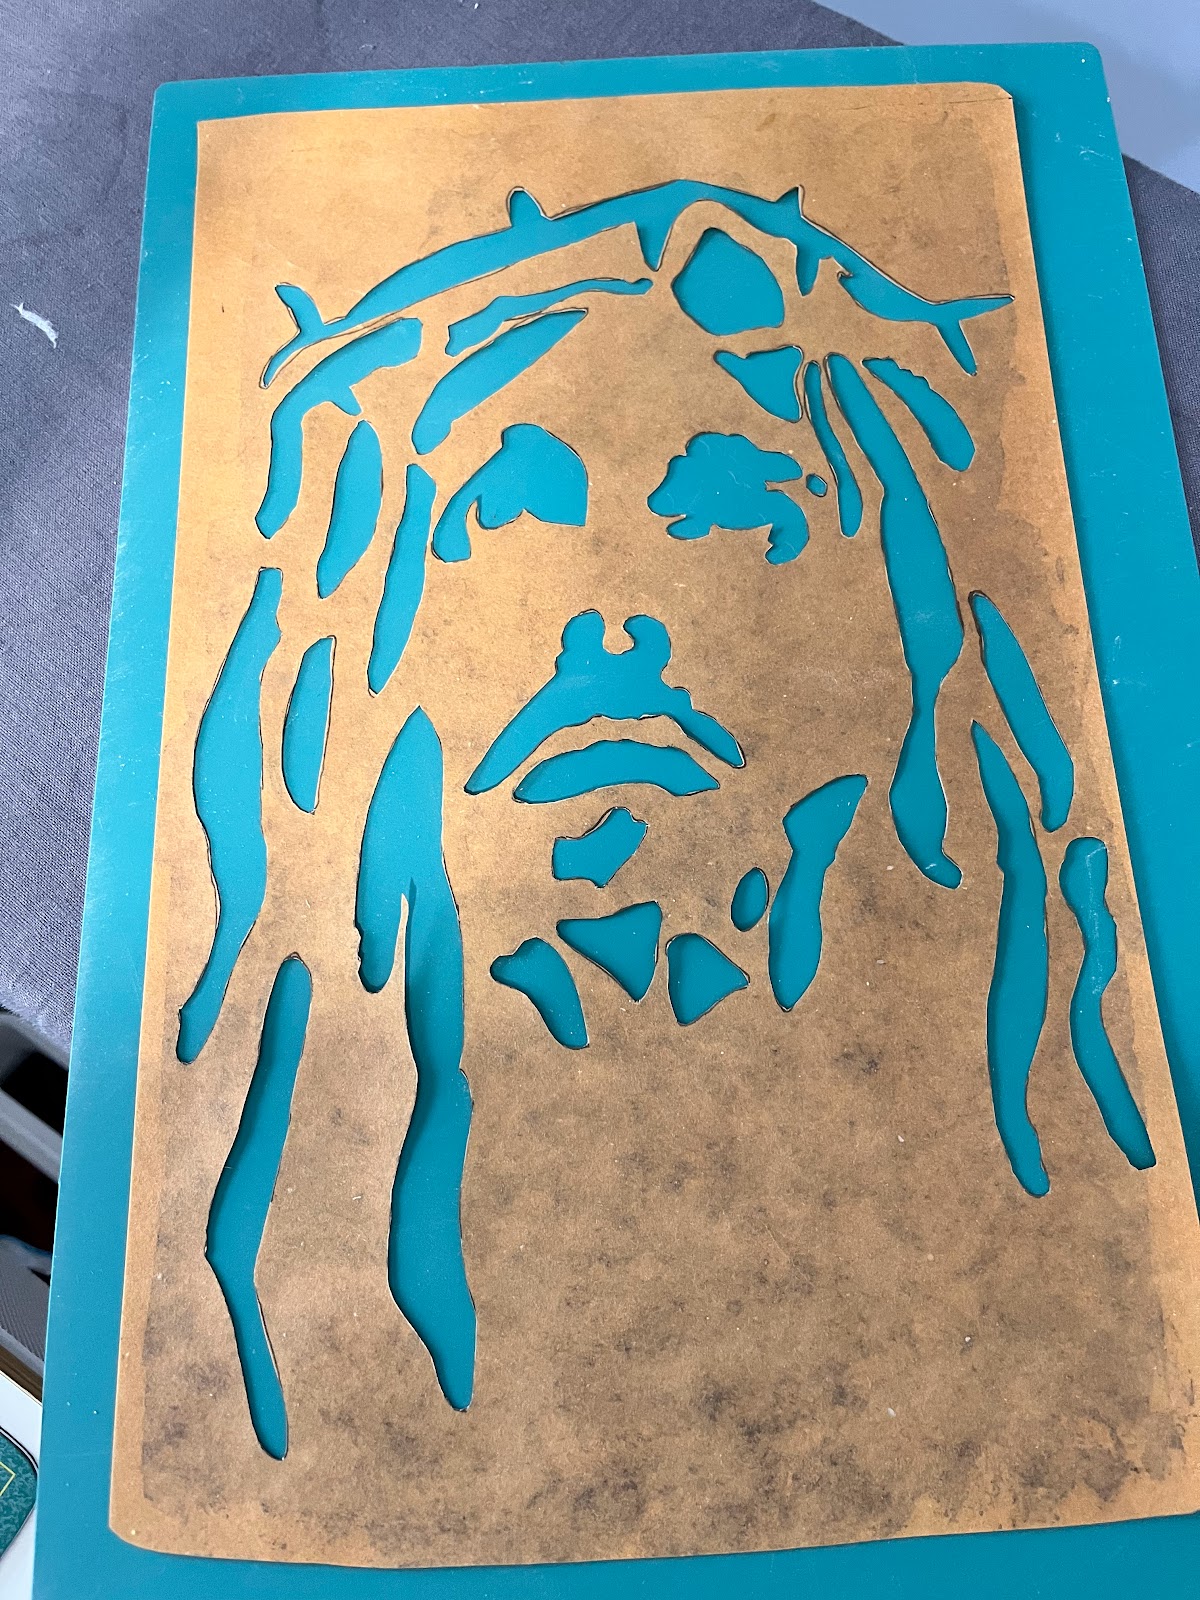
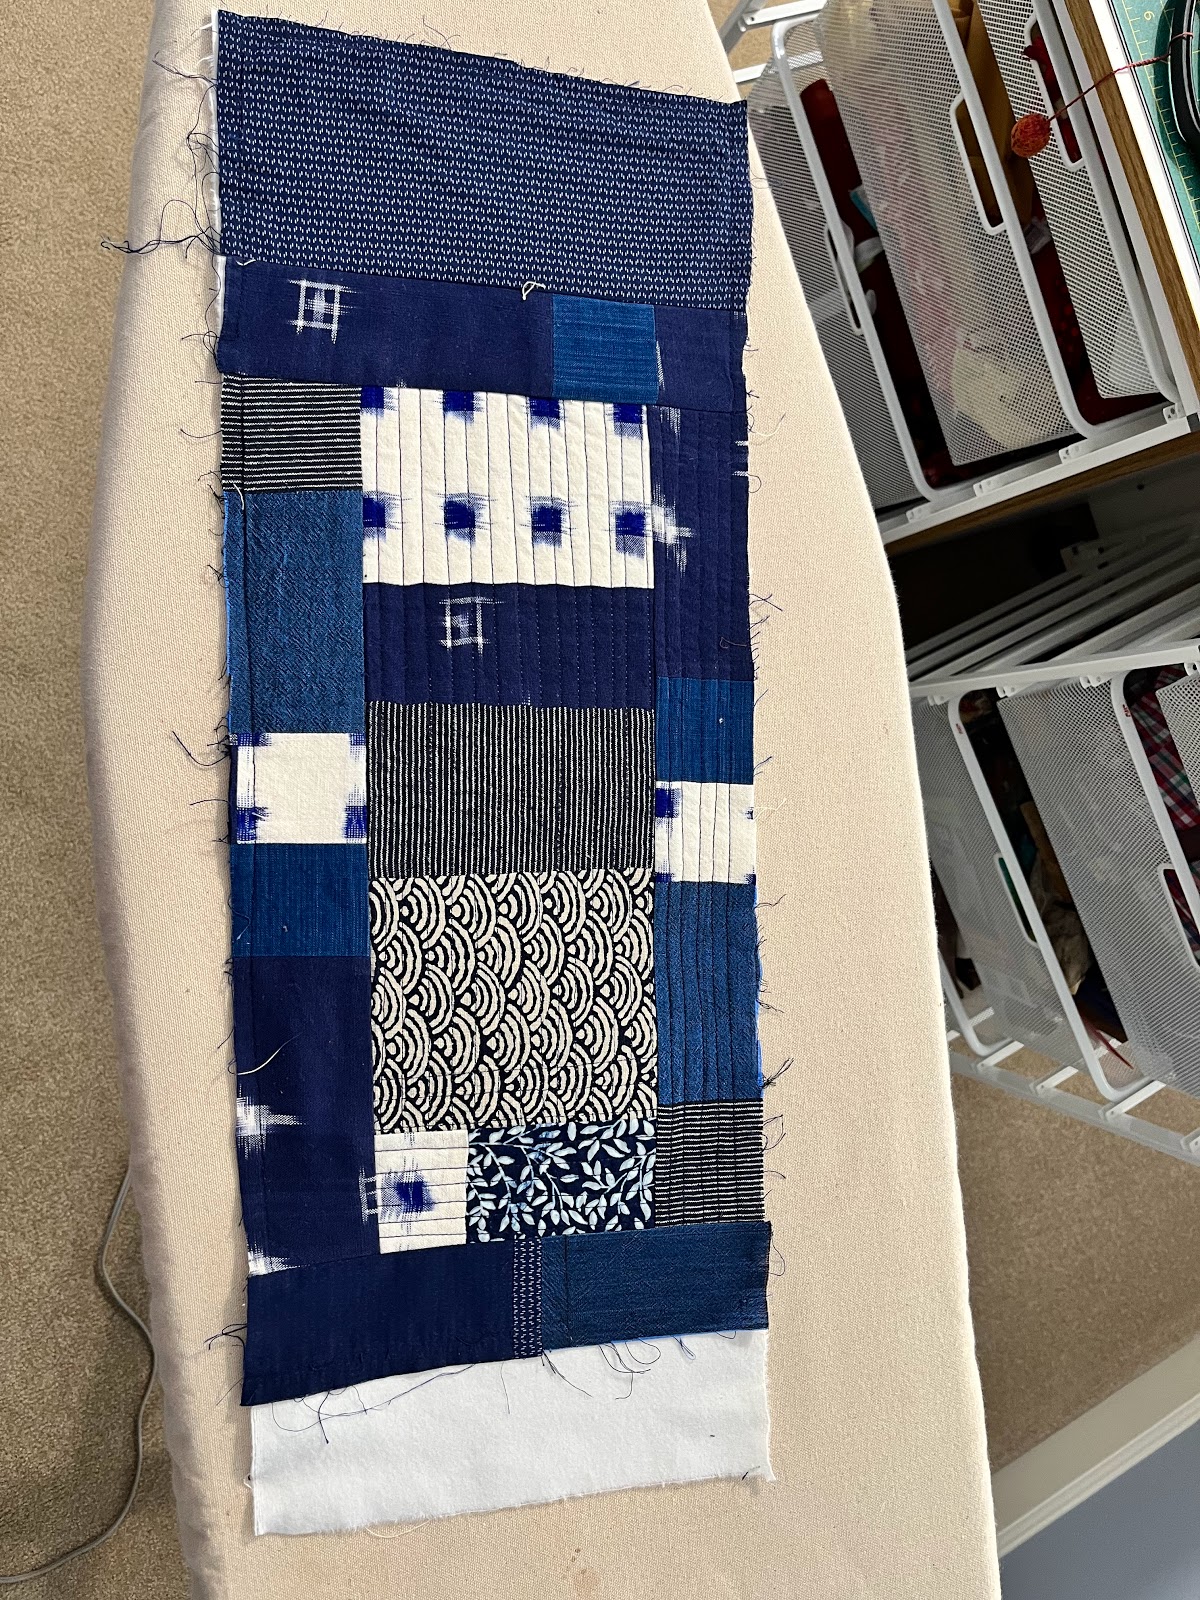
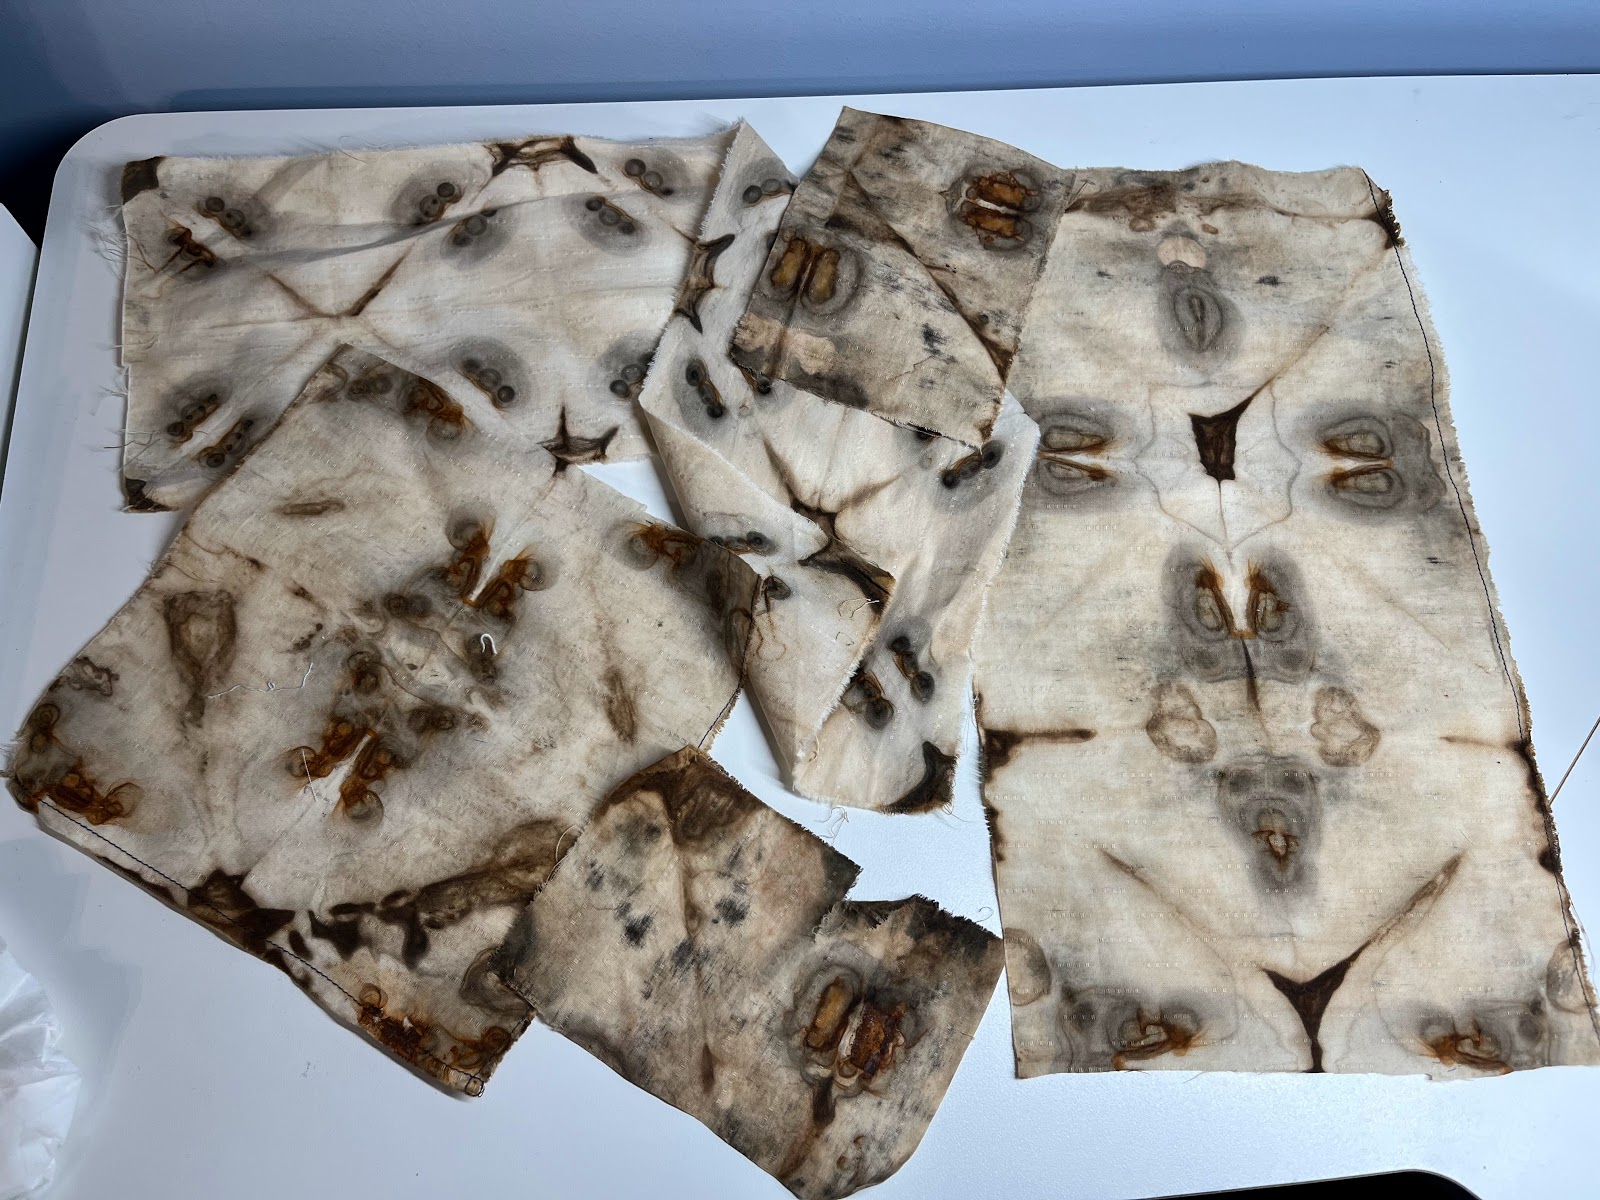
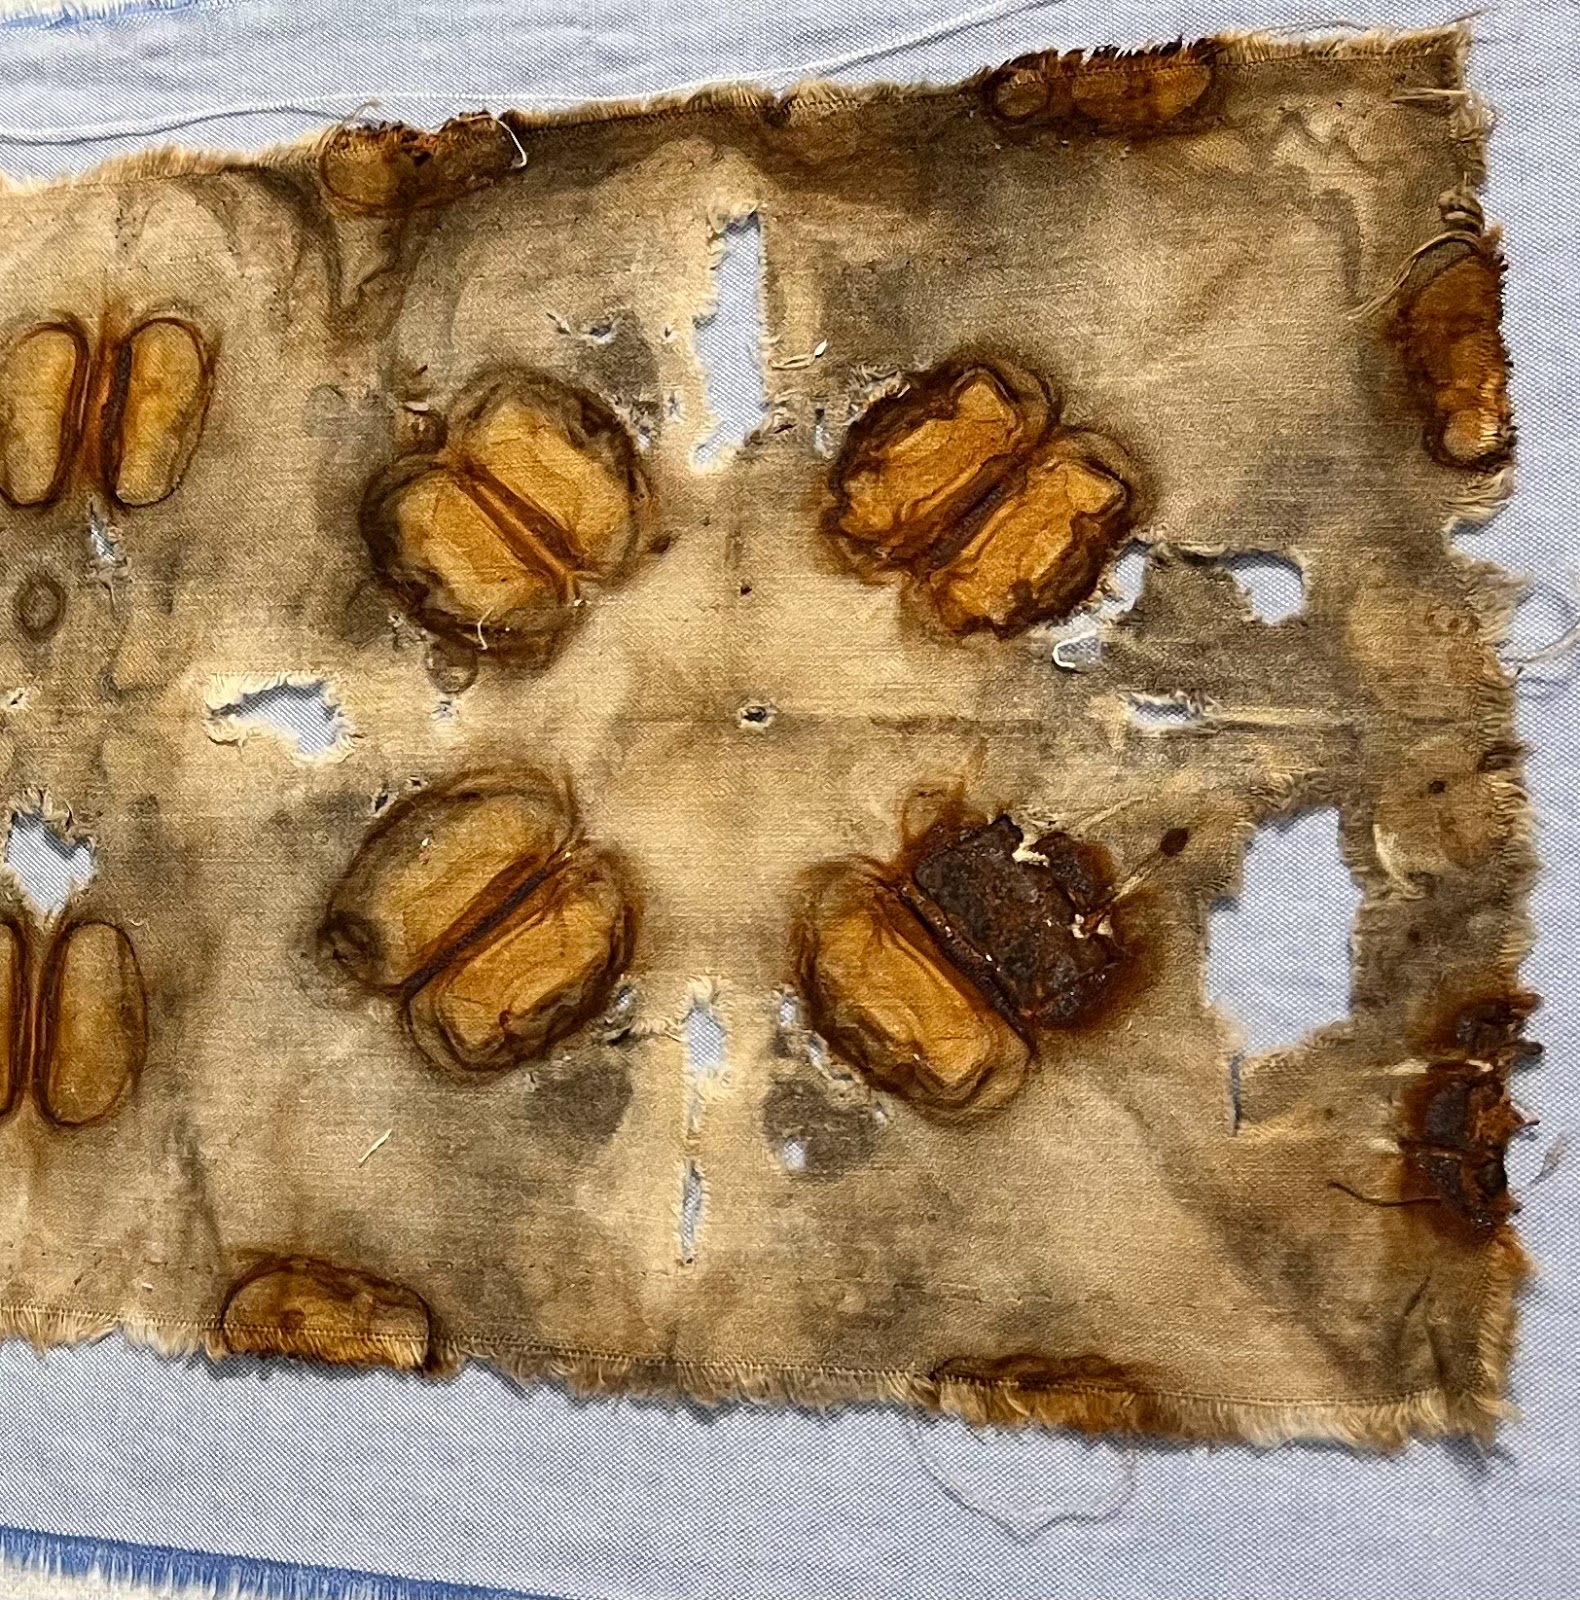
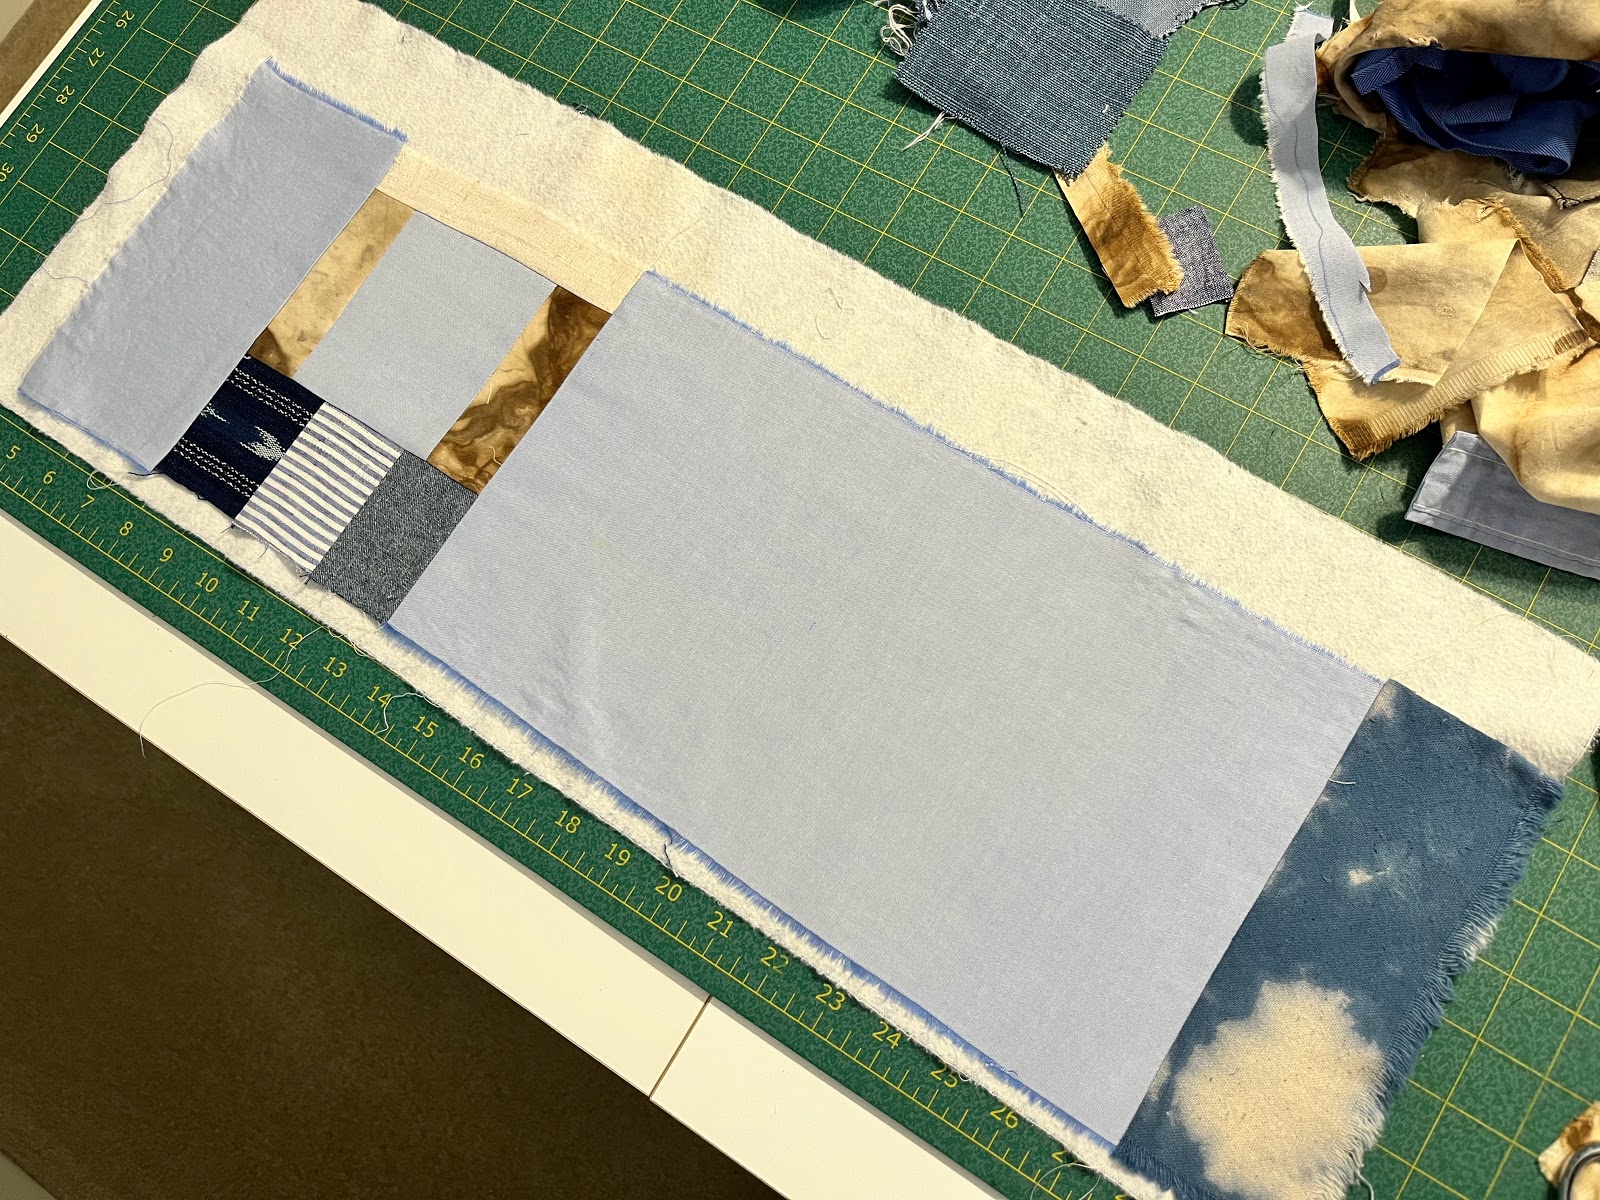
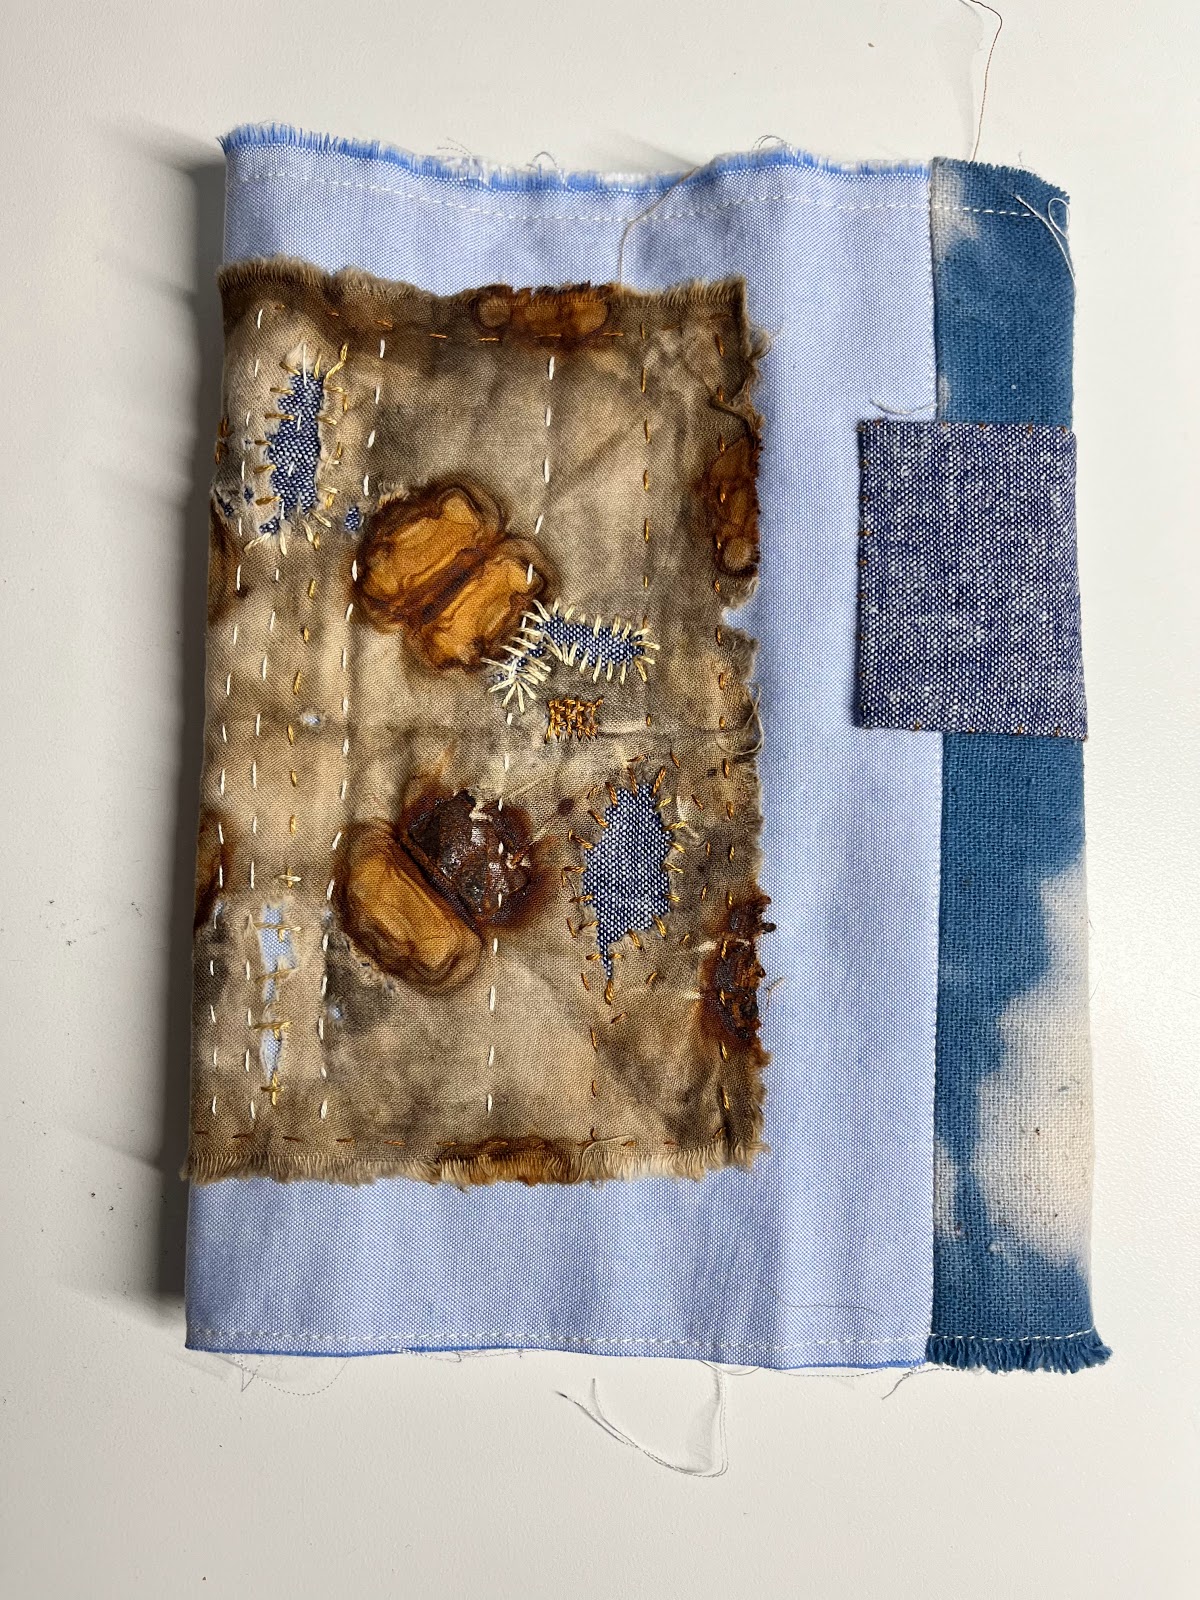
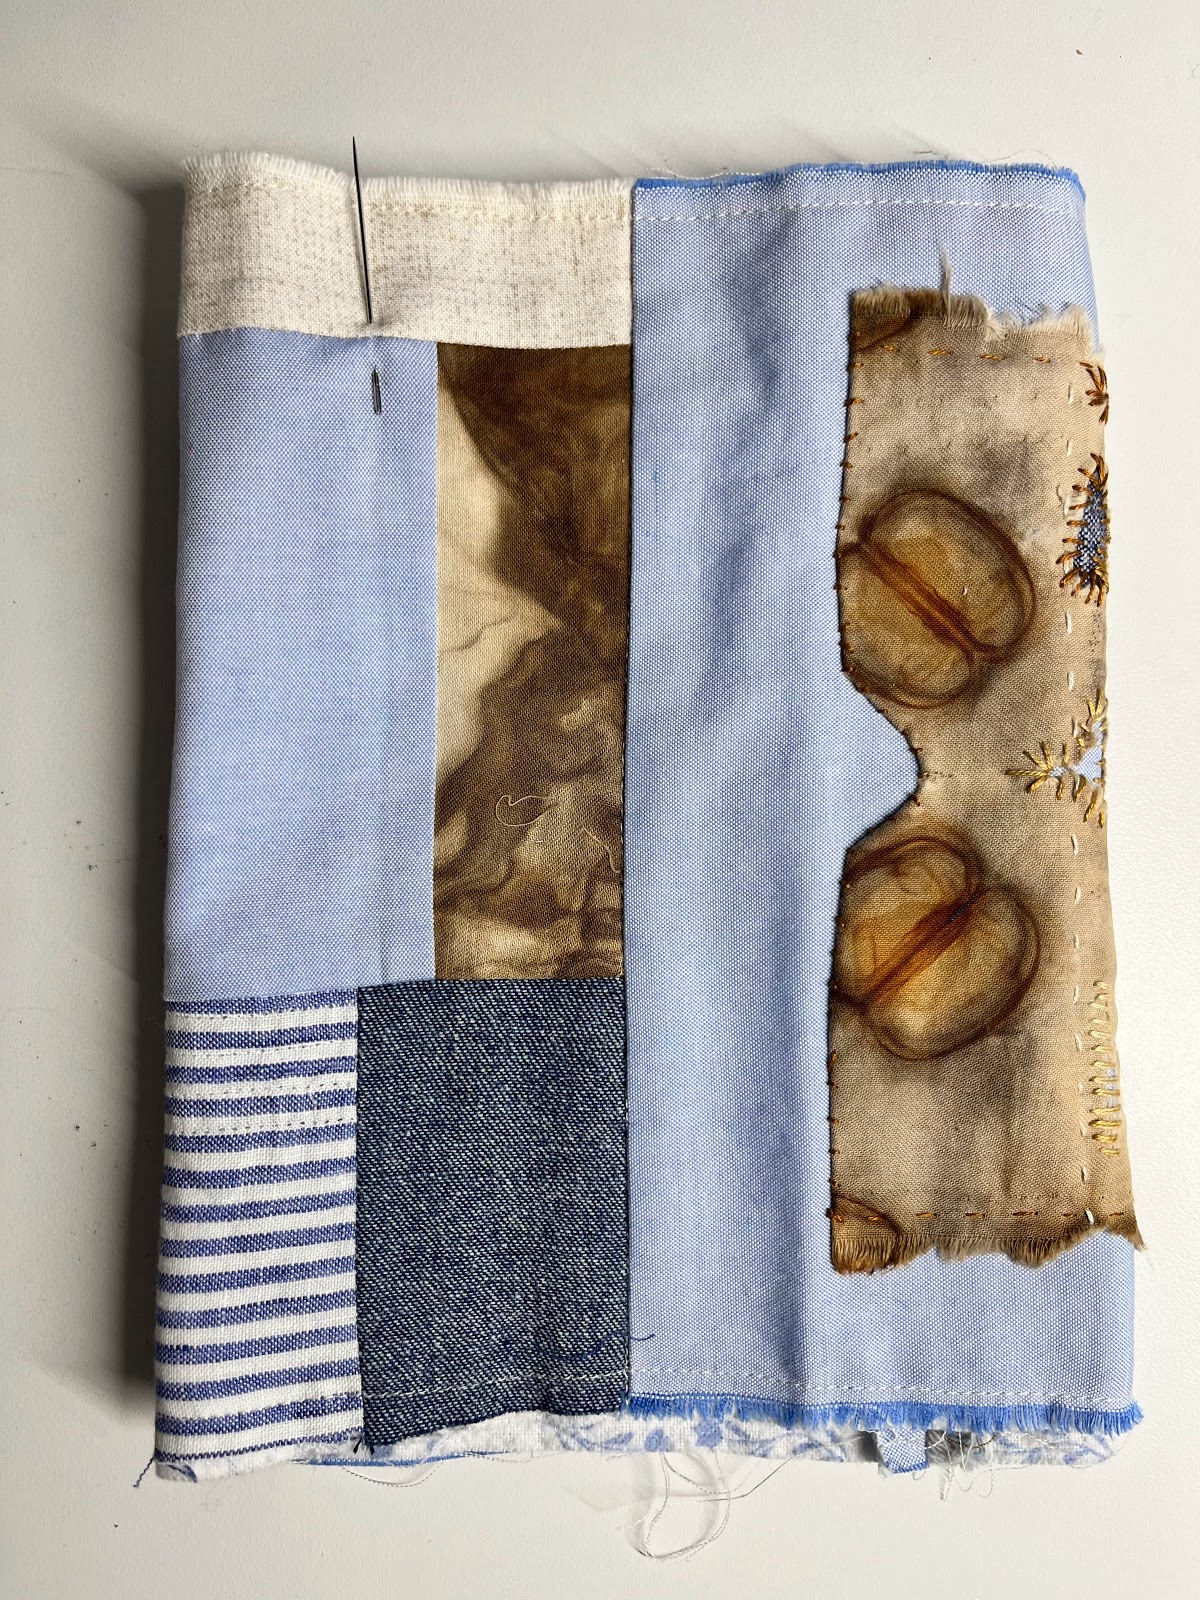
Meanwhile, my second class is another wonderful online class with the magnificent Jane Dunnewold. The title is Complex Compositions. I have been wanting a way to learn more about artistic composition. The principles apply to all sorts of arts and crafts.

This class with Jane, like previous ones, lasts several months with lots of videos, hand-outs, Q&A's, as well as an online community for sharing work and questions. It also includes a good deal of homework. It is not required but, knowing how I learn, I keep up with it for the most part. It really does help me remember stuff and then integrate it into future projects. 

The Jane Dunnewold course is not sewing but it sure is fun and definitely challenging.

So that is what happened to July!


Thursday, April 6, 2023

Station 5

This year, I chose Station 5, Pilate Judged Jesus, as my contribution to the Stations of the Cross, produced annually by the artists in my church. It is not one of the more traditional 14 stations. Our volunteer coordinator, Margaret, pushed us to produce 28 (!) stations by combining the traditional list with others introduced by a pope, I believe. 

Side note - can you imagine *coordinating* 28 artists?


One of the aspects of this annual ministry that I dearly love is that we acknowledge that everyone is an artist! All ages, all *skill* levels, all who claim they cannot draw, and so on. The only requirement is that it fit on a 24" x 30" canvas with a wire on the back for hanging in our church nave.

As usual, I sketched, fussed, trolled the internet, fussed, and sketched some more. A few days before our presentation at the Starving Artists' soup supper, DH asked me if I was finished. I replied that I was either almost finished or about to start over.


That is because I decided to add some paint. I knew that it would be either done or ruined. Spirit led me to done. Of course, it is always hard to say it's done. Maybe I should add this or that. A deadline has a way of reining me in. 


There are many layers to the story of Pilate judging Jesus. Herod refused to judge Jesus and sent the decision back to Pilate, a local Roman official. Pilate saw the mine field involved in judging this charismatic and spiritual Jesus. So Pilate turned it over to the people. And we all know what the people did. Just like Herod, just like Pilate, they turned their backs on Jesus.


My meditation for this is to wonder when I have turned my back on someone. I still have lots to ponder there. I sat with that thought throughout Lent. And I'm still sitting with it, praying I will be more open to the needs of people I encounter.


The quilt is composed of appliqued shapes of people from the back, silhouettes, really. I used remnants from various sewing projects and varied the contrast so that the upper figures read as fading into the background. The idea was to show lots of people turning their backs on Jesus.


After much gnashing of teeth, I decided to cut a stencil of Jesus based on an image I found online. I never could find a source for the original image, as it only appeared on someone's Pinterest page without a link to the original. It was just right for my idea.


First I printed it on my printer in 8x11 format. Then I enlarged it 175% on the printer in sections. Next I taped the pages together and, using a light box, traced it onto some wonderful stencil paper I purchased from Roland Ricketts. I have no idea what that stencil paper is called, but I enjoyed working with it. It has been sitting in my stash for years. It was nice to finally use it.


The next step was to cut with an exacto knife. That was back-breaking, even using my raised cutting table. Luckily DH has a work table adjusted for his much-taller height. That allowed me to cut the stencil without the awkward curve in my back. It still took a long time but the result was and is very satisfying. I love that stencil.


It occurred to me that the back of my quilt would be a nice test spot for the paint. The fact that the surface is quilted in long fluid lines created a surface not ideal for use of a stencil. I pressed it as flat as I possibly could and taped it to the table. Then I taped the stencil to the quilt. Next I placed my blank screen over it and applied fabric paint to it using an old credit card. It worked.


After the back dried, I did the same to the front. Again the paint sank into the crevices formed by the quilting, but I decided to like the effect. I was done!


This year, I attached the quilt to the canvas with hook-and-loop tape, applying a glue-backed hook strip to the canvas. I attached some sew-in loop tape to a strip of fabric and hand-stitched it to the back of the little quilt. That way, I can remove it and add a sleeve later for hanging in my sewing space.

And I like it quite a lot. And it's done. And it has been hung in the church.

After I finished mine and could relax a bit, I pulled out all my previous pieces. That was another meditation for me. 

With one exception, my pieces are quilts. One is a watercolor painting. It was a good challenge to make but not as much fun as working with fabric.

Most of the other artists use paints - oil, acrylic, pastel. And some add 3-dimensional pieces. But mine are soft and can be rolled for storing. Typically I have sewn them to a canvas that is painted a dark solid color. That tends to destroy the canvas over time. We'll see how I like hook-and-loop tape over time.

Here is a link to the document about all Stations of the Cross for this year. 

And now for a little palate cleanser:


Thursday, January 12, 2023

Boro Stitching

Japanese Rice Bag from 2019

Non-sewing activities in November and December left me feeling a loss. Sewing is so much a part of my life that I feel off-center and ungrounded when I don't have time for it. So here it is January and I have cleared off the wrapping paper and other detritus that filled the cutting table. I've started the new year with time in my healing space, the sewing room. And it's very, very good.


Next month I am teaching a class on boro using the lovely Japanese rice bag pattern from K Z Stevens. Also known as komebukuro, it is a traditional bag used for religious celebrations to bring rice to temple. I love the shape of bag and the fact that it provides a blank canvas for fiber art exploration.

Side panels (rectangle) and square bottom cut to size on a piece stitched to white flannel

As prep for my class, I made this sample.

It's fun to remember the previous projects that are represented in this bag, as well as the adventures involved in acquiring the fabrics. For example, I see remnants of a favorite Archer shirt from Grainline Studios worn recently on a trip to Israel:


While rummaging through my remnants, I began to wonder, just what is boro? And what might boro be for the 21st century sewist? No one I know has precious rags that have been pieced together to provide warmth during the winter, as the original boro did. So I thought, perhaps, for me, boro stitching means using what I have and not buying new. Though not real boro, it captures the spirit.


This approach to boro allows me to pull out precious little pieces from old projects. Diane Ericson calls this the *parts department.* An example is the piece below. I used to keep a little brass pot in my pantry with folded cotton inside. Each morning when I finished steeping my tea, I threw the bag into the little pot. After some weeks (months? years?), I retrieved the fabric and unfolded it.

There were tea stains, as well as rust marks from the clamps I used. I really like the design, as well as the obvious decay. It is fragile. Just looking at it gives me joy.


As I considered it, I thought that a light blue background would be interesting underneath and adjacent to it. I did not have any fabric that worked. My husband has more cotton button down shirts than any human needs (just like I have more fabric than any human needs), so I asked him to donate an old one to my project. He was happy to oblige me. 


Using this soft light blue shirt cotton,  I began to compose another rice bag as a possible way to spotlight my fragile fabric. Composition is a subject I'm interested in exploring. My sewing tends to be somewhat spontaneous but I do appreciate that composition can create more satisfying results.

One approach is to assume that the vertical seam will fall along a corner of the square bottom. Then you can mark the places where each of the four panels will be ultimately be situated. I have generally taken a seredipitous approach, and applied embellishment that does not depend on careful placement. And I tend to avoid placing the vertical seam at a corner, because it adds bulk to a place where sewing finesse is already required.

This is what I have so far. I can locate the side seam so that the panels are ones I like before sewing to the bottom. In previous bags, I allowed myself to be surprised, but since I'm teaching, I thought it might be helpful to think in terms of planning AND creating.

But maybe not.


Tuesday, March 15, 2022

Carpe Diem

When Rae from Fit for Art reached out to me about participation in a fashion show at the local Expo, I gladly said yes. They are such nice people and I like their system of garment construction. I have each of their base patterns plus a few of the pattern variations.

Their first pattern was the Tabula Rasa, or blank slate. It is an easy-to-sew and fit pattern with a narrow front, a narrow back and a side panel. The sleeves are inserted in an interesting fashion that I cannot adequately describe. I've made both jackets and vests from this pattern.

Tabula Rasa jacket in handwoven cotton from Guatemala and Eureka pants in cross-dyed linen.

Their next pattern was the Eureka pants pattern. These are fitted pants with darts in the front and back for proper fitting. When this was issued I was fortunate enough to go to the Expo where they set up a little booth and fit me perfectly. Then I lost weight. But because the fit was correct to start, lost weight did not change the overall fit. I simply took in the side seams and they seem to still fit nicely elsewhere. 

Their most recent pattern is the Carpe Diem dress pattern. Here they have created another *blank slate* modeled after the original jacket pattern. Of course I ordered it right away. But I had not made one yet.

I used the invitation to model as a reason to make my first Carpe Diem dress. It was fun to sew and I will enjoy wearing it. I chose cotton pinwale corduroy from stash in a gorgeous royal blue. It was an easy fabric to manipulate though I was careful to iron from the back side of the fabric. 

It is a little larger and a little shorter than I expected. I fit into size M according to the measurement chart. I wasn't sure about whether to make straight side panels or angled ones but decided on the wider angled ones to make certain this corduroy did not get stuck on my hips. I think I could take it in but, for now, I'm leaving it alone.

The pattern includes a long dress hemline, as well as a *medium* dress length, and a tunic length. I cut mine along the medium line. I'm not all that tall at 5'5" (and shrinking) but I notice the ladies at Fit for Art are petite. As long as I wear leggings or tights, I think it's OK. 

To ensure the longest length possible (yes, I should have checked finished back length first), I cut 3" bias strips in a remnant of cotton striped fabric. This allowed me to take it up only 1/4" when I hemmed it.

Just for fun, I also used the striped fabric for the neck facings. This part of the construction is nice, as the facings get caught in the vertical princess seams. 

I finished it the day before the fashion show. Whew! 

After the show, I went back and inserted pockets in the side panels and added a striped facing to the sleeve hem too so that I can roll the sleeves. I found the sleeves to be just a bit short too.

It was a pleasure to make this up and I hope to make some blouse versions next. I might go down a size but I'll take finished measurements before cutting fabric. What a good idea, right?

The Carpe Diem dress can be finished with a zipper in the back or a key-hole opening. I wanted my version to be V-neck and I wanted it to slip over my head. To accomplish this, I simply drew a straight line from the shoulder to the center front on my fabric. I measured to make sure it would slip over my head.

Then I made the same change to the front facing.

The only other change was a slight forward shoulder and rounded back adjustment. Once again, Fit for Art has created a super versatile pattern, I think! Nice work, ladies.

Today I woke up and just needed to make something. So I pulled out some quilt cotton that was gifted to me and constructed a little bag. It fits my new phone or sunglasses. Some days I just need a little taste of sewing, nothing serious.