Thursday, May 25, 2023

Ginsbird

It's all about the fabric. That's what Mama always said. And Mama was right.

This fabric came from Spoonflower. I needed it after a friend told me his wife put up Ruth Bader *Ginsbird* wallpaper in their guest bath during COVID lockdowns. Well, of course, I had to have it in fabric. So I ordered it in their Petal Signature Cotton - one yard in the huge print, and one yard in the small print.

It's been sitting in stash ever since. First of all, there is the fabric. It's stiff. It has no drape. But it's so danged cute. So yesterday I pulled both pieces out, determined to *make something.* I like making stuff. It gives flow to my life.

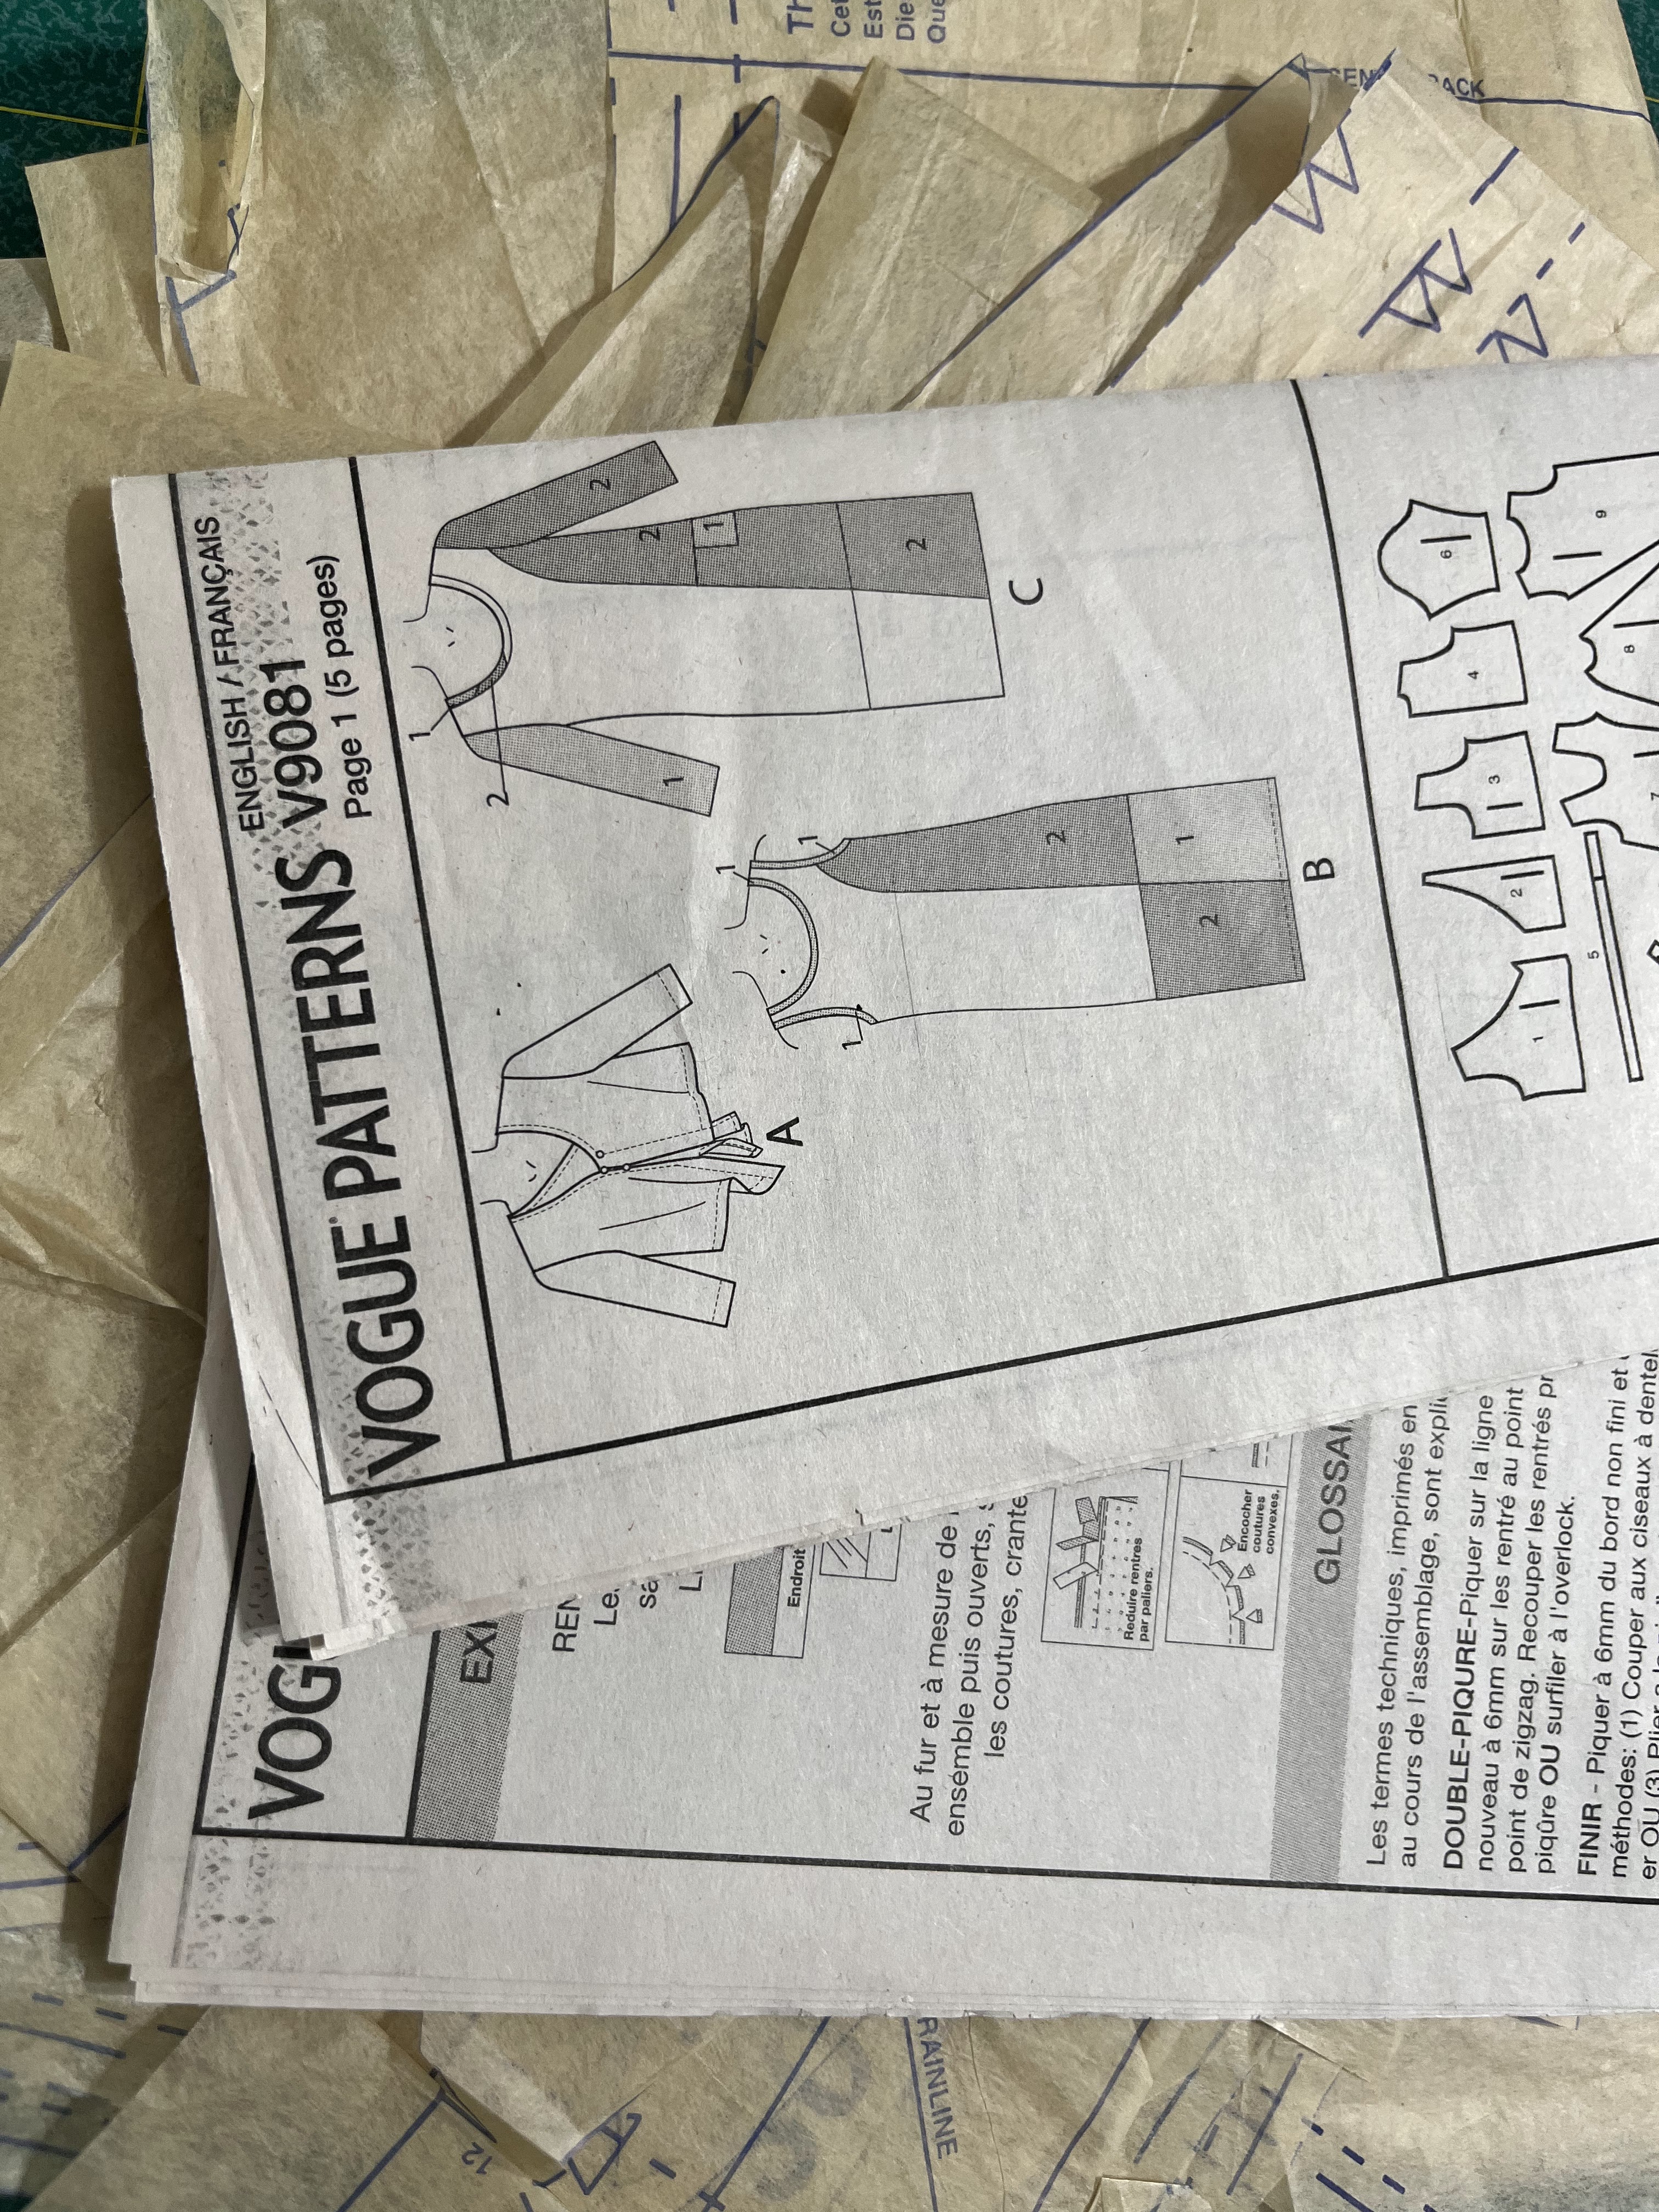
After auditioning a few patterns with potential, I chose the ever simple and easy Eureka top from the Sewing Workshop. For some reason, it was marketed as a pattern for knits but it makes up equally well in woven, even stiff, tight woven fabric.

There are essentially two pattern pieces - the front and the back. The shoulders extend into the look of a cap sleeve, something I like for summer. Yeah, yeah, I know. My arms are not what they used to be. But they are still doing what needs to be done and I'm grateful. Also it's hot in the summer where I live.

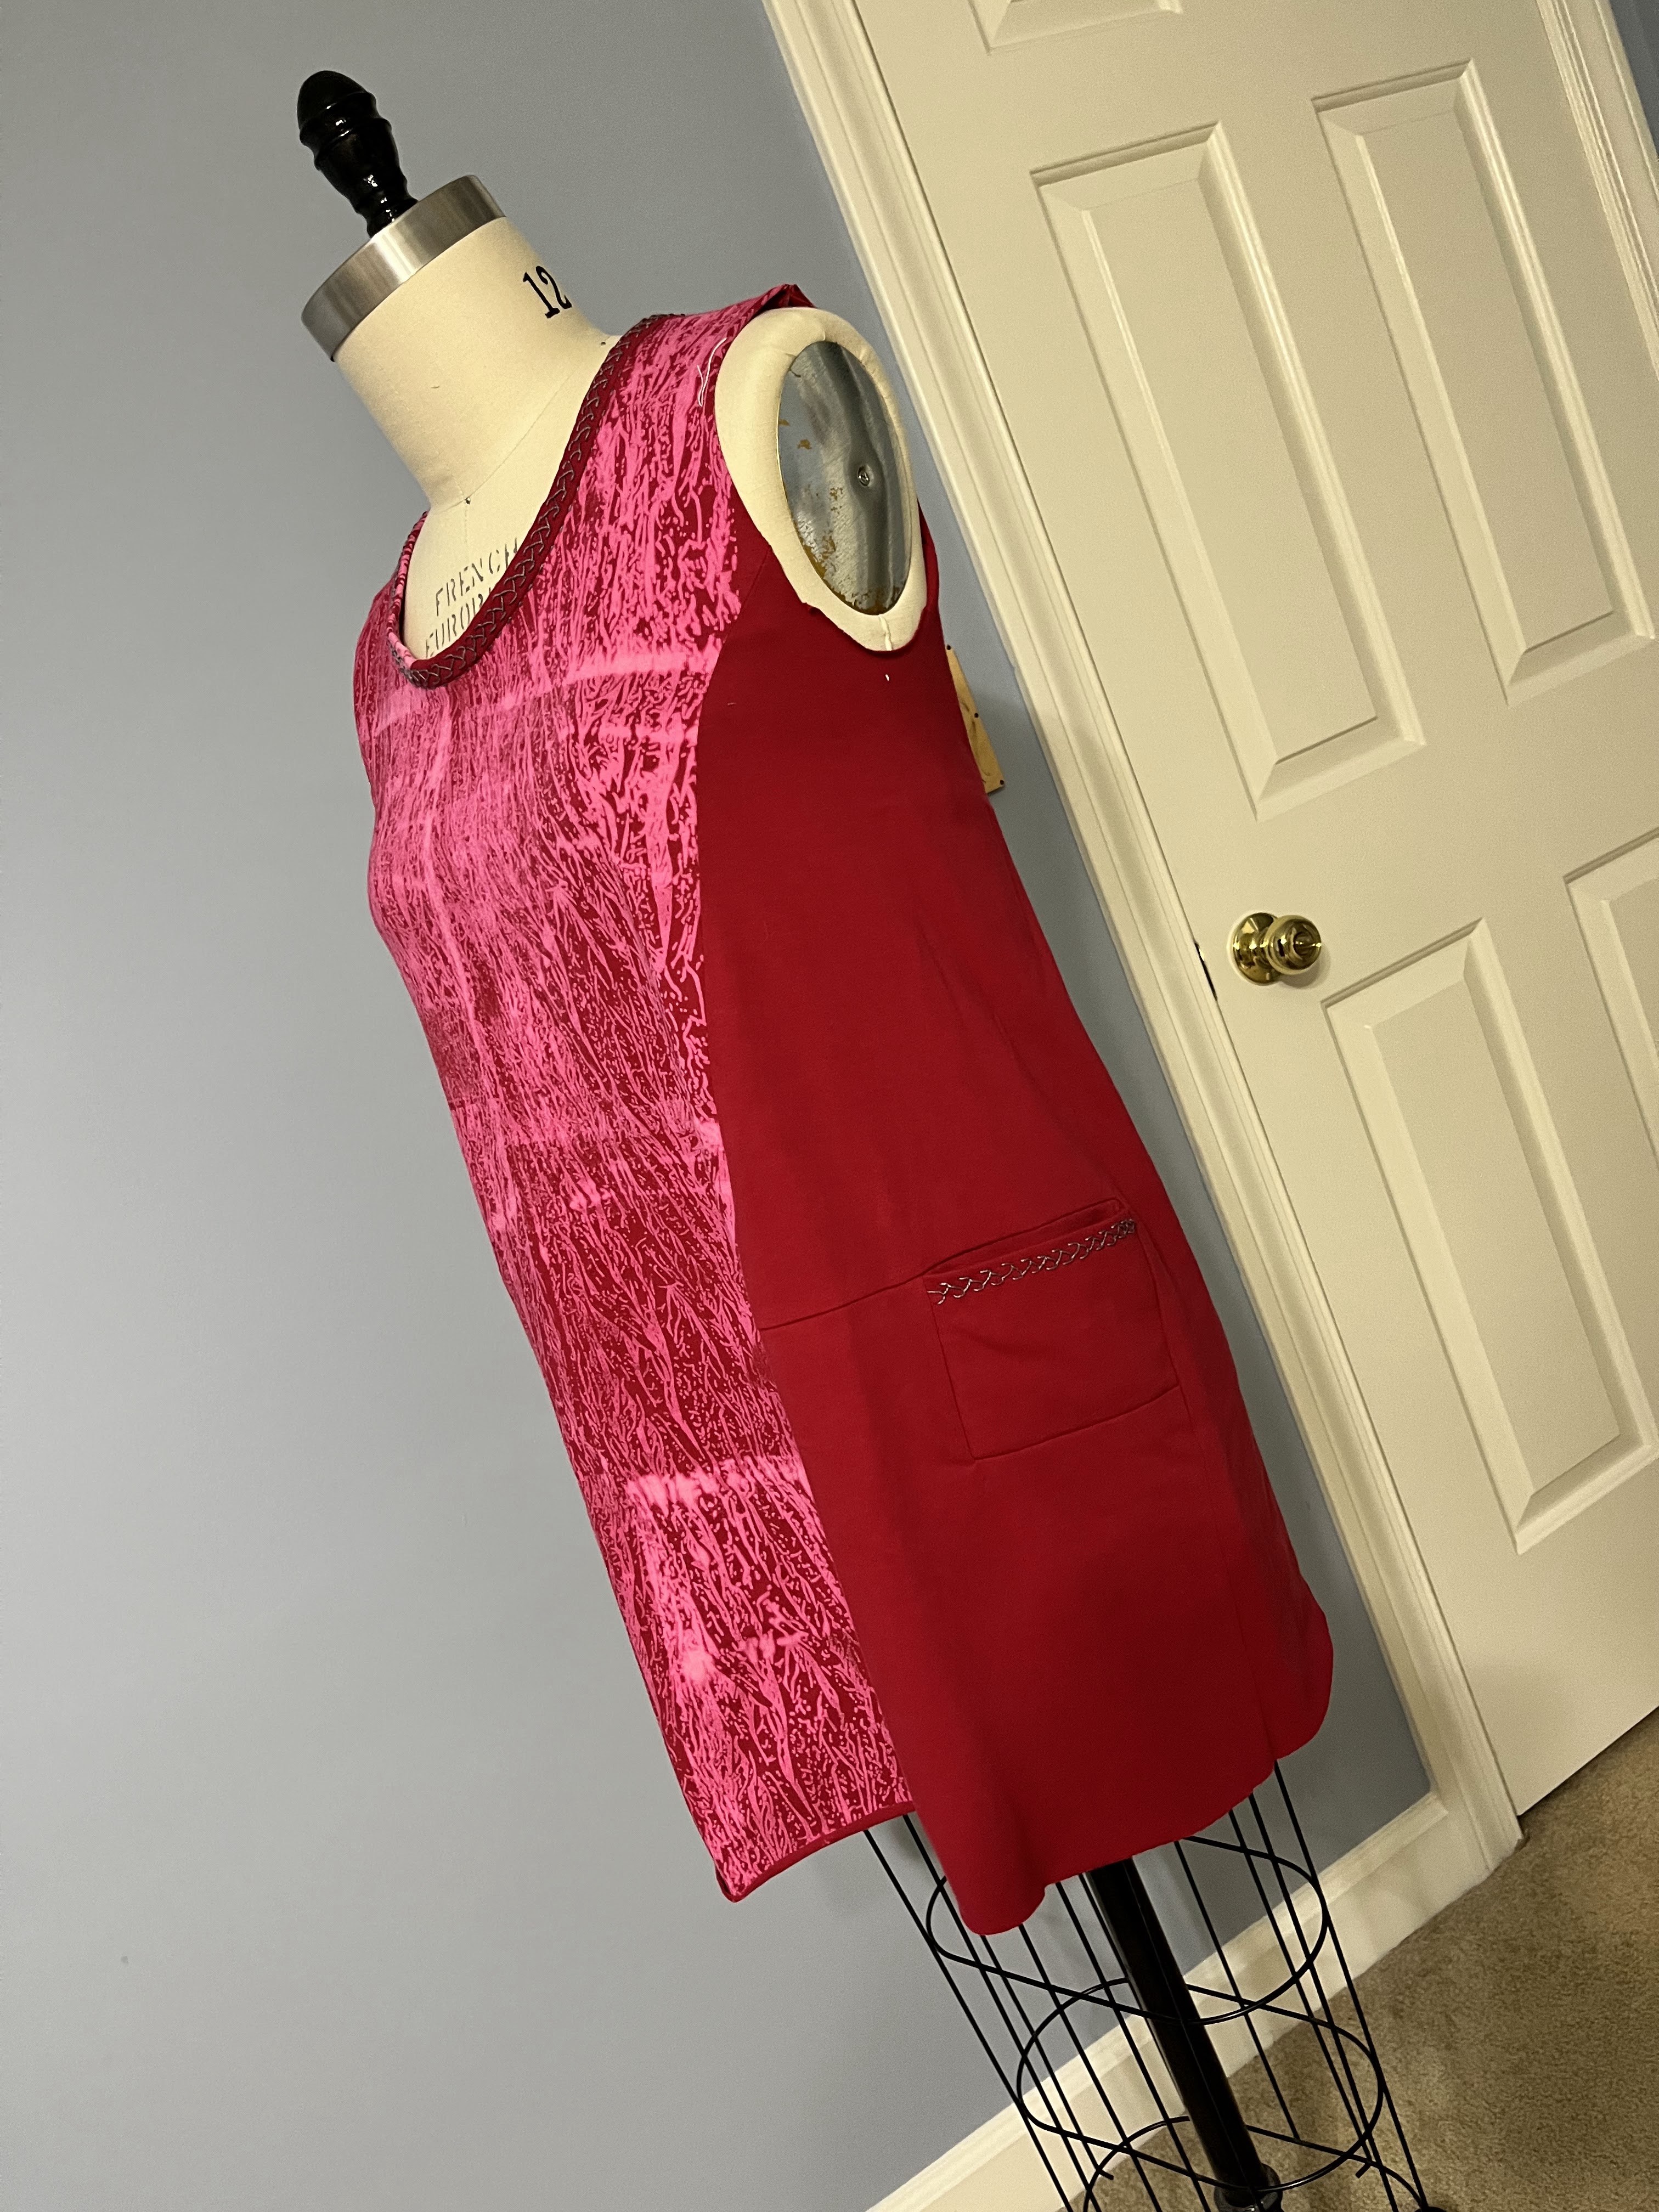
I cut the hem off straight and made the back a little longer than the front. This pattern runs a little short, I think, so this one is lengthened about 5 inches.

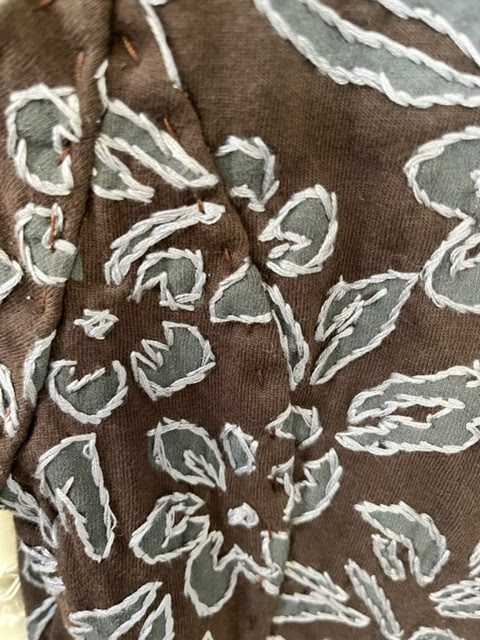
I found a quilt cotton remnant in stash with a gray and black pattern to use for the bias binding on the neckline and the sleeve hems. The quilt cotton is quite soft and drapey compared to this RBG fabric! 

Of course, I had to add a little patch at the back neckline and a single pocket in the front for a tissue. And I omitted the sleeve cuffs. 

Given the nature of the fabric, I chose to do everything by machine. I decided it would be fool-hardy and not zen to hand sew anything on this fabric.

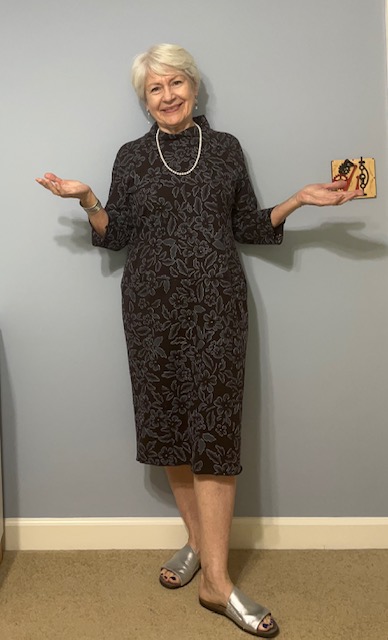
I thought it might look like sandwich board in the end, but I think not. I quite like it and I am going to wear it.

Today I'm wearing it with pants I made a few days ago from a mystery black remnant in stash. I think it's rayon. These are the Urban pants (also a Sewing Workshop pattern), but without the front vent. I simply continued the center front seam to the hem.

The Urban pants are another summertime staple for me. I have made them shorter than the original for more of a cropped length. Because of the straight lines, they would work for shorts too. 

They are basically what Louise Cutting calls One Seam pants with an added center front seam. The CF seam is strictly a style element, adding nothing to the shape or fit. But it means they can be cut from more narrow pieces than the One Seams. 

And they have the Sewing Workshop signature flat front with elastic sides and back. So comfortable.

Summer is the time for simple, loose, fun clothes, I think. Off to dig in stash again.


Wednesday, May 17, 2023

Screen Printing and Vogue 9081

Vogue 9081 is a Marcy Tilton design for Vogue patterns. It includes a dress, as well as a sort-of cardigan. The dress can be made with a woven fabric, rather than requiring knit fabric as many of Marcy's designs do. I think it is flattering and easy to wear in the warmer months.

The last time I made it, I used a super bright orange linen. It was lovely to sew and I enjoyed making it. Wearing it was something else. I felt like a traffic cone. And so I began to rework it. You can read more about that process here.

Recently I've been enrolled in Jane Dunnewold's Screen Club. Each month she sends the students a new and interesting thermafax screen. Each month, she also provides a 90 minute live tutorial on a particular process involving screens. Sadly, she's had to terminate the subscription service. Evidently her machine could not reasonably handle that level of production. Now I will definitely sign up for a future class with her. She's wonderful - knowledgeable, inspiring, careful, intuitive and and great all-round teacher.


I found that I enjoyed the most recent topic a great deal. It involves a kind of bleach color removal with lots of safety tidbits from Jane. She is exceptionally knowledgeable here, dispelling some myths I harbored about bleach printing, as well as de-colorants.

After playing with some scraps, I decided to cut out yardage of organic cotton knit to make a dress. My idea was to screen it with bleach if it would de-color in a way I liked. My test pieces bleached to pink from this medium red. I was not sure I loved it.


So I went ahead and cut out the pieces using Marcy Tilton's old Vogue 9081. Now this was destined to be a real yawner without some kind of embellishment. I decided to go for it, but not on all the pieces. Here it is during early construction:

Three pieces have been sewn together, the main front piece printed with bleach. Now I was really unsure. I kept driving the words Pepto Bismol from my head. Not I do like pink but I just wasn't sure about this.

So I kept going. It did improve some as I attached to rest of the pieces. And it's a fun pattern to assemble. All the puzzle pieces fit neatly together.


At this stage I liked it more.

But still it did not seem right. The overall effect was somewhat jarring. I tried out various embroidery stitching on the neckline but that came out. Twice. Then I just started adding more-or-less vertical lines of running stitch in various places, especially to break up where these two pieces were sewn together.

So I added a variety of similar *lines* on the dress, trying to create a more cohesive piece. Maybe I succeeded. Maybe not. Either way, I'm wearing it!

Back:


Monday, May 8, 2023

Fractal Dress 2.0

In April 2022, I was lucky enough to attend an Alabama Chanin workshop from their School of Making. It is such a fun place to play and sew and chat. The workshop includes your choice of one of their kits. A kit is created for you and ready to start the second day of the workshop. Students are able to select from a number of their garments, as well as a few non-garments (baby blanket, for example). The kits include two layers of their organic cotton knit. One layer is stenciled professionally in the stencil of your choice. Each piece of the pattern is cut out and ready to embroider. 

After trying on a number of their samples, I chose the Fractal Dress. It has a lantern shape and about a gazillion panels - 4 on the front bodice, 4 on the back bodice, 4 on the skirt front, 4 on the skirt back, 2 on each sleeve, and the collar.


My kit:
  • Pattern: Fractal dress, size S
  • Outer knit: brown (earth)
  • Inner knit: brown (earth)
  • Stencil: Abbie's Flower
  • Embroidery floss: Slate


Each kit includes two 8x10 rectangles, one with the stencil and one without it. This is a wonderful part of the kit, as it gives you the opportunity to test your ideas about how to stitch. There are so many ways to go - applique, reverse applique, and on and on. 

The stencil I chose, Abbie's Flower, is complex. That is, there is not a lot of open space either between motifs, or within motifs. This makes the embroidery options challenging, IMO. Typically the embroidery motifs are outlined with an embroidery stitch. Then fabric from the inside, or the outside of each motif is cut away. This can produce a beautiful effect especially if the outer dress is a different color from the inner dress. The effect is lovely and, with a different motif, it will dramatically reduce the overall weight of the finished garment, in addition to allowing the under fabric to peek out.


After completing my 8x10 sample, I became convinced that the dress would be like armor if I constructed as two layers. There was simply too little to cut away, no matter whether I chose applique, or reverse applique, or negative reverse applique.


In a previous kit, I used a more open stencil. In that case, cutting away fabric gave the jacket a lovely drape that did not feel heavy at all.


And that is how I ended up with two dresses instead of one. I completed the plain one a while back and I've enjoyed wearing it. It is the fabric that would have been the underlayer of the dress.


As you may know, the kit comes with the pieces already cut out. There is no pattern included, although I could have purchased it. In retrospect, I certainly should have done so. It would have saved me a lot of hand-wringing during assembly of each of the two dresses.


Each panel is supposed to be labeled. I noticed some ambiguity in their labeling while I was still there and sent it back for more specific labels. It helped but they were inconsistently applied to all pieces. And, in the case of the skirt, it was going to be easy to sew pieces together upside down. Given the lantern shape of the dress, the waistline is actually larger around than the lower hem of the dress. But the difference is quite small, as it is spread over 8 panels. Finally I called them and asked for very specific measurements for the top and bottom of each skirt piece. I still had to identify some pieces by process of elimination.


Having said all of that, I actually enjoyed making both versions of the dress. And I love the effect of each. My *outer* dress, like the plain one, is single layer. I outlined each motif with a back stitch. It was fun to make it a bit jagged to mimic the edge of leaves. 


And, obviously, I did finally finish it. Now I want to another kit to stitch, perhaps a long skirt next. I'll have to save up for that!