Showing posts with label jacket. Show all posts

Tuesday, January 23, 2024

New Year - New Pattern!

Although I am a slug when it comes to New Year's resolutions, I do think about them. And I do have a little plan - not too strenuous and I'm happy to forget about it. Just a thought, really.

I've been working my way through my fabric stash for a while. Because I keep most of the remnants, the stash never seems to diminish, but that's ok. For a slight twist on that theme, I'm hoping to use my fabric stash to try out new patterns - patterns that I already own.

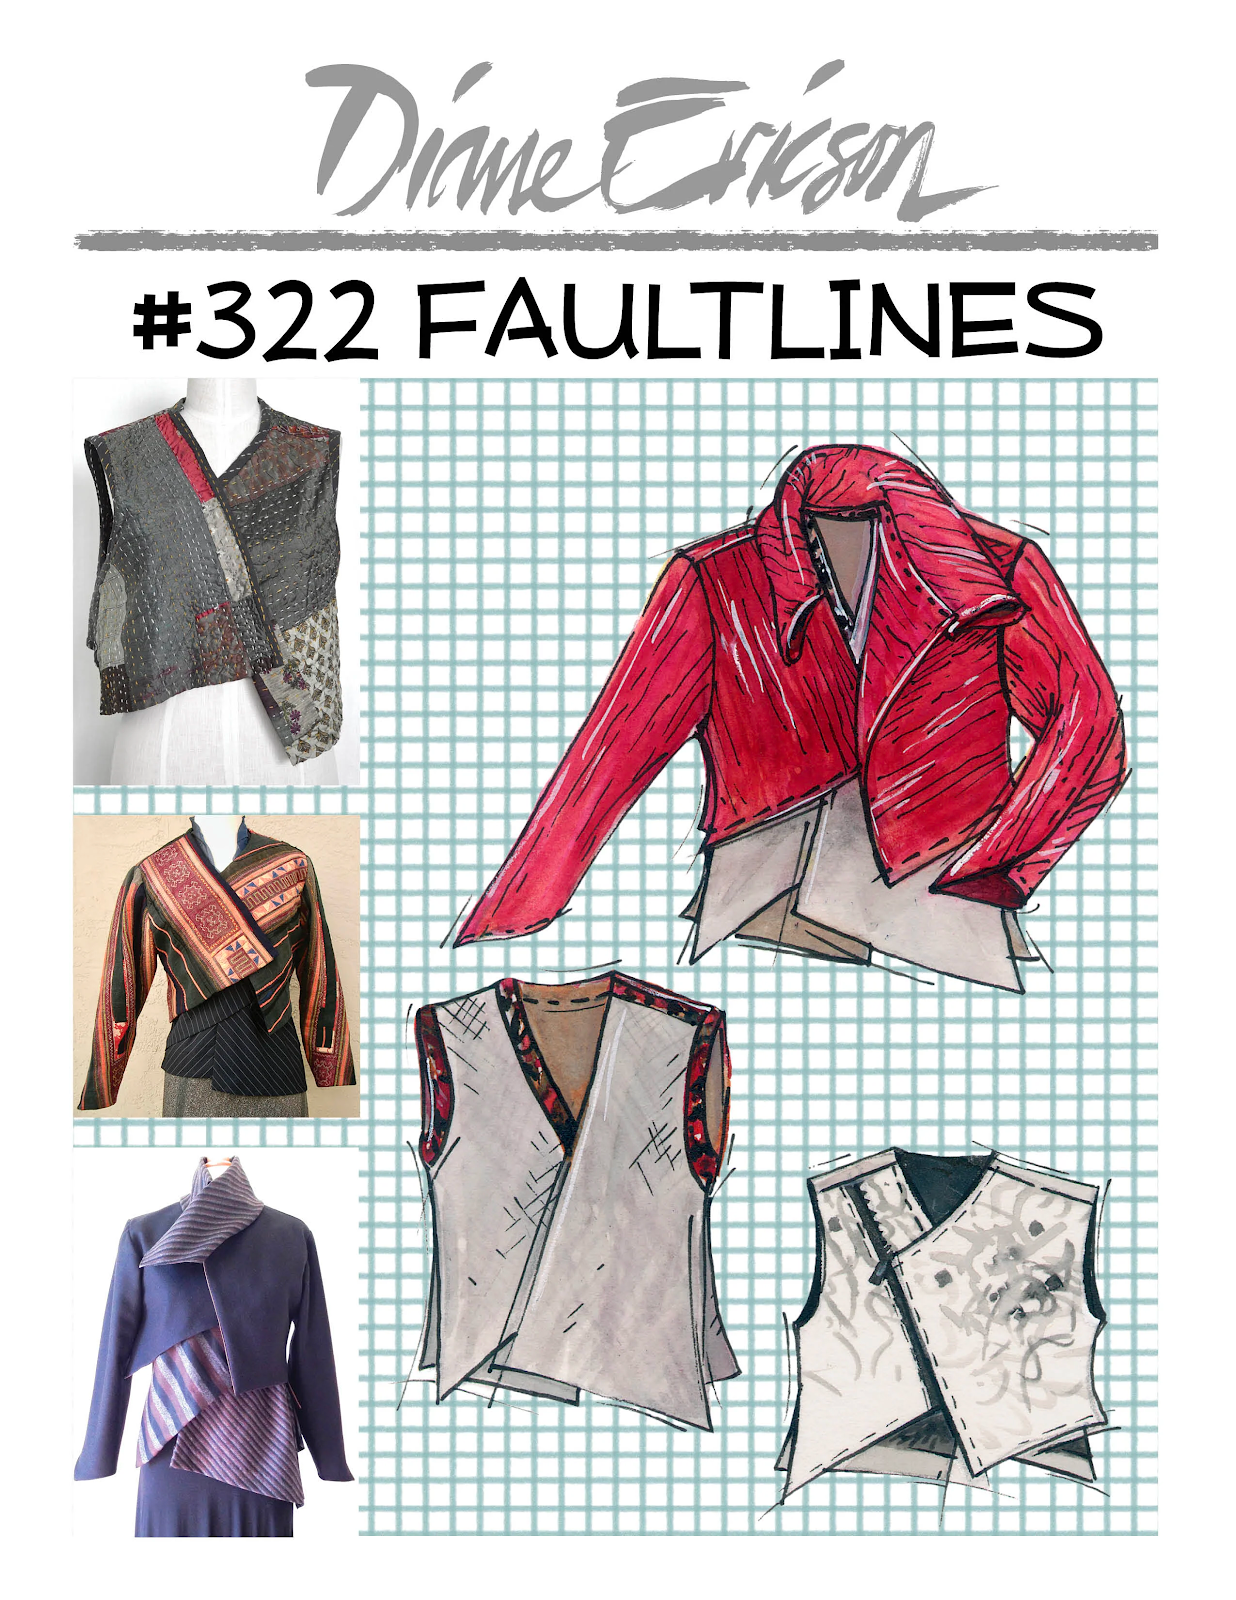
First up is Vogue 1970, a Marcy Tilton design. There are two views - one with sleeves, one sleeveless. The two views have different collars as well. I started out with this lovely soft pinwhale emerald green corduroy from Five Eight Seams in Charleston, SC. After some careful measuring and pin-fitting of the traced tissue, I made the jacket in a size 12 with no modification.

Unlike heavier corduroys, this piece was delightful to cut and sew. It left behind very little fuzz in the room, though I did need to dust out my sewing machine and serger after finishing. Even pressing was easy - I just pressed from the wrong side, with no bad effects. And I had big fun hand-stitching a little running stitch to highlight some of the design lines.

The sleeves are 3/4 length. I like that. I do wish I had thought through the cuff and rotated it so that the vent would be on the back of my arm, rather than at the underarm seam. I'm sure it's easier to draft with the vent right at the underarm seam, but it's not as pretty, IMO. Next time...

The collar stands away from my neck quite a bit. I'm not quite sure I like that. The sleeveless (vest) version is designed with the intention of layering the (outer) jacket over the (inner) vest. But the necklines are identical. That is, the same front and back pattern pieces are used for both views. They just have different collars.

These wonderful buttons came from the fabulous Common Threads shop in Taos New Mexico.

The lines of the body of the jacket and vest are lovely, I think. The horizontal line on the front, as well as the back, is really just a design detail. It would be easy to overlap them and cut without the horizontal lines. But I do like that detail on the front and the back. 

The side front and side back panels do provide seams for fit, but also add to the design of it. They include a tuck that also adds to the overall look of the jacket. 

This is a favorite piece. Already I have to think about how often I wear it so I don't go overboard. On these cold days we're having, it's great to add a t-shirt underneath or wear it as a stand-alone topper. It is just soooo comfortable.

I note on Marcy Tilton's website that she calls this the Symetrical Jacket. Evidently in early design stages, it was markedly assymetrical. Input from her testers removed some the detail. The result is an easy make and a lovely result.

Next up - the vest version.

Monday, November 20, 2023

High Five

I made something! An actual garment. And I am pretty crazy about it. But it is not for me. It is a gift. Oof. It's hard to let it go. And, of course, I don't have to do so. But I want to. Really, I do.


This super-cool, amazing fabric was a gift from a fellow University of Texas longhorn fan. Actually she's a much more loyal fan than I am. Though I have 3 degrees from the humongo university in Austin, I don't really follow them the way she does. Over the years, when she would visit her sister in Austin, she'd bring me a little momento.


The most recent gift was this very nice cotton piece of fabric. It is not your standard cotton-with-a-logo which is printed on very cheap almost-quilt-quality cotton. This is more of a fine pique. It was a dream to sew.


This lovely friend has developed tremors and cannot sew now. And her sister died. And, yet, she still thought of me when she was cleaning out her stash. I said thank you and gave her a hug.


Then I decided to make something for her, a little jacket for *game day.* I know in my heart of hearts that she will enjoy it more than I ever could. At least, that is my sincere hope. 


The pattern is the High Five, one of the Shapes patterns developed by Louise Cutting of Cutting Line Designs, and Linda Lee of the Sewing Workshop. They jointly developed a series of easy sewing, easy fitting garment in this line. The High Five jacket, is the best one.


And it is stinkin' cute, in this rather unique piece of fabric.


In her honor, I will watch the big game this Friday. I will visualize her cheering them on in this jacket.  We will share some joy or sadness with the results. I am lucky to have a friend like this, for sure.


Sewing friends are the best.


Friday, September 15, 2023

Fault Lines

DH and I visited Taos October, 2022

For a little while now, I've been preparing for a trip out west for Diane Ericson's Design Outside the Lines. 

pre·pare

/prēˈper/

My method of preparing: I started out crazy excited, then briefly wondered if it makes any sense, then realized the money was spent, then worried about how to prepare and what to take, what to mail ahead of time, and now 24 hours before I leave, calmly drinking a cup of tea, knowing the light will come in, no matter what.

Mabel Dodge Luhan House where DOL is held.
DH and I stayed there one night.

Diane Ericson is full of light. And I'm looking forward to meeting and learning from her invited co-teacher Susan Dillon, fiber and mixed media artist. So many possibilities with these two. And then there are the other attendees. Remembering my previous DOL experience in Sisters, Oregon with Diane and Marcy Tilton, I know that the attendees are also likely to be full of light.


Years and years ago I tried Diane's Fault Lines pattern. It contains tissue and instructions for two garments - a cropped jacket and an undershirt. This is a very cool pattern with so, so many design and stitch possibilites. And it has the most elegant sleeve I've ever sewn. 

Behold, the sleeve!

Undershirt with a sleeve

Because my body has changed in the intervening years, I decided to make up a toile of each, using an old cotton bed sheet. The undershit is sleeveless, but the instructions indicate you can fold out the fullness in the sleeve cap and insert it into the undershirt to make that long sleeved.

Undershirt toile

My experience was that the sleeve fit perfectly into both the undershirt and the jacket without any change. 

Toile for undershirt and jacket

The jacket is designed for shoulder pads. I did not want a garment that structured, so I watched a couple of youtubers on how to alter a pattern to remove or reduce the shoulder pad. After that, I simply pinched out the excess on my toile and was happy with the change. Of course, I have not made up the jacket in proper fabric yet, so I may formalized that process a bit. Or not.

Undershirt back. Note the lapped center back seam. Lovely!

Next I cut into some light weight linen from my local wonderful fabric store, Gail K. The color does not photograph well, but it is a yummy medium blue with a tiny touch of black. Opaque but quite light weight. It reminds me of the sky right before a storm. It's been delightful to sew.

Left side, undershirt

Right side, undershirt

The undershirt is composed of 4 pieces - two distinctive fronts, and two slightly different backs. One of the fronts, and the two backs are cut on the bias, which adds to the fun. After cutting carefully and stitching the shoulder seams, I let it *rest* for 24 hours. 

I'm finished with my first undershirt. The closures are simple sets of ties - one set inside and the other set outside. 

I've added a bit of hand-stitch. 

Now it's time to pack. Stay tuned!


Friday, June 30, 2023

French Fold Shrugs

Pattern: French Fold Shrug from Diane Ericson


This is a super interesting pattern designed by Diane some years ago. It has floated across my consciousness over the years and I finally decided to make it. The overall design is almost zero-waste. The resulting garment is created through folding and strategic cutting. 


It starts with a rectangle, so the result also is related to the size of the rectangle which can be varied to create longer/shorter sleeves, as well as longer/shorter overall piece. This could be a small shrug or even a longish coat, I think. So many opportunities for play!

Sizes: S, M, L (easy to adjust up or down)

Seam Allowance: 1/4" or whatever you like.

Inspiration and Help: Diane Ericson (with Gayle Ortiz) and the big sew along by Gini

VERSION ONE: Size S (20.5" long X 54" wide), pieced linen plus a hand-dyed linen/cotton blend. The lining is light weight cotton dobby weave. 


The front *flanges* are folded to the back beneath the upper jacket. Likewise the back flanges are brought to the front and placed under the upper portion of the upper front. 


I had fun playing with the folds on version 1.

This looked fine flat on my table. The dress form was invaluable for evaluating the various folds. 

I added pleats and then overlapped the flanges to avoid that bulge in the back seen above.

Lessons learned: 

  • Stay stitch ALL the cut edges, especially the place where three seams come together
  • Lining ups the ante for learning. The place where 3 seams meet is not pretty.
  • I'm really a size M. Size S is too tight through the shoulders. There is no size chart.
  • I want to play with length, width and more folds.

On me:


VERSION TWO: Size M (36" X 48"), heavy weight cotton double faced positive-negative weave on a thrifted piece from Goodwill. I omitted the lining.

Placing the garment flat is interesting but not as important as draping on the dressform.

Above the black side is right-side-out. Small cuffs are folded back and the front flanges are folded over themselves along where the side seam would be.

The same is done in the back. There are no side seams in this version. There is a vertical fold forming a vent of sorts.

Similar to the folds above except that the white side is the right side and the flanges are folded at an angle.

Above the front flanges are folded to the front and the back flanges are left to drape at the side.


The shrug is pretty but more ordinary if the flanges are left dangling. Here it appears the way a T-shaped kimono might looks if it is wider than it is long.

Lessons learned:

  • Stay stitich ALL the cut edges. Serging is challenging given some of the angles.
  • That positive-negative weave provides lots of design options.
  • Yep, I'm size M, though with different fabric I might even go up to L.
  • It can be completely zero-waste by changing the front cut a bit.
  • The off-white and black is not great on me. I may dip it in blue dye and see what happens.

VERSION THREE: Size M (36" X 48"), Brussels washers in a beautiful green apple green. No lining.


I chalked in the cutting lines and stay-stitched at 1/4" before actually making any cuts. 

After adding the second row of stay-stitching, I decided that I did not want the raw edges.


Binding: I tried binding the edge by simply wrapping it with light weight printed linen. I settled on a bias facing, about 1.5" wide to start. Binding the sharp interior edges has still proven to be quite challenging. This is especially true at the underarm juncture. Diane has some clever work-arounds for this that I may try later.

Wrong side at neckline. Binding is not sewn down yet.


Right side at neckline. The lower portion tends to fold back, creating a shawl collar effect in the front.

I even made a sample!


The sample is a right angle, so easier than my tight acute angles. The sample gave me a start. I'm still working on it.


Options, options...I think it's time to stop!

The neckline has variations too. If the pattern is cut with a T shape up the front, then a slight shawl collar is formed in the front. I've noticed this in some of Gayle's pieces (see the above link to Diane's blog)

On me:

Probably not the silhouette I'm after. I think the dress should be way longer, or the shrug should be re-proportioned with folds, making it shorter.

Lessons learned:

  • I stay stitched twice around all raw edges, once at 1/4" and again at 1/2", thinking I might leave it raw edged. However, the fabric ravels too much to do so, IMO.
  • The drape and weight of Brussels washer is perfect for a summer shrug.
  • Still size M.
  • Tried the zero waste option by cutting a T shape up the front. This creates a lovely fold-back that I like.
  • I'm still playing with the edge finish. For now, I've attached a bias piece of light weight printed linen to the edges and sewed it in place with a running stitch.
VERSION FOUR: This exists in my head. I think it would be great in a two-layer cotton (or other fiber) knit, sort of Alabama Chanin style with raw edges. 

The knit needs to be stable to handle raw edges. Some knits look rough when left raw-edged, IMO. For example, ponte can be left raw-edged, but I'm not fond of the way it wears, if the raw edge is visible. 

Alabama Chanin cotton knits would work great. And then I would add lots of sashiko. Wouldn't that be lovely to sew and to wear?

NOTE: I have not finished any of these. Finishing is overrated. Honestly this pattern lends itself to never finishing. It is hard to stop playing long enought to finish.