
A few years ago, Grainline Studio and the Fringe Supply Co jointly published a pattern for the Stowe Bag. I think it was conceived as a handy bag for knitting projects. I knit from time to time but it is not a passion. I'd much rather be sewing (or drawing).

I've been meaning to make it for a while now just because it looks interesting. I finally made it because my reusable grocery bags evaporated. I keep them in the back of my station wagon and one day - poof - they were not there. DH believes I left them somewhere.
The Stowe comes in two sizes and has an interesting shape, I think. My first one was made in the smaller size. I followed the instructions carefully and learned a lot about its shape.
 |
| Version 1 with the flat pleats |

I had never noticed how clever the construction of a plastic shopping bag is. It folds nice and neat and it fits on the metal hooks at the check-out stand. Cool engineering, IMO.

The instructions were straight-forward with the possible exception of steps 13 and 15. In step 13, the flat pleats are created and then in step 15, it is boxed. I *think* it is boxed on the exterior but I cannot be sure. The picture provided makes no sense. The step 15 picture is a boiler-plate picture for conventional boxed corners which is not possible after the pleats are stitched down in step 13.
Grainline Studio created a short video to illustrate step 15 but I'm still confused. I sure would love to see one of these bags in person. The only way I can see to create boxed corners after the pleats are stitched down is to top-stitch them in place from the outside of the bag. You can sort of mush it into the shape shown on the front of the pattern and top-stitch in place.
After chewing on this a bit, I decided that I did not really want pleats AND a boxed bottom anyway. It creates too many little slots for fuzz and debris. So I settled on conventional boxed corners.
 |
| Version 1 with conventional boxed bottom |

I used a thrifted denim shirt for my bias binding on version 2. My goal was to use this pretty hand-woven cotton from Guatamala (Spanglish Fabrics). I did not have enough for the larger bag so I added a piece of medium weight denim to the bottom.
 |
| Right side of the bag before side seams are sewn |
I also used the denim for the internal pockets. I considered omitting the pockets but it does give the bag more body and strength.
 |
| Wrong side of the bag showing the pockets on each side. |
The bias binding was completed after sewing the side seams.

I am really enamored of the way the handles are formed at the top. Also I added a little hook for attaching a coin purse or keys to the inside of my bag.
 |
| Inside the bag - check out the way the handles are formed. So clever and much stronger that plain handles. |
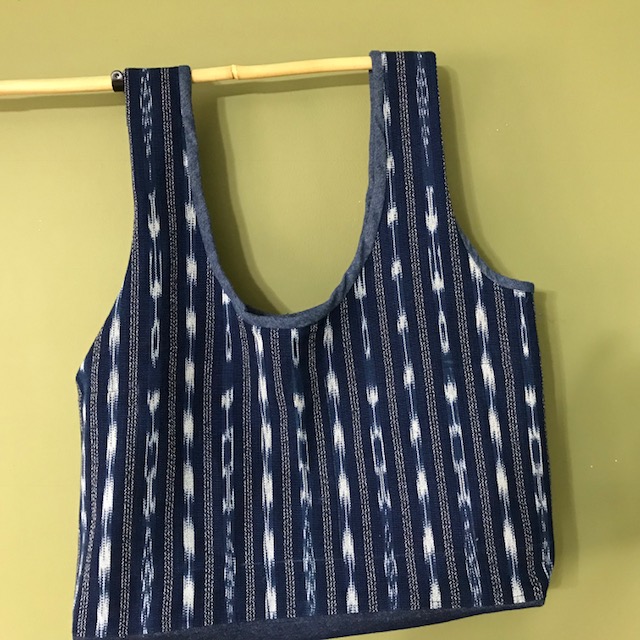 |
| Version 2 - also with conventional boxed bottom (you can barely see the denim peaking out of the bottom |
Thanks for the mention of Spanglish Fabrics. I love anything out of Guatemalan fabric, and your bag is great.
ReplyDeleteI sure enjoyed reading your post on making this bag. I've had the Stowe pattern for awhile, but have yet to make one and have wondered more than once why I purchased the pattern. Thank you for pointing out the clever features of this bag, you've piqued my interest in this pattern again. I also have a couple one yard cuts of gorgeous Guatemalan fabrics that have been languishing in my stash for at least a decade. Thanks for the inspiration for using both the pattern and the fabrics!
ReplyDeleteGood size and shape. I really like the fabric.
ReplyDeleteFibrillated yarn suppliers play a critical role in delivering high-quality materials essential for a wide range of industrial applications. Their commitment to providing durable, versatile, and cost-effective polypropylene (PP) fibrillated yarn makes them a reliable partner for businesses looking to enhance product strength and longevity.
ReplyDeleteWith excellent resistance to abrasion, moisture, and UV exposure, this yarn is ideal for use in sectors such as agriculture, geotextiles, and packaging. By maintaining high standards in production and offering consistent supply, Pp Fibrillated Yarn Suppliers ensure that their clients receive the best possible materials to meet their specific needs, driving success in various industries.